1. Installation
Introduction
Visual Guard is a robust application security system that helps safeguard your data and systems from unauthorized access and potential breaches. It integrates seamlessly with your existing software applications and provides granular control over security, user permissions, and access rights.
Visual Guard provides two consoles for managing security settings:
- WinConsole: A Windows application that needs to be installed on your system.
- WebConsole: A web-based application that can be accessed from any web browser.
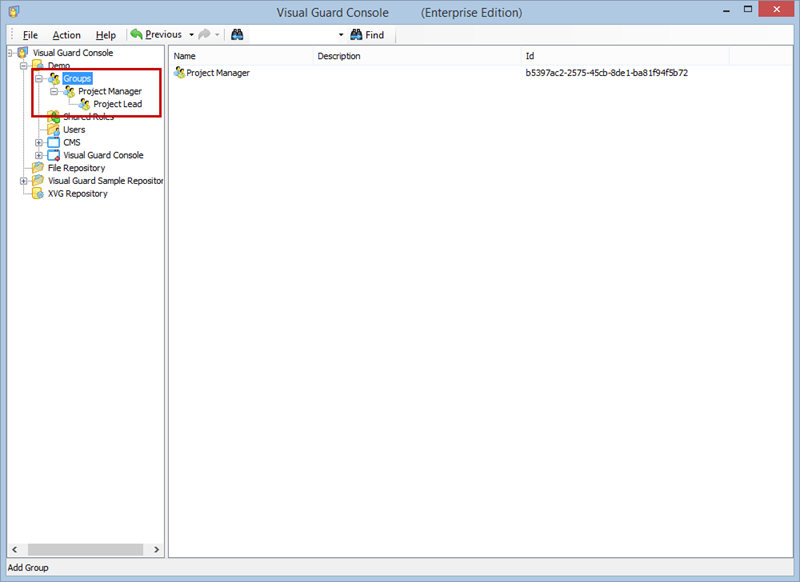
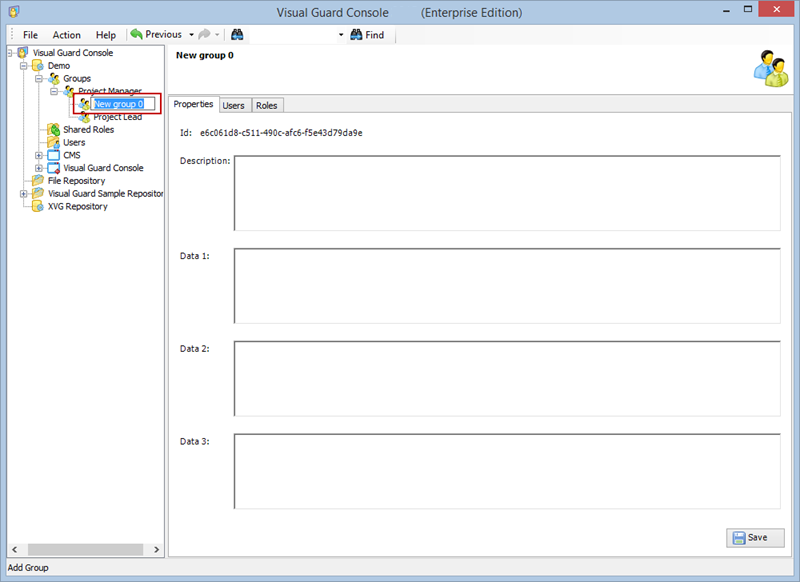
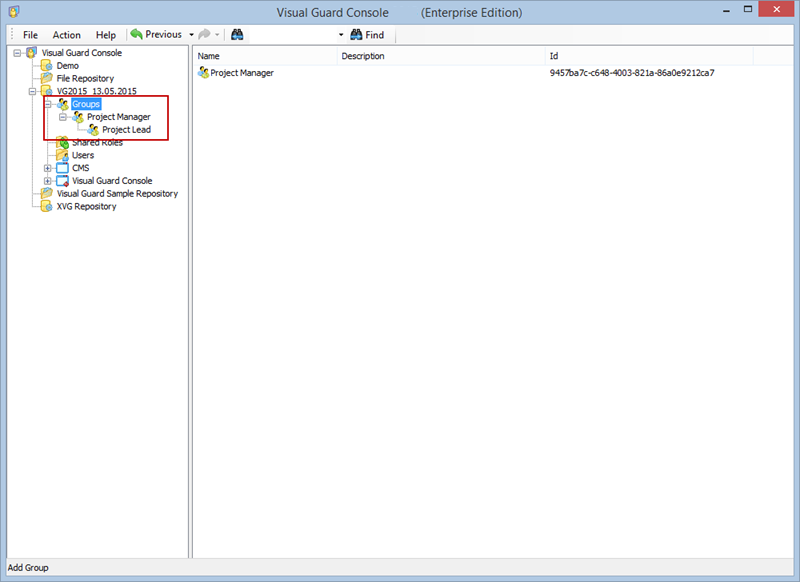
Additionally, Visual Guard incorporates a notion of groups, allowing you to manage multiple roles and users under one group for easier management of permissions.
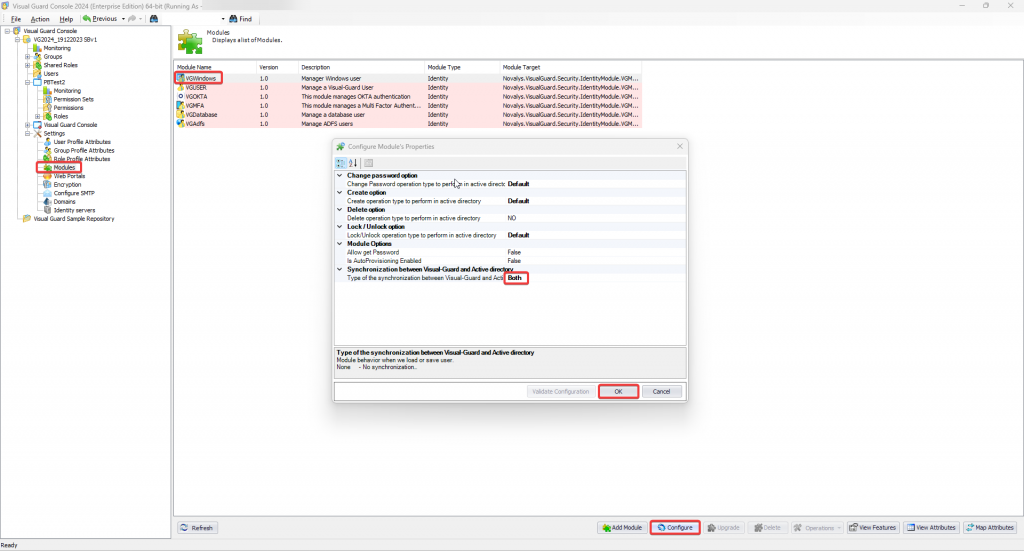
Visual Guard also includes the VGIdentityServer component that supports the OAuth 2.0 and OpenID protocols. This component allows client applications to perform user authentication and authorization operations.

Installation
To install Visual Guard, WinConsole, and VGIdentityServer, follow the steps below:
- Download the Visual Guard installation package.
- Run the installer and follow the on-screen prompts.
- Restart your system after installation completes.
The WebConsole does not need to be installed and can be accessed directly from your web browser.
Configuration
After installation, you will need to configure Visual Guard to suit your application needs. This involves setting up a VGRepository, defining user roles, assigning permissions to these roles, and setting up groups.
Creating a VGRepository
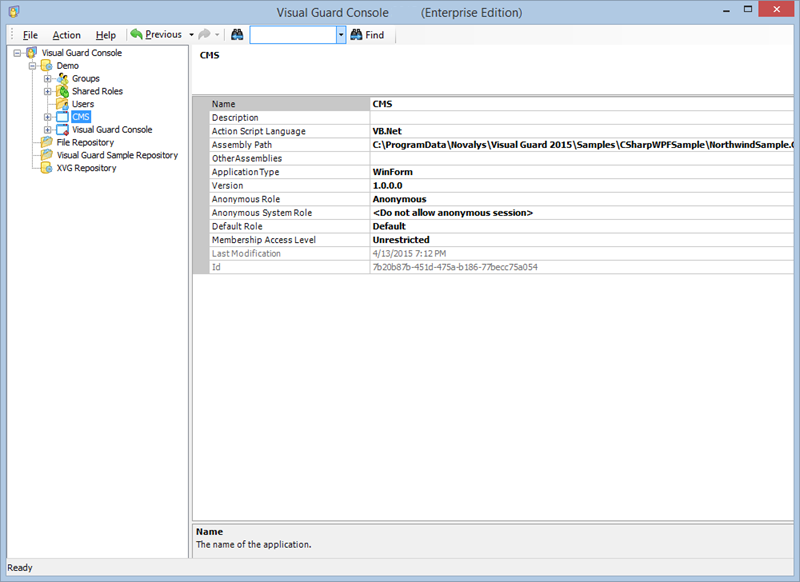
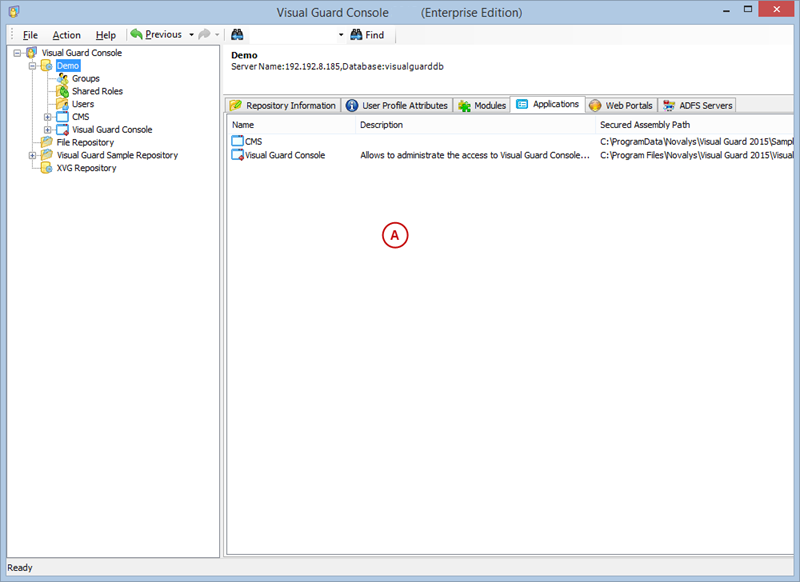
A VGRepository (Visual Guard Repository) is a centralized database for Visual Guard that stores all security-related information for your application, including user roles, permissions, groups, and other security data.
Here is a basic guide on how to create a VGRepository:
- Launch Visual Guard WinConsole or WebConsole.
- Navigate to the configuration settings.
- Create a new VGRepository that will store all your configurations.
- Save your settings and exit.
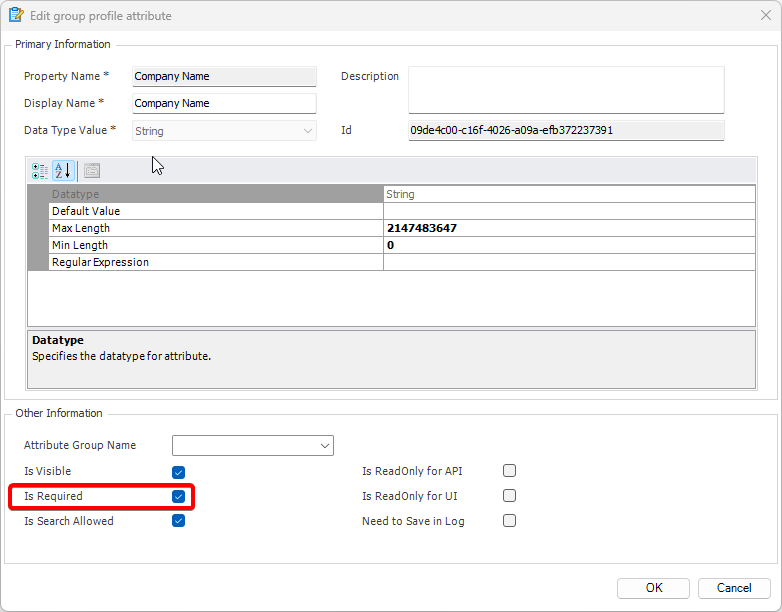
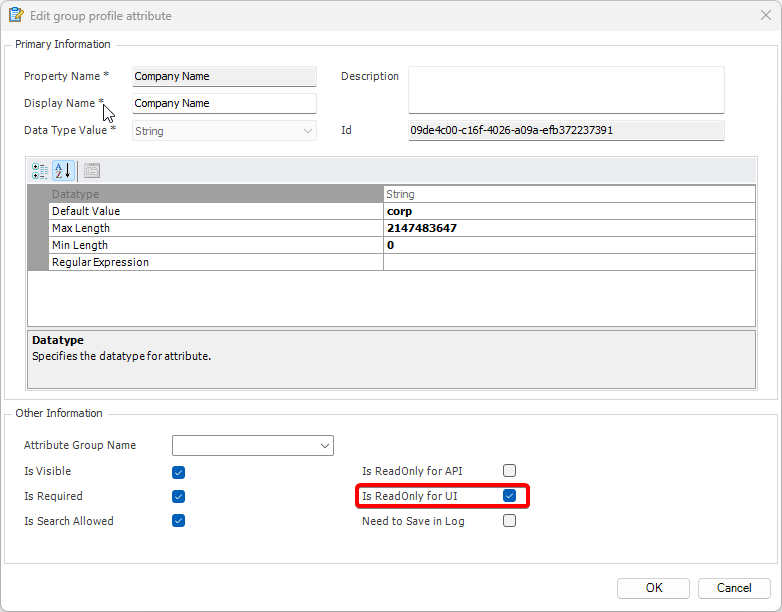
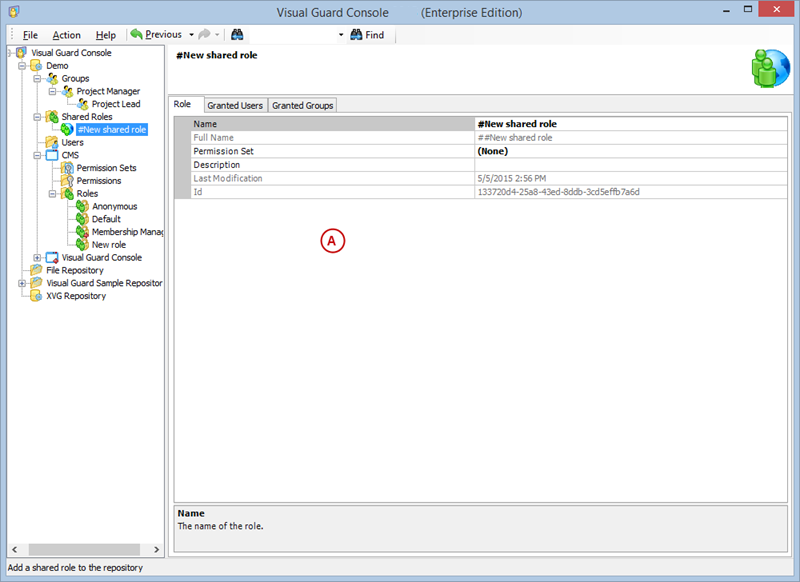
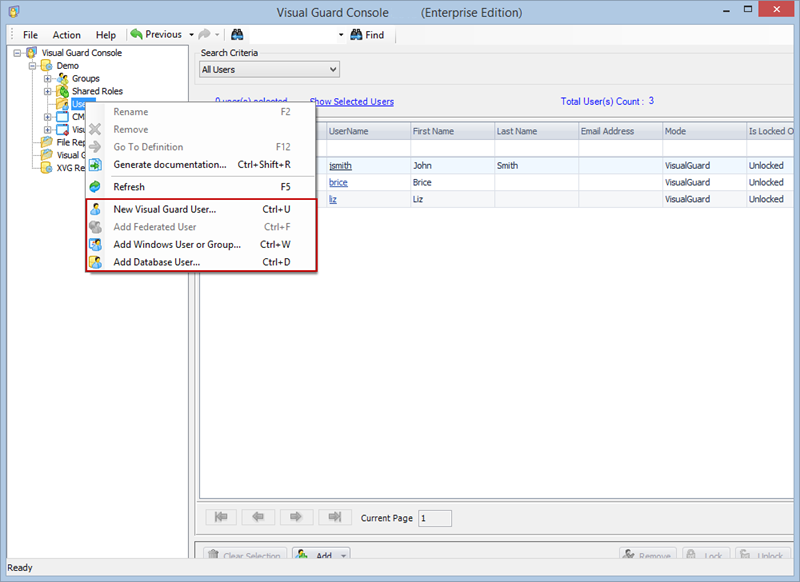
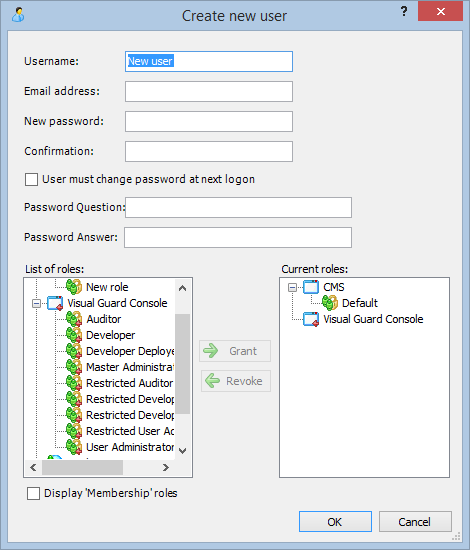
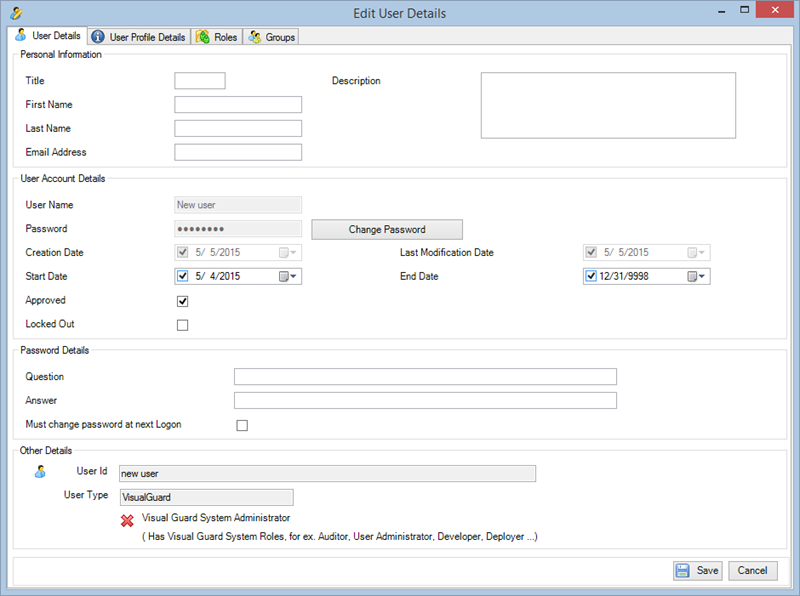
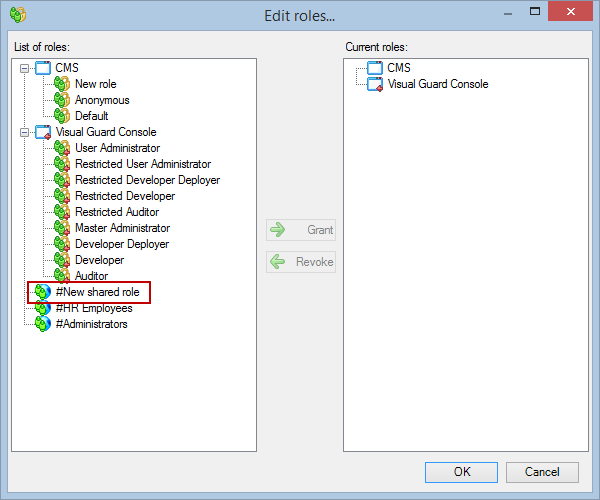
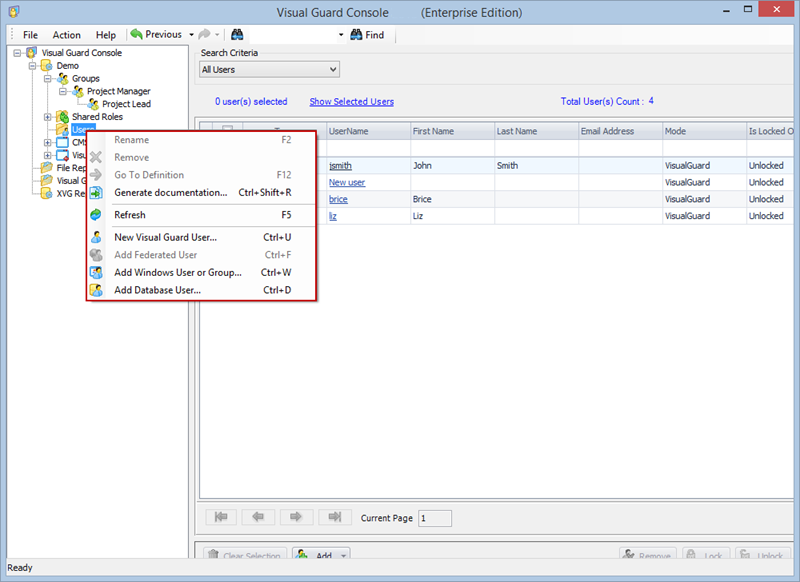
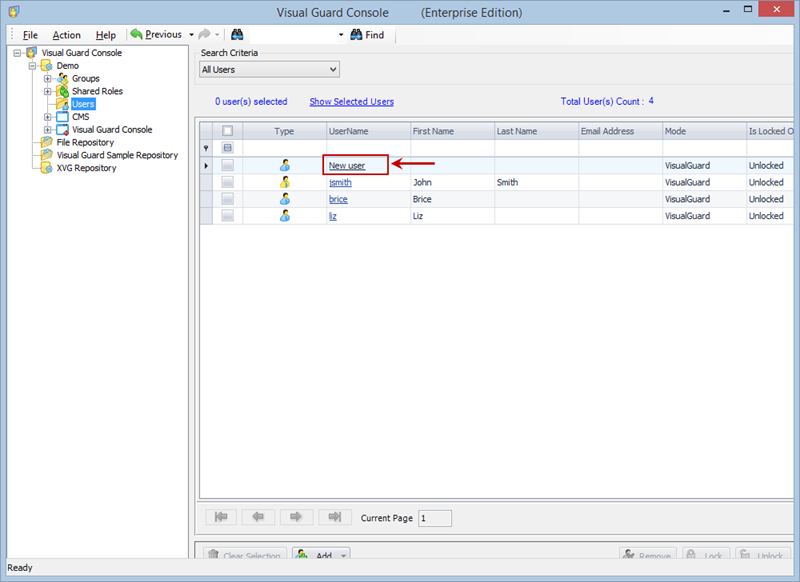
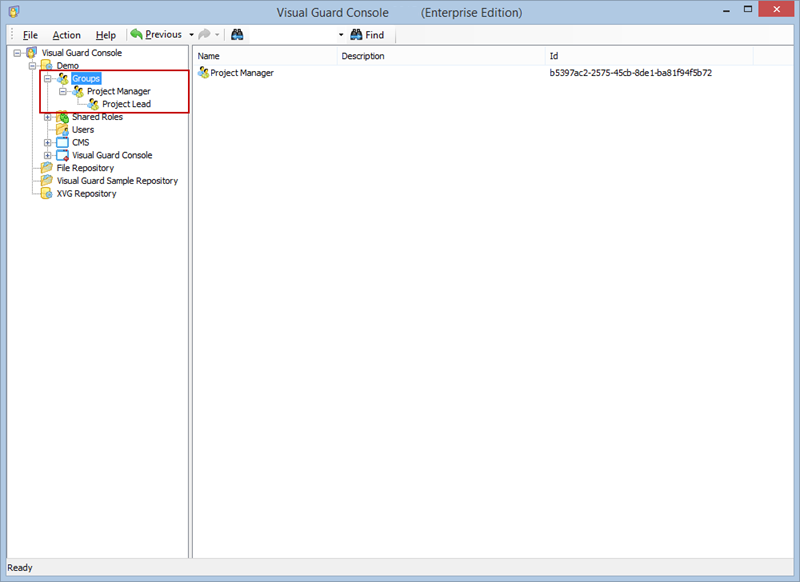
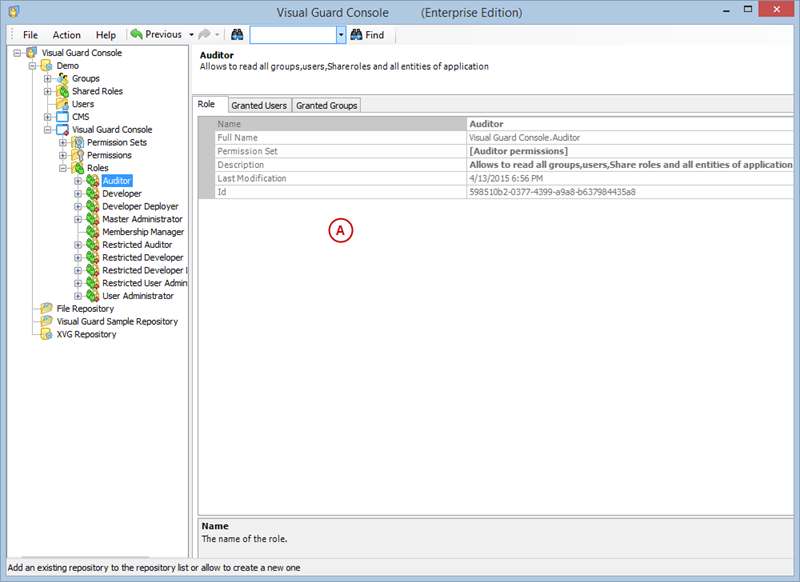
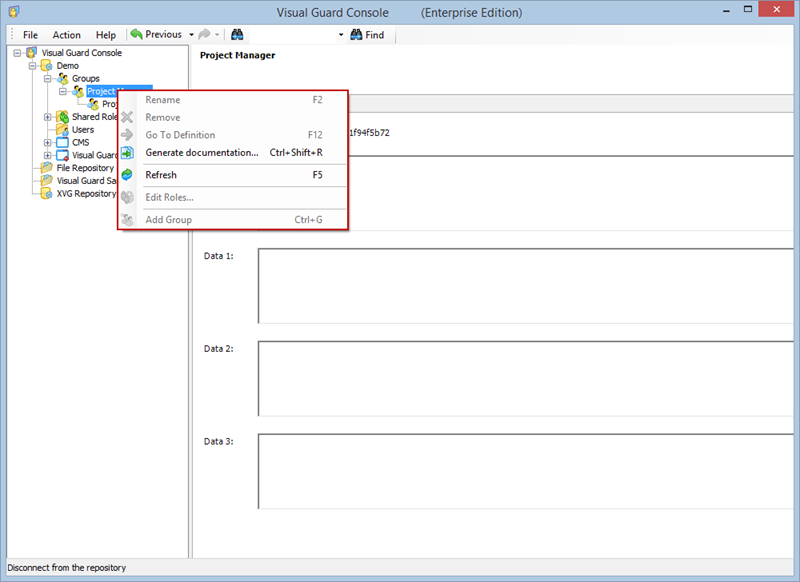
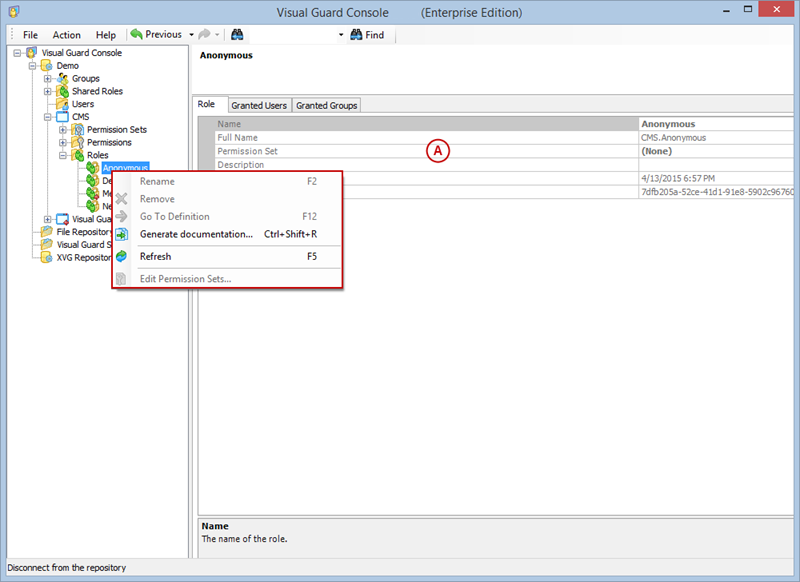
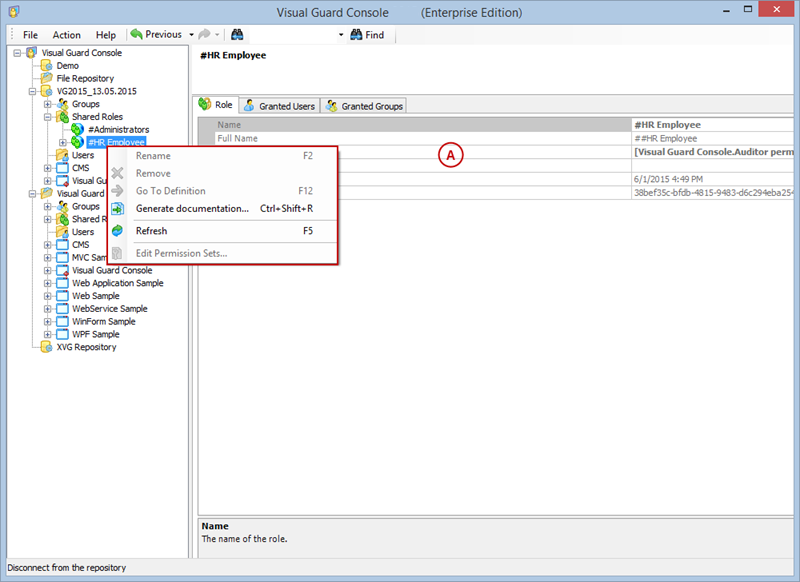
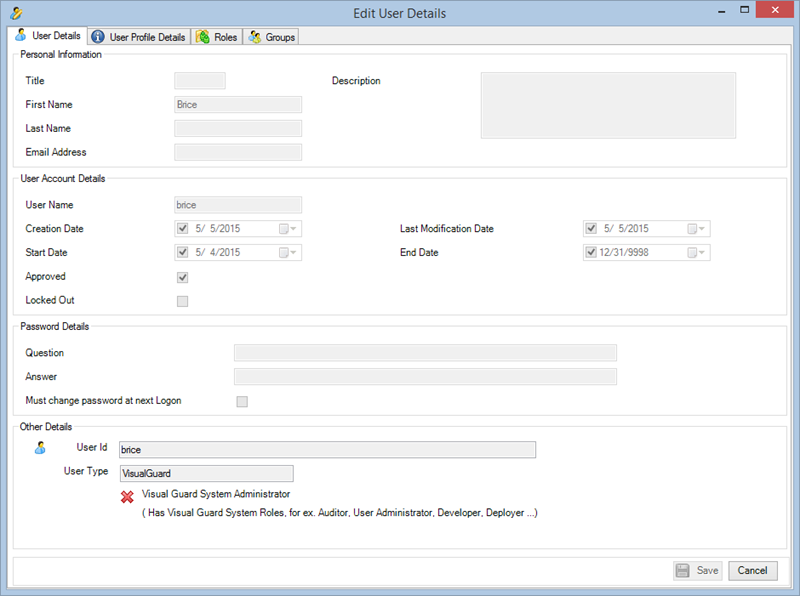
Setting User Roles, Permissions and Groups
Once the VGRepository is set up, you can proceed with setting up user roles, assigning permissions to these roles, and creating groups to manage multiple roles and users:
- Open Visual Guard WinConsole or WebConsole.
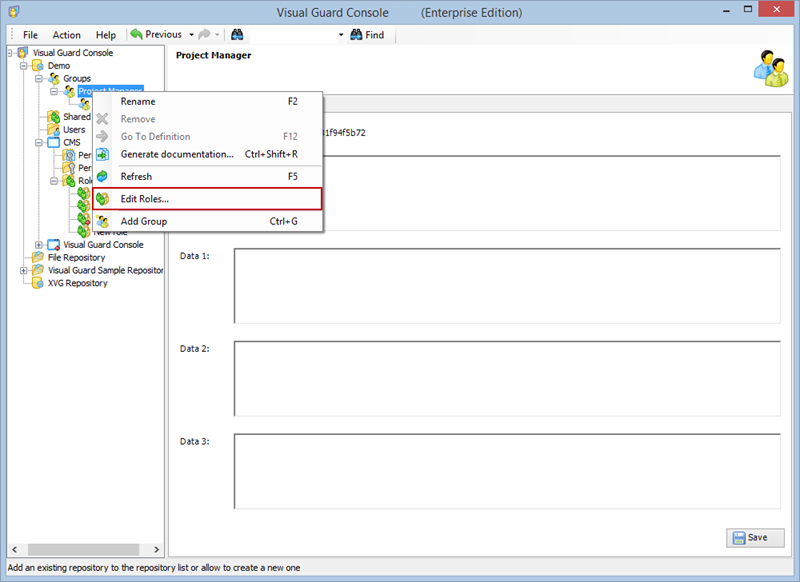
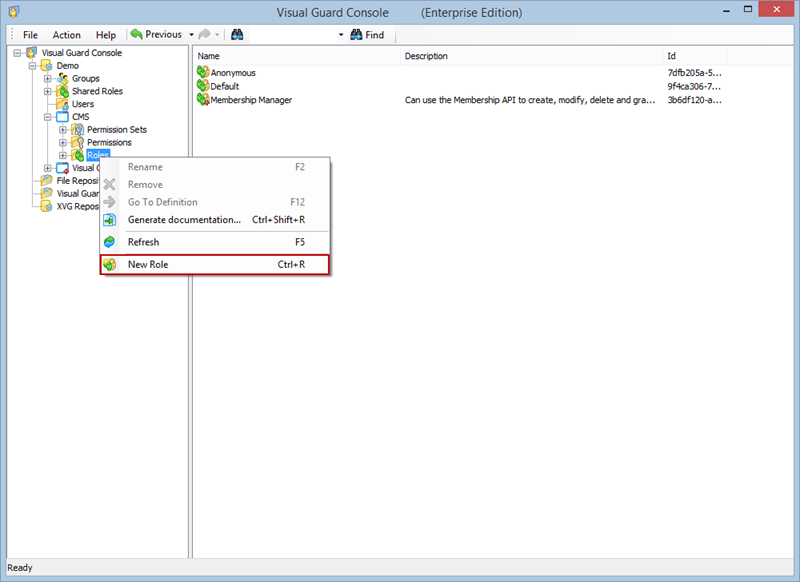
- Navigate to the user roles section.
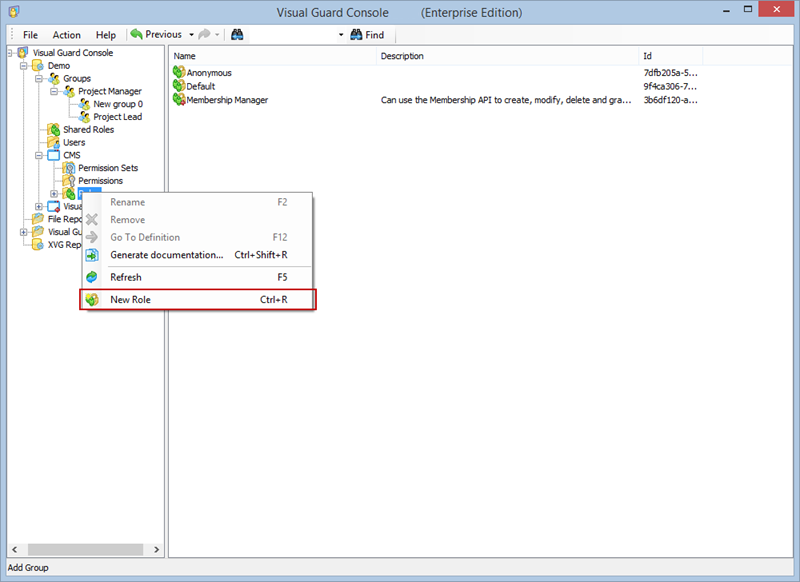
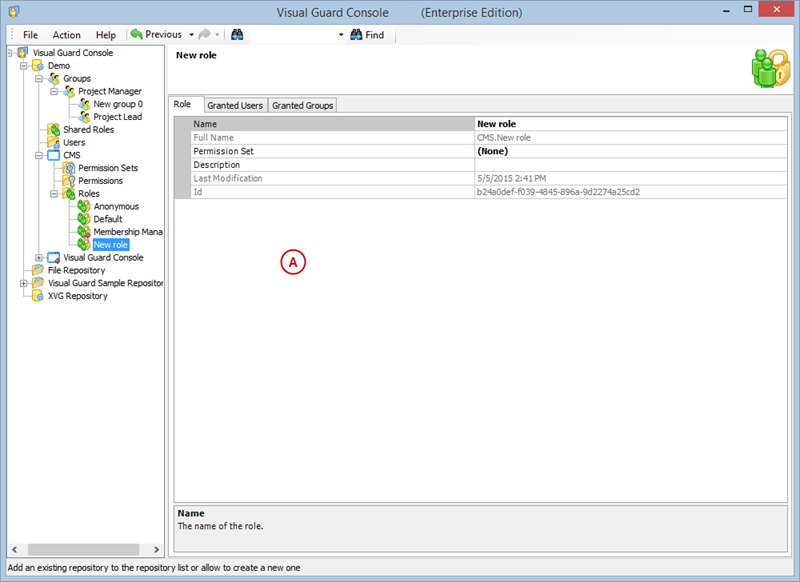
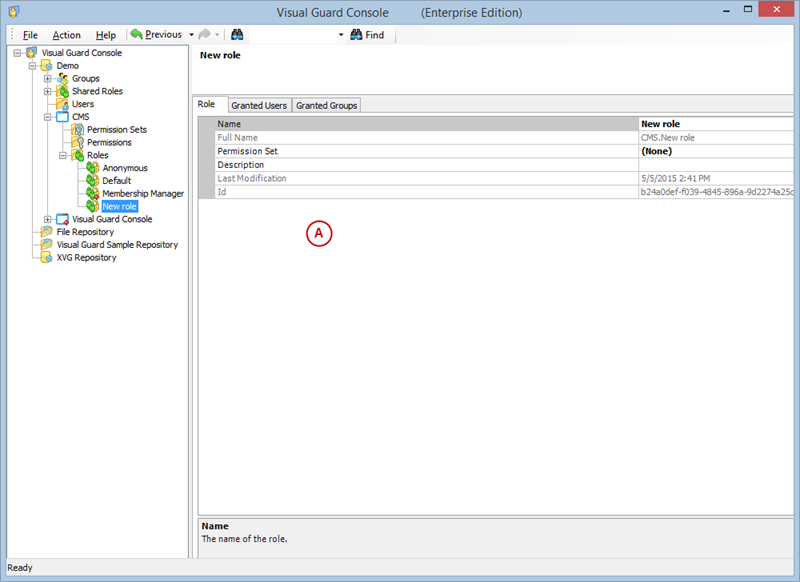
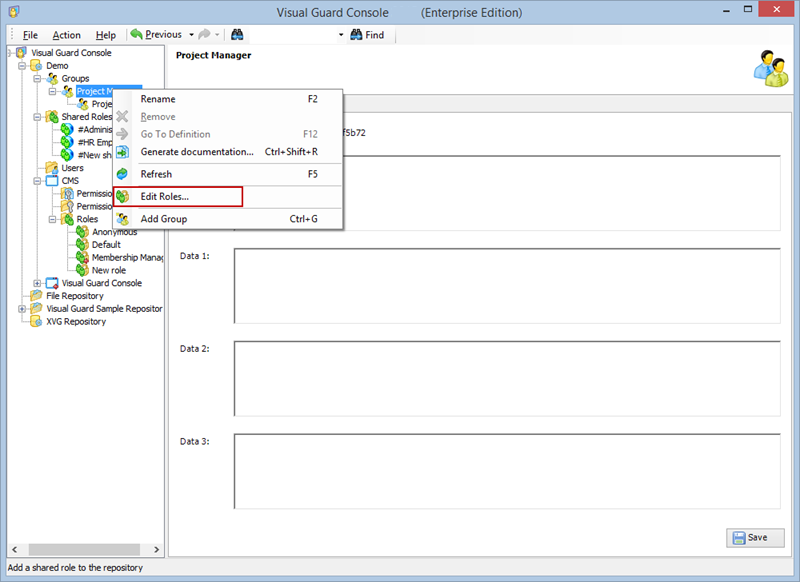
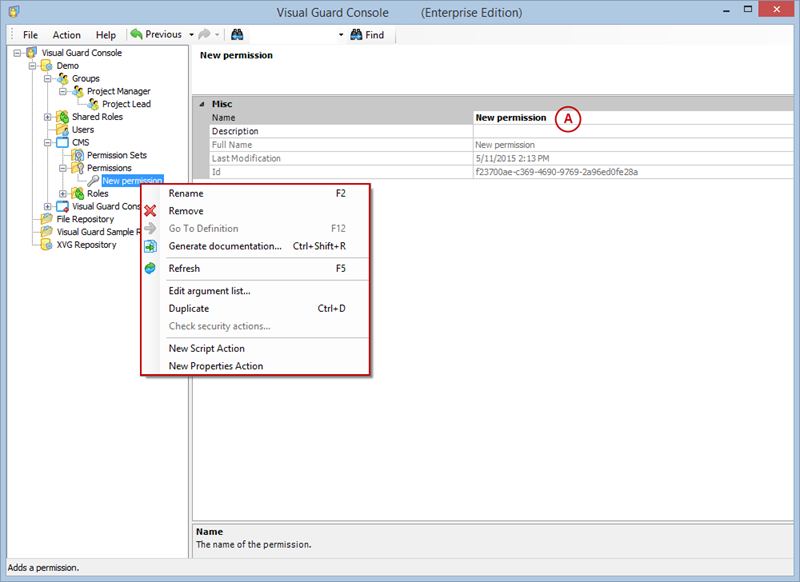
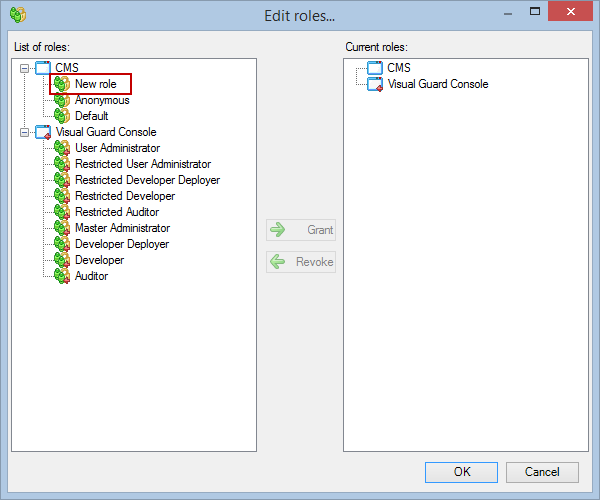
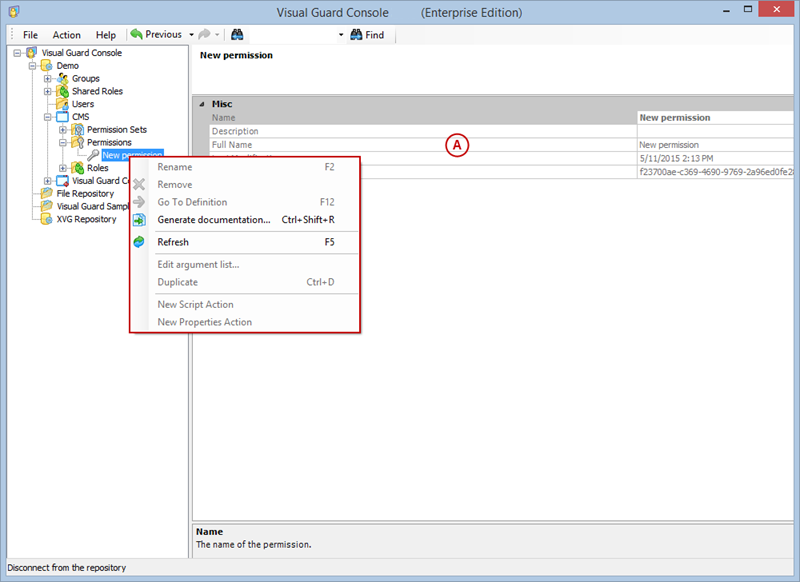
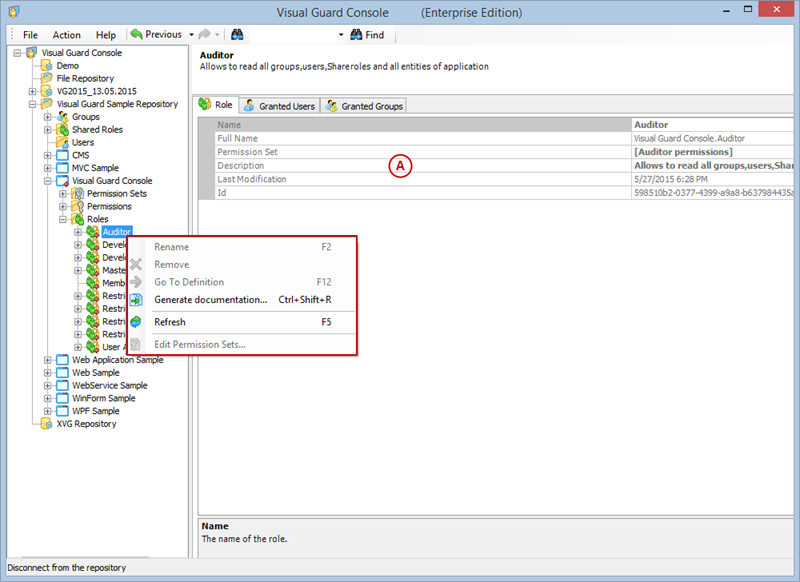
- Click on ‘Add new role’ and name the role.
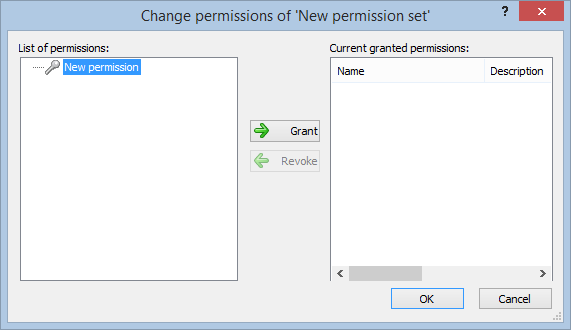
- Navigate to the permissions section and assign the relevant permissions to the role.
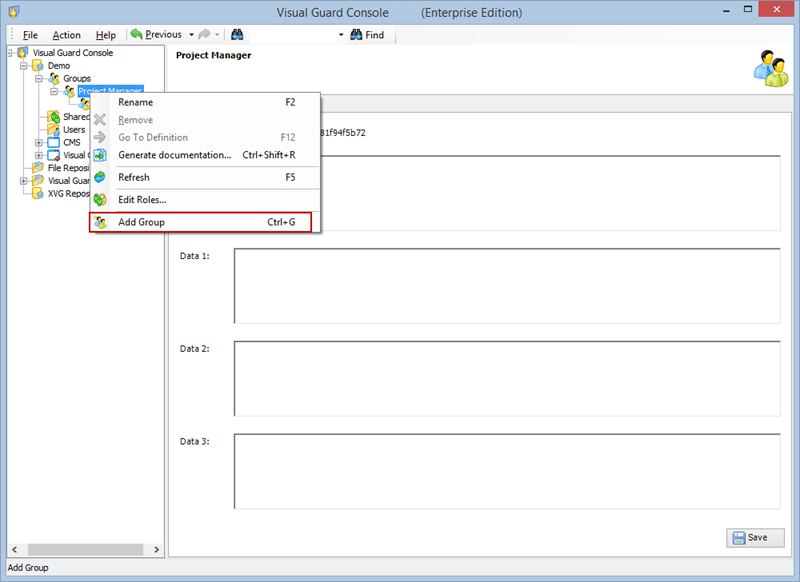
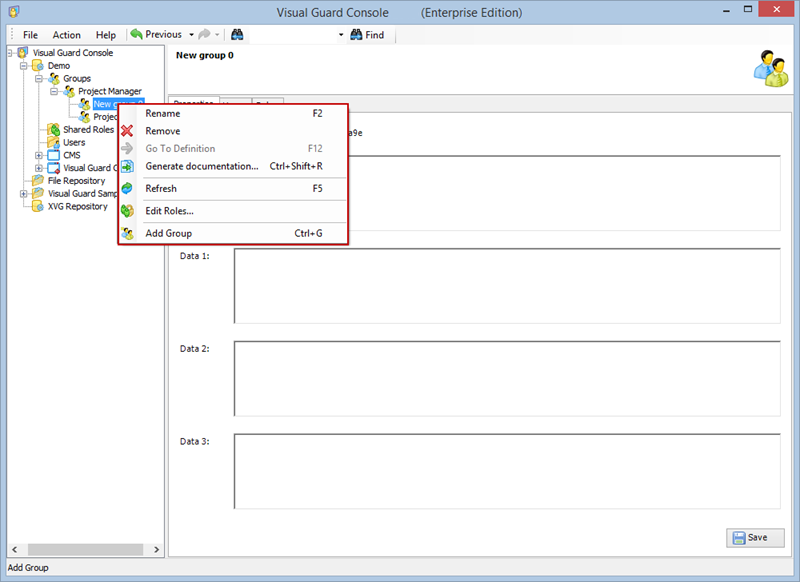
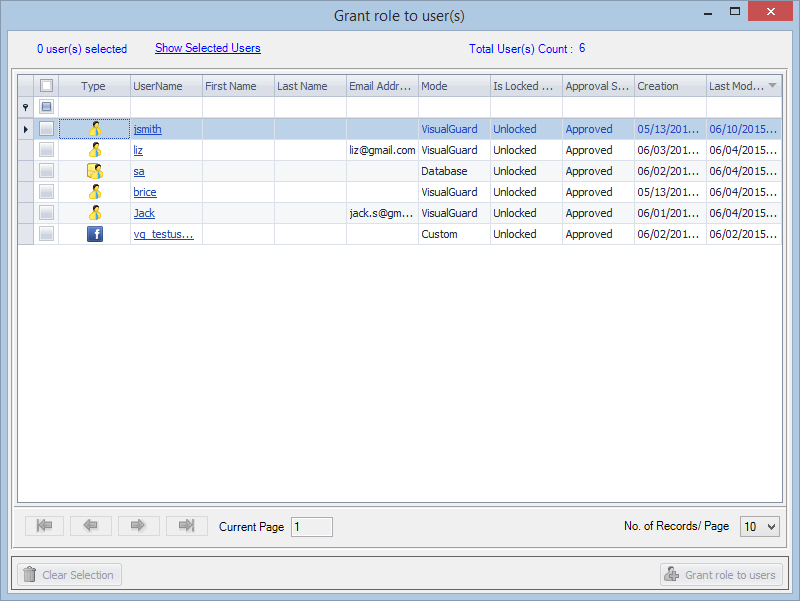
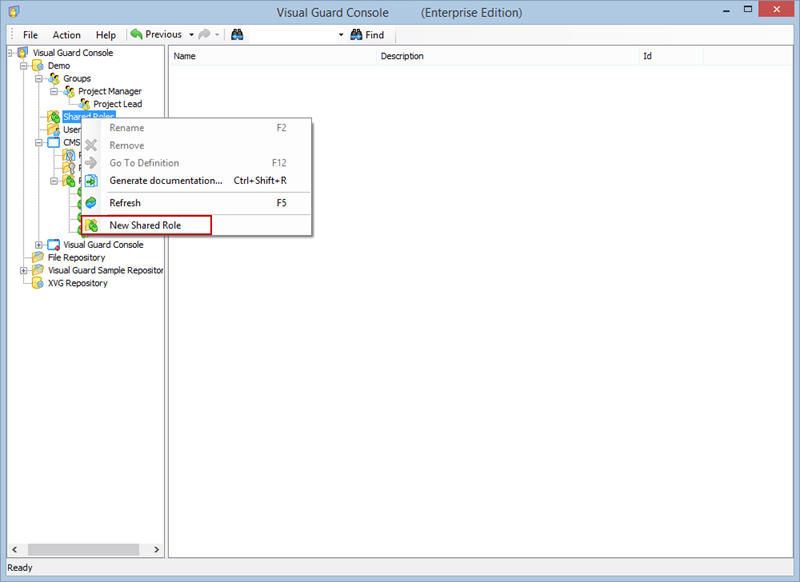
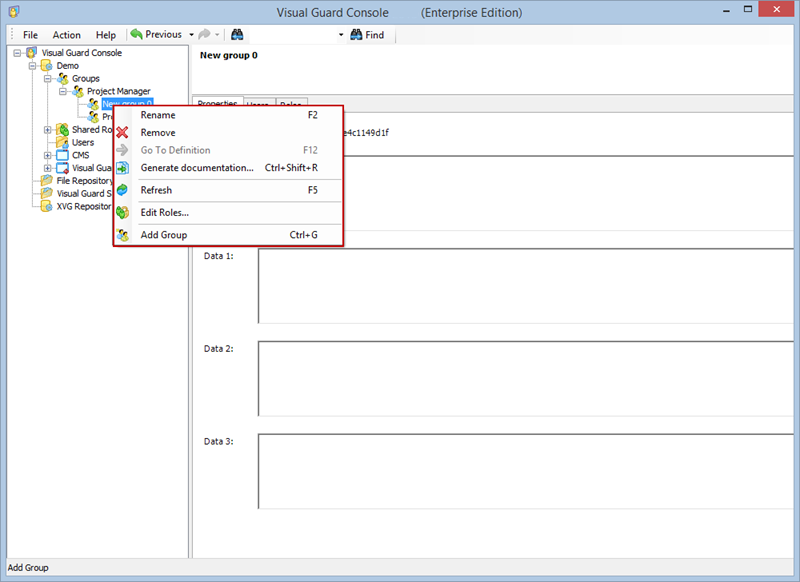
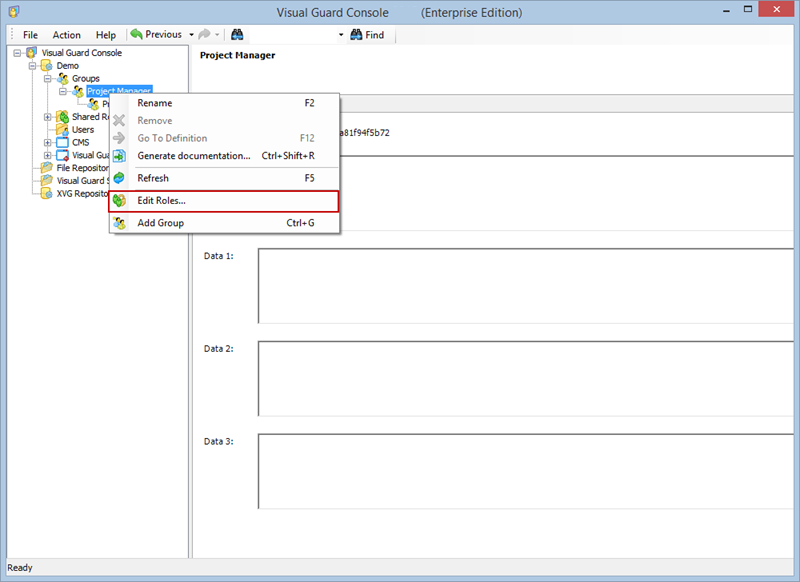
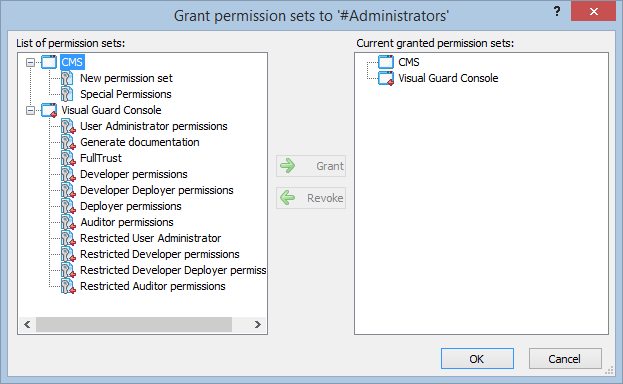
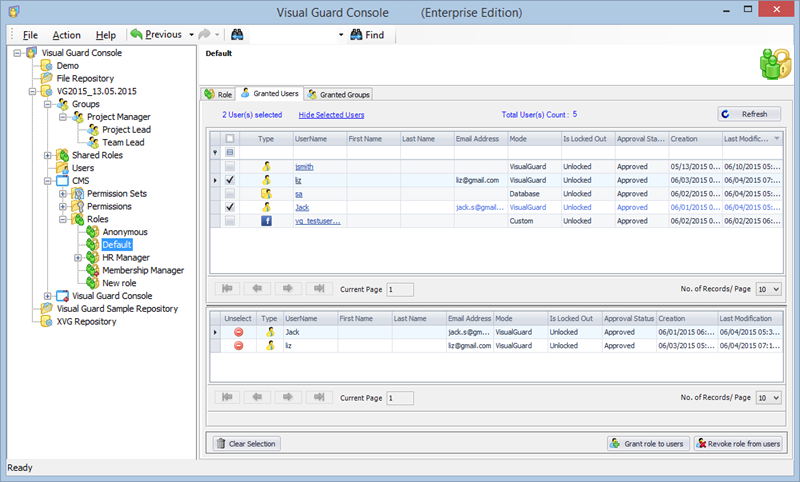
- Navigate to the groups section and create a new group. Assign roles and users to the group as needed.
- Save your changes.
User Roles, Permissions, and Groups
With Visual Guard, you can create and manage different user roles, each with its own set of permissions. You can also create groups to manage multiple roles and users simultaneously.
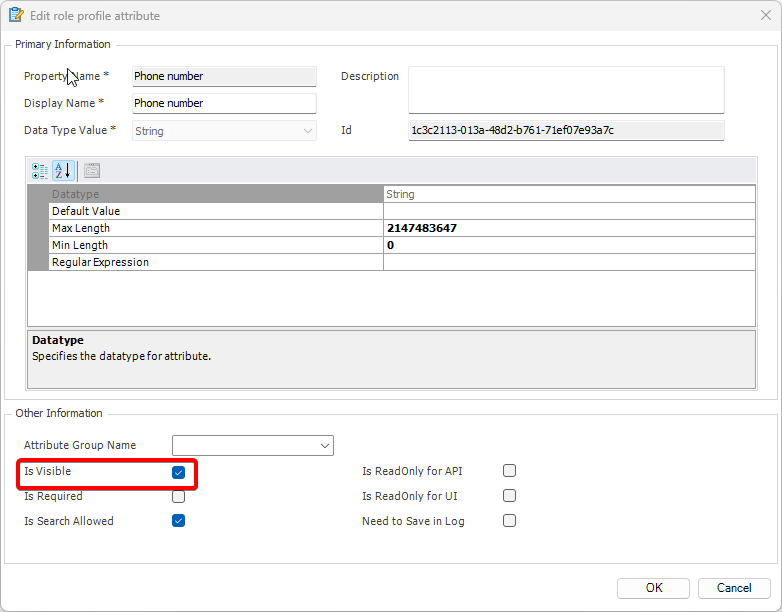
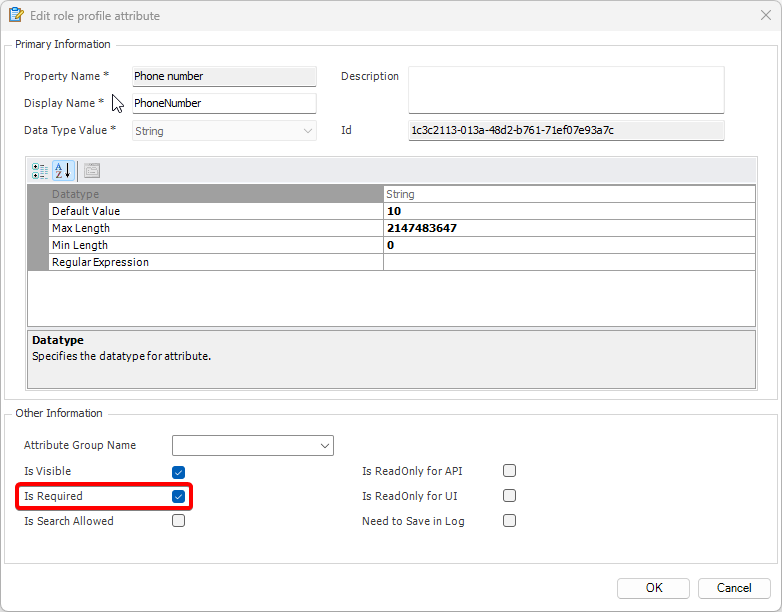
Creating a User Role, Assigning Permissions, and Setting up Groups
- Open Visual Guard WinConsole or WebConsole.
- Navigate to the user roles section.
- Click on ‘Add new role’ and name the role.
- Navigate to the permissions section and assign the relevant permissions to the role.
- Navigate to the groups section and create a new group. Assign roles and users to the group as needed.
- Save your changes.
1.1 Version Matrix
A setup version matrix is a structured document that outlines the compatibility and configuration details for different versions of Visual Guard. It serves as a reference to understand how various components and versions interact, and it helps in planning upgrades, troubleshooting issues, and ensuring compatibility across different environments.
| WinConsole | |||
|---|---|---|---|
| Version | .Net Framework Version | System Requirements | Pre-requisities |
| 2024.1/2024.2/2024.3 | .Net 4.7.2 | OS: Windows Server 2012, 2016, 2019, 2022 Hard Drive: 512 GB to 1 TB Fast drive, ideally SSD CPU: Min. of 4 cores, operating at 3 GHz or higher RAM: At least 8 GB SQL Server 2012 or later Oracle Database with Oracle9i or later | |
| 2024.0 | .Net 4.7.2 | OS: Windows Server 2012, 2016, 2019, 2022 Hard Drive: 512 GB to 1 TB Fast drive, ideally SSD CPU: Min. of 4 cores, operating at 3 GHz or higher RAM: At least 8 GB SQL Server 2012 or later Oracle Database with Oracle9i or later | |
| 2020.3 | .Net 4.7.2 | OS: Windows Server 2012, 2016, 2019, 2022 Hard Drive: 512 GB to 1 TB Fast drive, ideally SSD CPU: Min. of 4 cores, operating at 3 GHz or higher RAM: At least 8 GB SQL Server 2012 or later Oracle Database with Oracle9i or later | |
| 2019.2 | .Net 4.7.2 |
| WebConsole | |||
|---|---|---|---|
| Version | Hosting Bundle | System Requirements | Pre-requisities |
| 2024.1/2024.2/2024.3 | .Net 8 | OS: Windows Server 2012, 2016, 2019, 2022 Hard Drive: 512 GB to 1 TB Fast drive, ideally SSD CPU: Min. of 4 cores, operating at 3 GHz or higher RAM: At least 8 GB SQL Server 2012 or later Oracle Database with Oracle9i or later | IIS with the necessary Windows features SQL Server settings VG Installation folder properties |
| 2024.0 | .Net 6 | OS: Windows Server 2012, 2016, 2019, 2022 Hard Drive: 512 GB to 1 TB Fast drive, ideally SSD CPU: Min. of 4 cores, operating at 3 GHz or higher RAM: At least 8 GB SQL Server 2012 or later Oracle Database with Oracle9i or later | IIS with the necessary Windows features |
| 2020.3 | .Net 3.1 Core | OS: Windows Server 2012, 2016, 2019, 2022 Hard Drive: 512 GB to 1 TB Fast drive, ideally SSD CPU: Min. of 4 cores, operating at 3 GHz or higher RAM: At least 8 GB SQL Server 2012 or later Oracle Database with Oracle9i or later | |
| 2019.2 | .Net 2.1 Core |
| IdentityServer | |||
|---|---|---|---|
| Version | Hosting Bundle | System Requirements | Pre-requisities |
| 2024.1/2024.2/2024.3 | .Net 8 | OS: Windows Server 2012, 2016, 2019, 2022 Hard Drive: 512 GB to 1 TB Fast drive, ideally SSD CPU: Min. of 4 cores, operating at 3 GHz or higher RAM: At least 8 GB SQL Server 2012 or later Oracle Database with Oracle9i or later | IIS with the necessary Windows features SQL Server settings VG Installation folder properties |
| 2024.0 | .Net 6 | OS: Windows Server 2012, 2016, 2019, 2022 Hard Drive: 512 GB to 1 TB Fast drive, ideally SSD CPU: Min. of 4 cores, operating at 3 GHz or higher RAM: At least 8 GB SQL Server 2012 or later Oracle Database with Oracle9i or later | IIS with the necessary Windows features |
| 2020.3 | .Net 2.1 Core | OS: Windows Server 2012, 2016, 2019, 2022 Hard Drive: 512 GB to 1 TB Fast drive, ideally SSD CPU: Min. of 4 cores, operating at 3 GHz or higher RAM: At least 8 GB SQL Server 2012 or later Oracle Database with Oracle9i or later |
| Angular | |
|---|---|
| Version | Angular Version |
| 2024.1/2024.2/2024.3 | 15.0 or higher |
| 2024.0 | 15.0 or higher |
| 2020.3 | 12.0 or higher |
| 2019.2 | 7.0 or higher |
1.2 Nuget Package Dependencies Matrix
2024.4 VERSION NUGET PACKAGE DEPENDENCIES
When integrating a sample application with VisualGuard, it is essential to ensure that all required NuGet package dependencies are correctly installed. These dependencies provide the necessary libraries and frameworks to enable seamless authentication, authorization, and security features within the application. This article lists all the NuGet packages required for integration, ensuring a smooth setup process and compatibility with VisualGuard.
List of all Nuget package dependencies for Sample application to be integrated with VisualGuard
| Name of Nuget | Version |
| Microsoft.Extensions.Logging.Abstractions | 6.0.4 |
| Oracle.ManagedDataAccess.Core | 2.18.6 |
| System.Configuration.ConfigurationManager | 4.6.0 |
| System.Data.SqlClient | 4.8.6 |
| System.Drawing.Common | 8.0.8 |
| System.Net.Http.WinHttpHandler | 6.0.1 |
Note: Following are the dependent Nuget packages required for Visualguard assemblies.
Below are the NuGet packages that can be selected based on your application’s configuration and environment.
Common Nuget Packages
- System.Configuration.ConfigurationManager – Version 4.6.0
- System.Drawing.Common – Version 8.0.8
Nuget Packages When SQL server is chosen as Database storage
- System.Data.SqlClient – Version 4.8.6
Nuget Packages when Oracle is chosen as Database storage
- Oracle.ManagedDataAccess.Core – Version 2.18.6
Nuget Packages while connecting with VGIdentityServer as grpc private connection
- Microsoft.Extensions.Logging.Abstractions – Version 6.0.4
- System.Net.Http.WinHttpHandler – Version 6.0.1
Note: System.Net.Http.WinHttpHandler (Requirements and restrictions while using WinHttpHandler)
(reference from – https://learn.microsoft.com/en-us/aspnet/core/grpc/netstandard?view=aspnetcore-9.0)
- Windows 11 or later, Windows Server 2019 or later.
- gRPC client is fully supported on Windows 11 or later.
- gRPC client is partially supported on Windows Server 2019 and Windows Server 2022. Unary and server streaming methods are supported. Client and bidirectional streaming methods are not supported.
- A reference to System.Net.Http.WinHttpHandler version 6.0.1 or later.
- Configure WinHttpHandler on the channel using GrpcChannelOptions.HttpHandler.
- .NET Framework 4.6.1 or later.
- Only gRPC calls over TLS are supported.