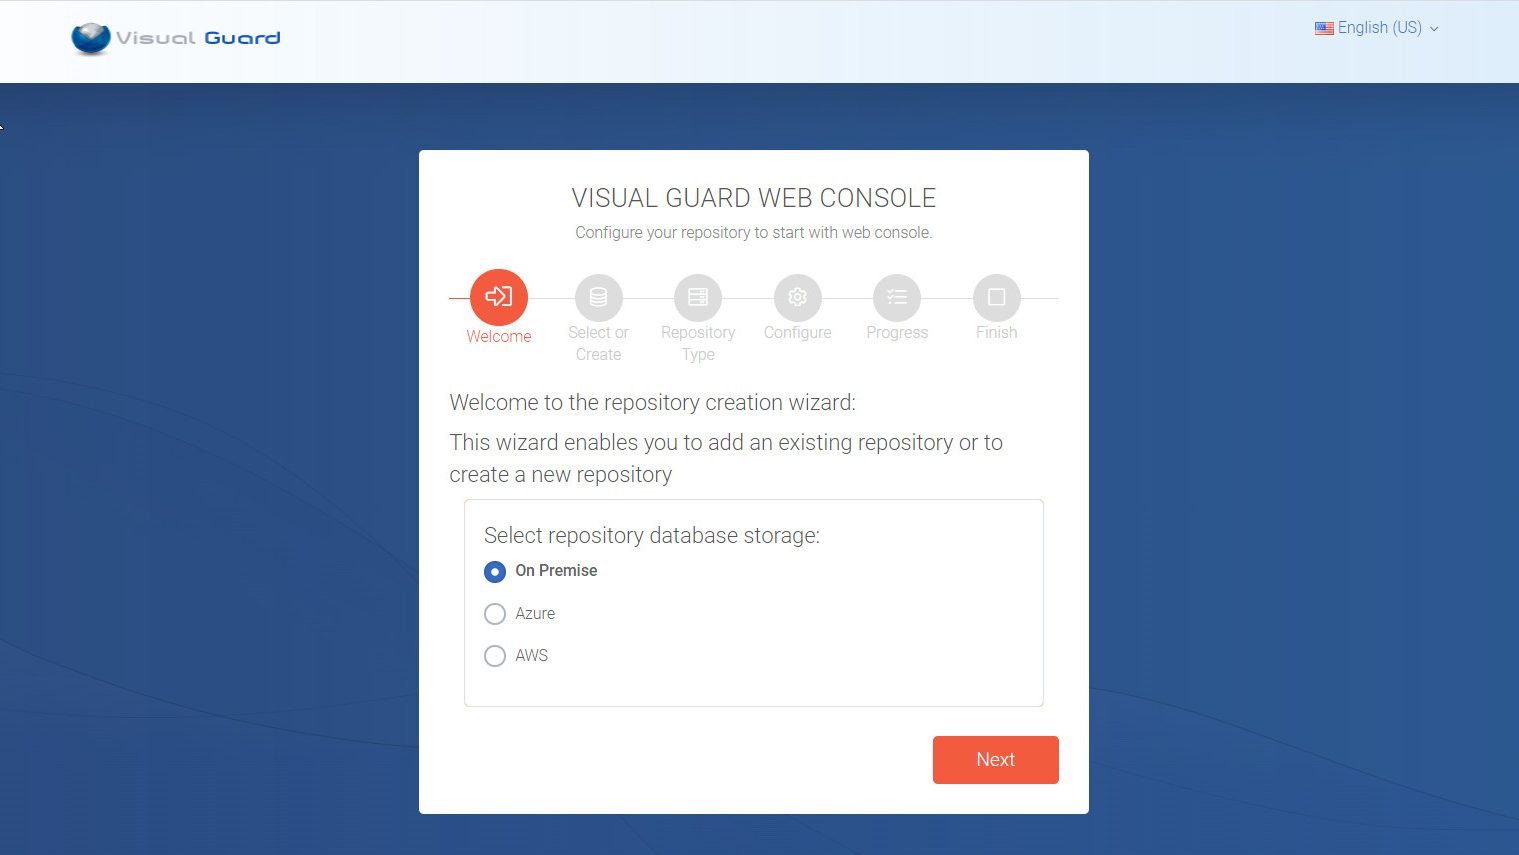
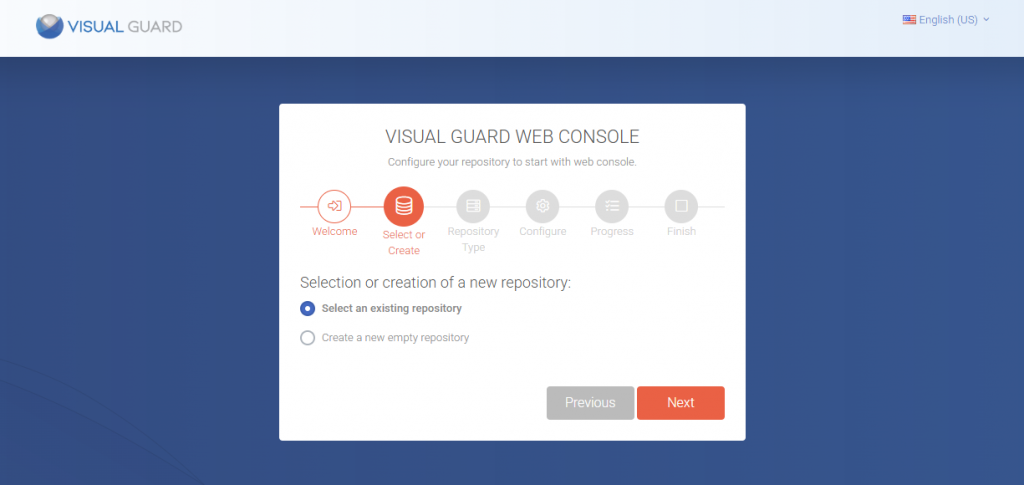
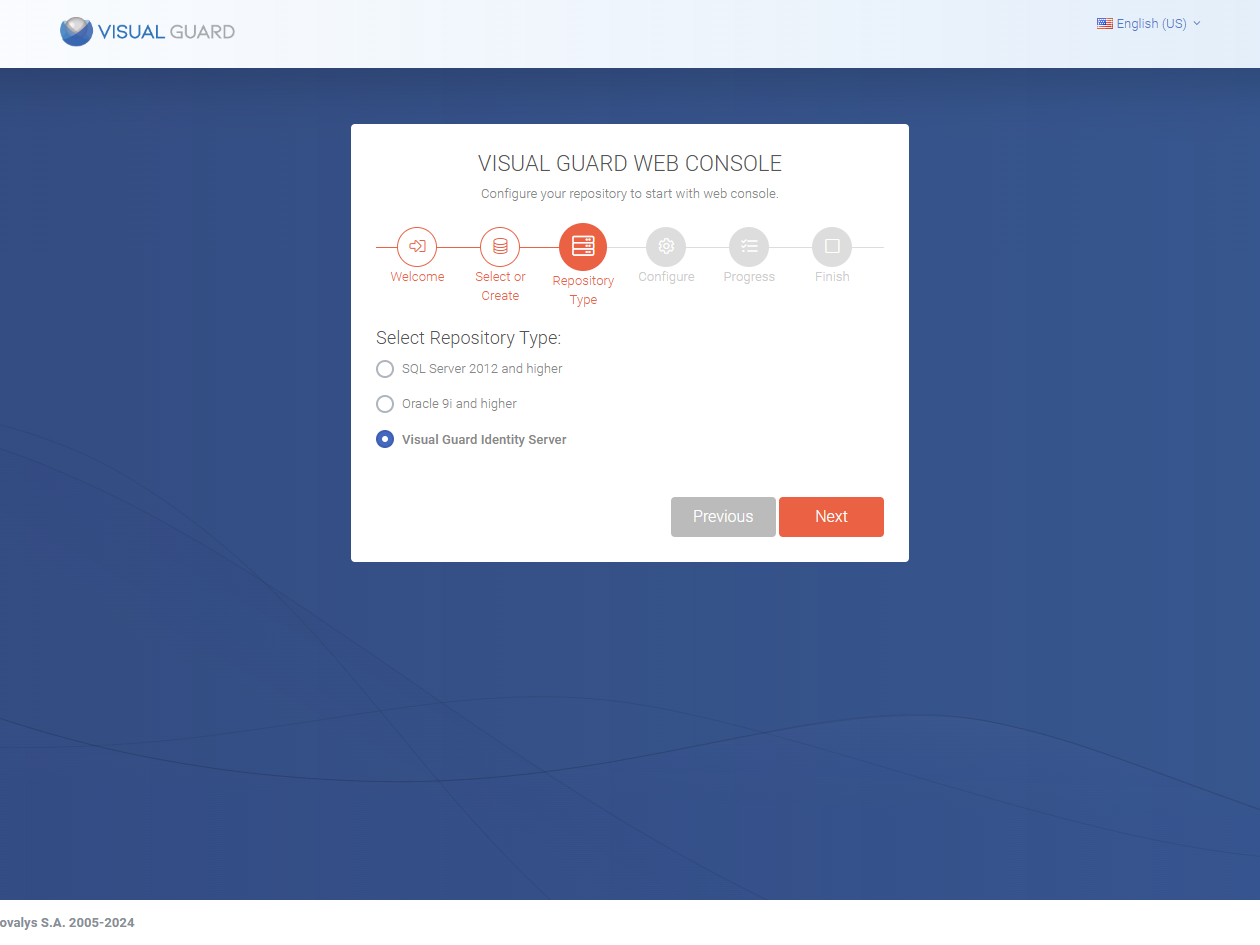
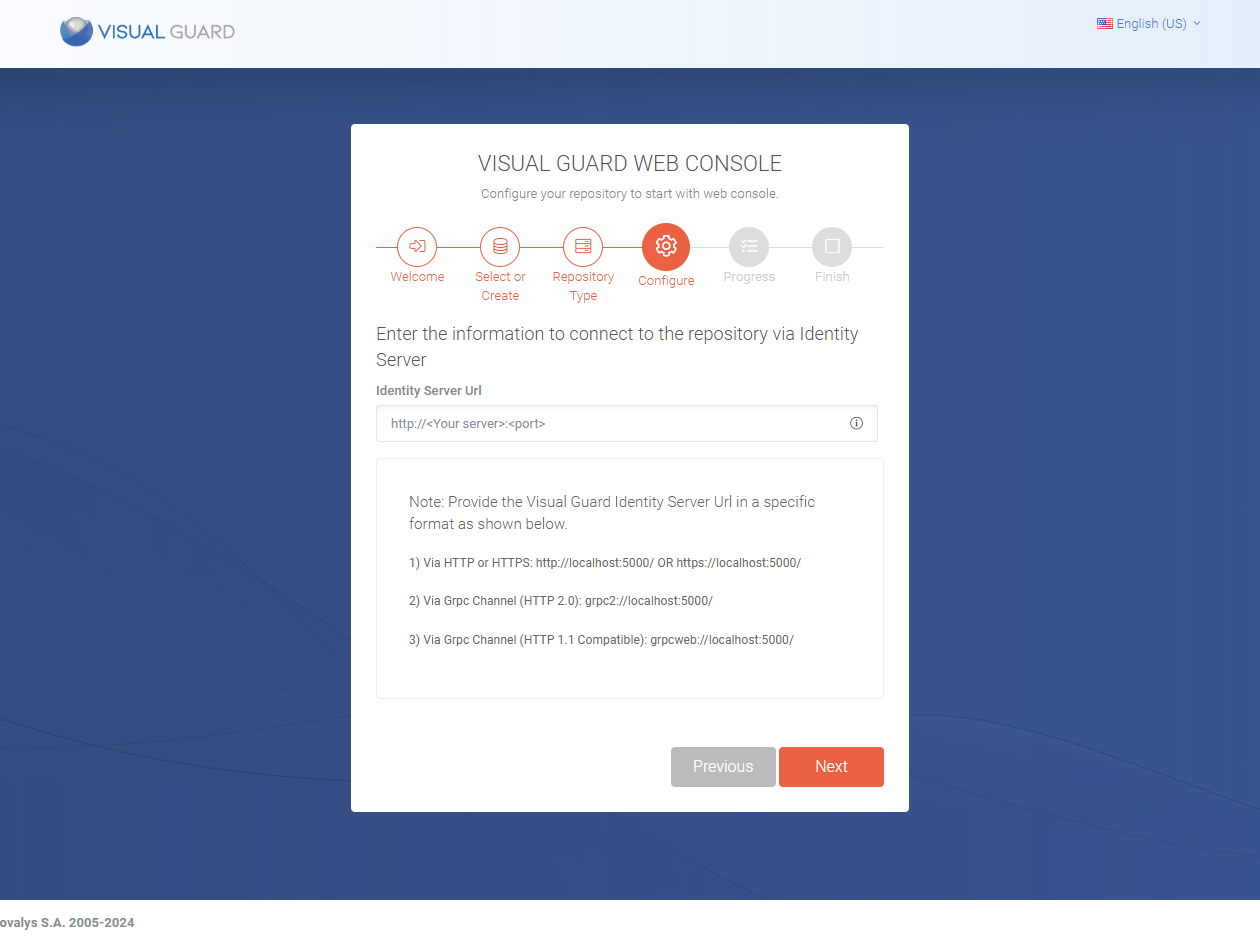
1. Installation Setup
The installation of the VG WebConsole is an essential step in setting up a centralized platform for managing and monitoring your Visual Guard environment. This article provides a comprehensive guide covering system requirements, IIS prerequisites, and step-by-step installation guidelines. By following these instructions, administrators can ensure a smooth deployment process, meet all necessary prerequisites, and configure the WebConsole for secure and efficient operation from the start.
System Requirements
Hardware requirements
- Operating System: Windows Server 2012, 2016, 2019, 2022
- Hard Drive: 512 GB to 1 TB Fast drive recommended – ideally SSD.
- CPU: Minimum of 4 cores, operating at 3 GHz or higher.
- RAM: At least 8 GB.
Network Prerequisites
- Required Allow-Listing (Domain)
- Identity Server domain
- If you use MFA (Multifactor Authentication) – https://mfa.visual-guard.com/
- Protocol & Ports : HTTPS/TLS over TCP port 443 (outbound) – Incase you use a customised port then ensure to whitelist that port number. This helps in communicating to any VG component or your business application.
- DNS Resolution: All servers should be able to resolve each other via the hostname and Fully Qualified Domain Name (FQDN)
- Latency & Performance: Ensure low network latency between application and repository.
- Proxy / VPN Considerations
- If a proxy is used then configure exceptions for Visual Guard services
- If VPN is used then ensure stable and uninterrupted connection and verify routing allows access to repository/database
- Testing Connectivity: Before deployment, validate:
- Database connectivity from application server
- API/service accessibility
- Port availability (telnet / test tools)
Software requirements
- VGRepository
- Require SQL Server 2012 or later, with a minimum of the Standard Edition.
- Require Oracle Database with Oracle9i or later. Please ensure the Oracle Driver is installed.
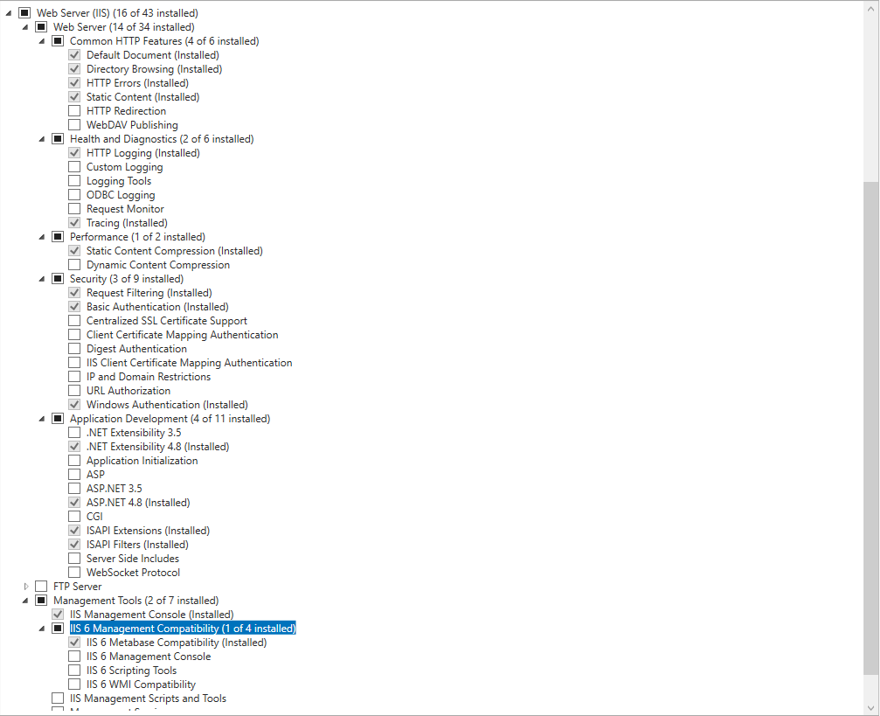
- Install IIS with the necessary Windows features should be installed as described below.
Step 1: Install Internet Information Services (IIS): IIS is a web server software package designed for Windows. It’s used for hosting websites and other content on the web. You can install it through the “Turn Windows features on or off” menu in the Control Panel. The below screenshot shows which functions should be checked and vice verse.
Step 2: Restart IIS: After installing the ASP.NET Core Runtime, you should restart the IIS to ensure the changes take effect. You can do this by opening a command prompt as an administrator and running the command iisreset.
Step 3: Verify the Installation: You can verify that ASP.NET Core Runtime are correctly installed by opening a command prompt and running the following commands:
- For ASP.NET Core Runtime:
dotnet --list-runtimes
Note: These commands should display the versions of ASP.NET Core Runtime that are installed on your machine.
IIS Guidelines
The Visual Guard WebConsole needs to be installed on your server. Follow these steps for a successful installation:
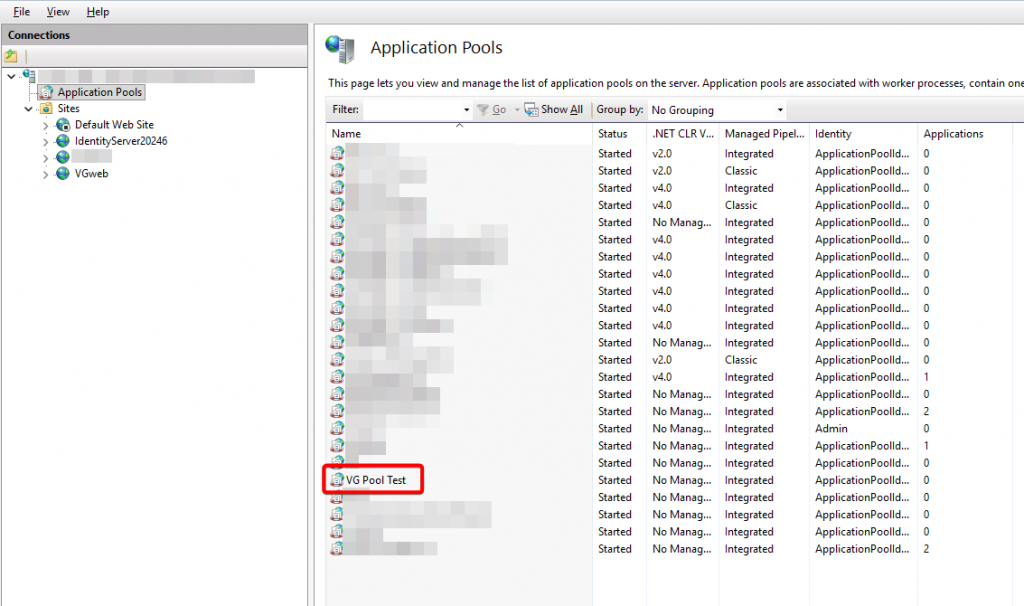
Step 1: Go to Application Pool → Right-click on Application Pool → Add Application Pool → Enter Name → Set the .NET CLR version to No Managed Code → click [Ok].
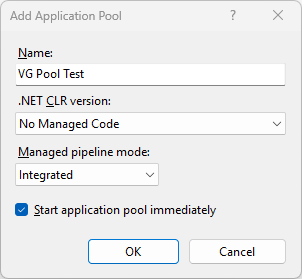
Step 2: Navigate to Application Pools → Verify your Application is created.
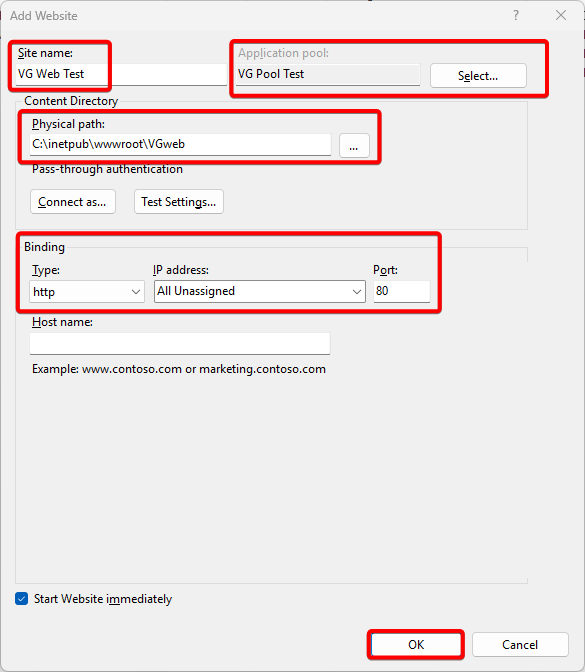
Step 3: Right-click on Sites → Enter Site name → Select the Application Pool you created → Specify the physical path (preferably C:\inetpub\wwwroot\[name of the folder you have created]) → Adjust the port number if necessary → click [Ok].
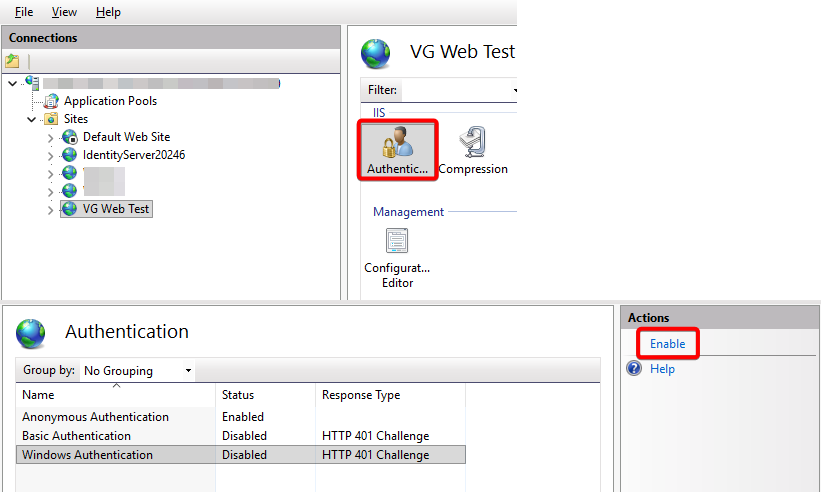
Step 4: Select the Site → Under the IIS section → Open Authentication → Enable Windows Authentication.
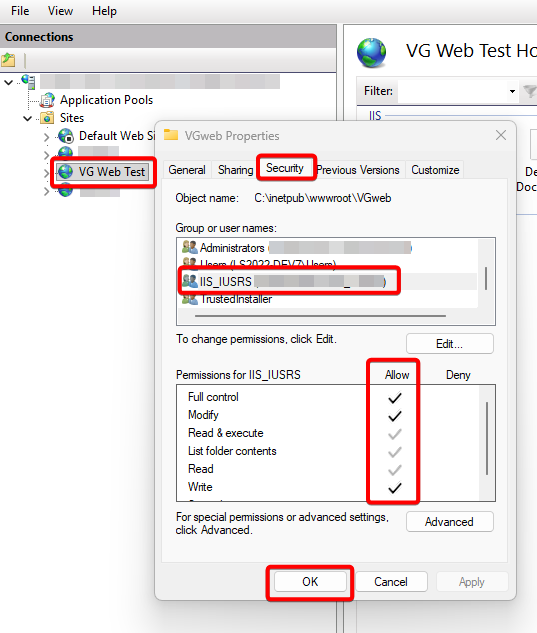
Step 5: Go to the Site created –> right click and select Edit Permissions –> go to the security tab –> Select IIS_IUSRS –> allow all permissions –> click Apply and OK
SQL Server settings
To provide appropriate login rights to create a new repository, follow the below steps to be configured in the SQL server platform.
Step 1: Go to the user properties in the SQL server, select master under the default database –> Click OK

Step 2: Under the user properties, select Server roles –> Select dbcreator and public to provide roles rights –> Click OK

Installation
Install Visual-Guard WebConsole: Once IIS, ASP.NET Core Runtime are installed, you can proceed with the installation of Visual-Guard WebConsole. Follow the instructions provided below for this process.
- Step 1: The Visual Guard WebConsole needs to be installed on your server. Follow these steps for a successful installation:

- Step 2: License Agreement: Accept the license agreement to proceed with the installation.

- Step 3: Installation Details: Provide the necessary information, including:
- The site
- The virtual directory
- The application pool
Click ‘Next’ to continue with the installation.

- Step 4: Confirmation: Confirm to initiate the installation of the console on your server.

- Step 5: Installation Process: Please be patient while the installation process is underway.

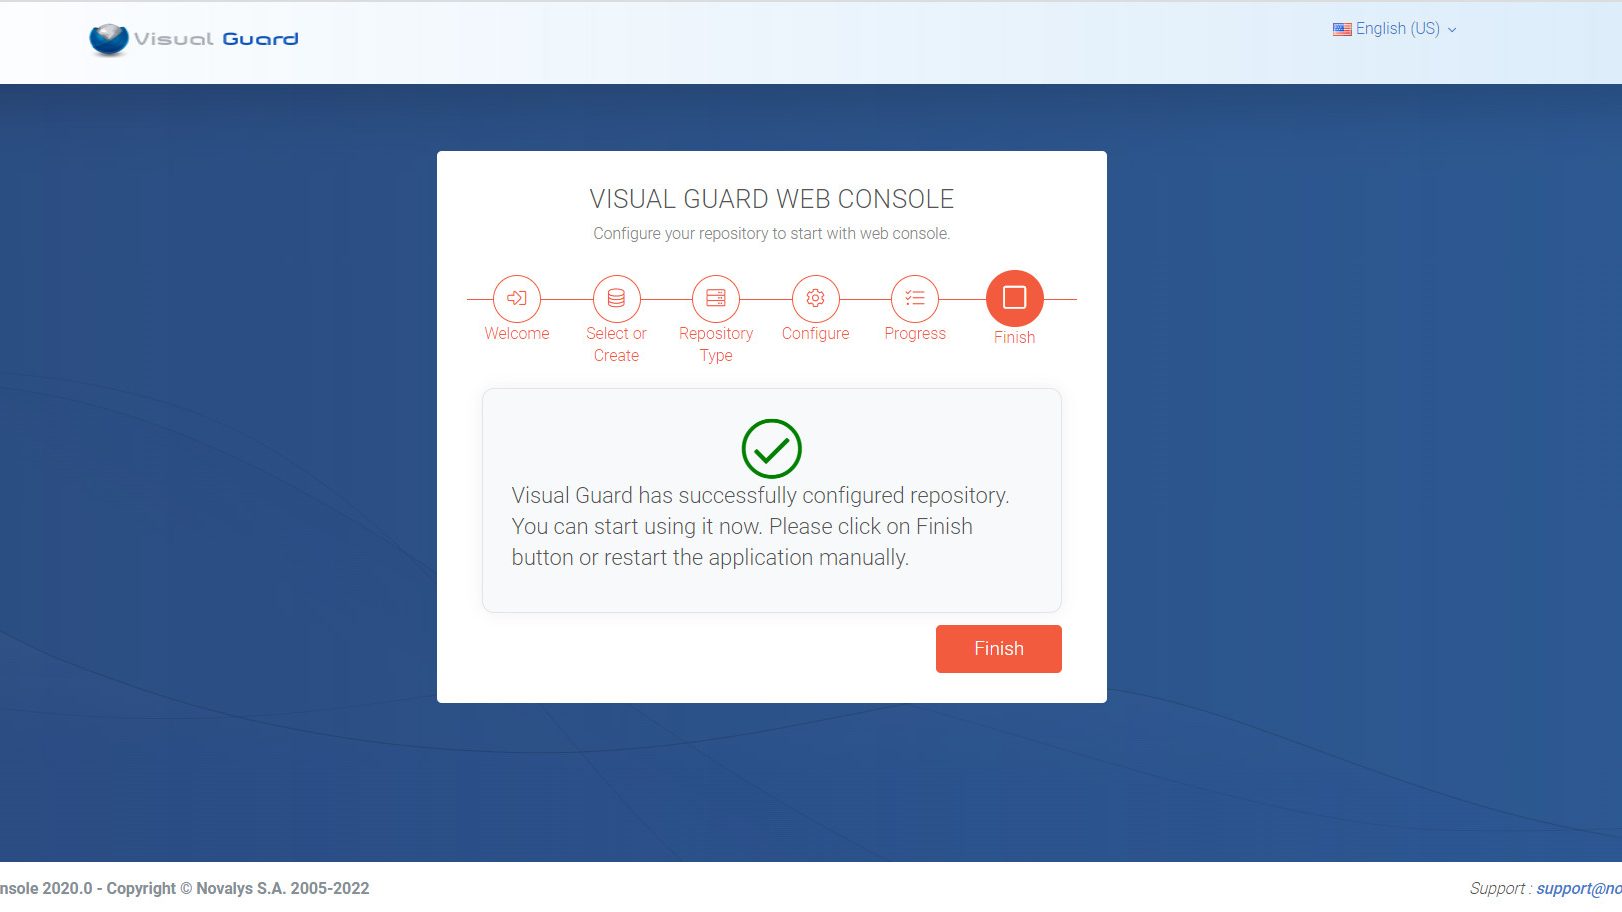
- Step 6: Installation Complete.

1.1 Configure HTTPS Binding
Setting up HTTPS binding is essential for securing the communication between the Visual Guard Web Console and its users.
HTTPS ensures that all data exchanged is encrypted, protecting sensitive information from potential threats.
To enable HTTPS, you must configure SSL certificates, which authenticate the identity of the web server and establish a secure, encrypted connection. This guide will take you through the steps to bind your website to HTTPS, ensuring both encryption and trust through the proper use of certificates.
To configure an IIS website for HTTPS binding with a certificate specifically for the Visual Guard WebConsole, follow these steps:
1. Obtain an SSL Certificate
- Ensure you have a valid SSL certificate issued by a trusted Certificate Authority (CA). This certificate must include both the public and private keys.
2. Install the SSL Certificate on the Server
- Open IIS Manager on the server where Visual Guard WebConsole is installed.
- In the left-hand Connections pane, click on the server name.
- Double-click on Server Certificates in the middle pane.
- In the Actions pane on the right, click Import if you have the .pfx file or Complete Certificate Request if you have a .cer file.
- Browse to your certificate file, provide any required password (for .pfx), and complete the import process.
3. Configure HTTPS Binding for Visual Guard WebConsole
- In IIS Manager, expand the server node, then expand Sites, and select Visual Guard WebConsole site.
- Click on Binding in the right-hand Actions pane under Edit Site.
- In the Site Bindings window, click Add.
- In the Add Site Binding dialog:
- Type: Select https.
- IP address: Choose the appropriate IP address or leave it as All Unassigned.
- Port: Enter 443 (default port for HTTPS).
- Host name: Optionally specify the hostname if applicable.
- SSL certificate: Select the SSL certificate you imported earlier.
- Click OK to add the binding.

4. Enforce HTTPS on Visual Guard WebConsole (Optional)
- Select the Visual Guard WebConsole site in IIS Manager.
- Double-click SSL Settings in the feature view.
- Check the box labeled Require SSL to enforce HTTPS.
- Click Apply in the Actions pane on the right.

5. Restart the IIS Services
- After configuring HTTPS binding, restart IIS to apply the changes. Select the server node in IIS Manager and click Restart in the Actions pane.
6. Test the Configuration
- Open a web browser and navigate to your Visual Guard WebConsole using
https://yourdomain.com/webconsole. Ensure that the connection is secured by the certificate and that the site loads correctly over HTTPS.
By following these steps, you will ensure that the Visual Guard WebConsole is properly configured to use HTTPS, securing communication between users and the web application.
1.2 Update VG Webconsole
Keeping the VG WebConsole up to date is essential for maintaining system security, performance, and access to the latest features and improvements. Regular updates ensure that your environment remains stable, compatible, and aligned with evolving requirements. This article provides a step-by-step guide to updating the VG WebConsole, along with key considerations and best practices to ensure a smooth and successful upgrade process.
Prerequisites
Before beginning the update process, ensure you have:
- Confirmed that your environment meets the system requirements
- Administrative access to the IIS server
- The same version of VG Desktop should be installed as the new VG Web version
Update Procedure
Step 1: Download Visual Guard Web Setup File
Download Visual Guard Web setup for the version you want to deploy.
If needed, request it from your usual Visual Guard contact or support channel.
Step 2: Version Compatibility Check
Verify that you have the same version of VG Desktop installed as the new VG Web version you plan to deploy.
Version mismatches can cause compatibility issues.
Step 3: Stop the Web Service
- Open Internet Information Services (IIS) Manager
- Select your Site
- Click [Stop] to stop the VG Web service

Step 4: Access Application Files
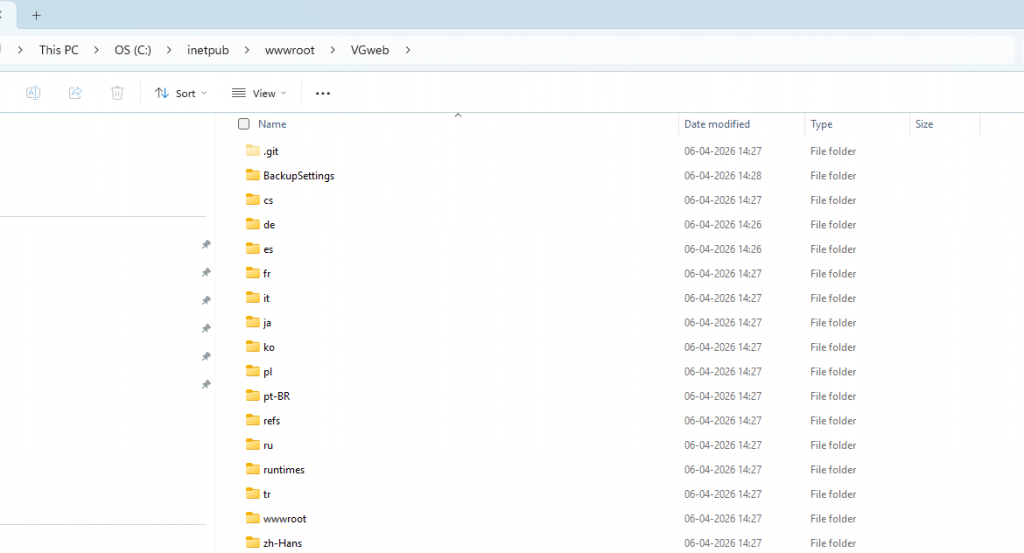
Click the [Explore] button in the Actions section to open the publish files directory.

Step 5: Backup and Clear Existing Files
- Create a backup of the current publish folder
- Delete all files and folders in the publish folder
Important: Always maintain a backup before proceeding with file deletion to enable rollback if needed.
Step 6: Deploy New Files
Copy all files and folders from the downloaded publish directory and paste them into the existing publish folder (application folder).
Step 7: Restart the Service
Return to IIS Manager and click [Start] to restart the VG Web service.

Step 8: Verify the Update
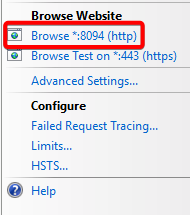
Click Browse* 0000(http) in the Browse Website section to verify that the updated application is running correctly.
Post-Update Verification
After completing the update:
- Confirm the application loads without errors
- Verify that key functionality works as expected
- Check that the version information reflects the update