1. Introduction
Visual Guard is a comprehensive identity and access management solution that offers a unified approach to application security. It seamlessly integrates four major access control features into a single solution:
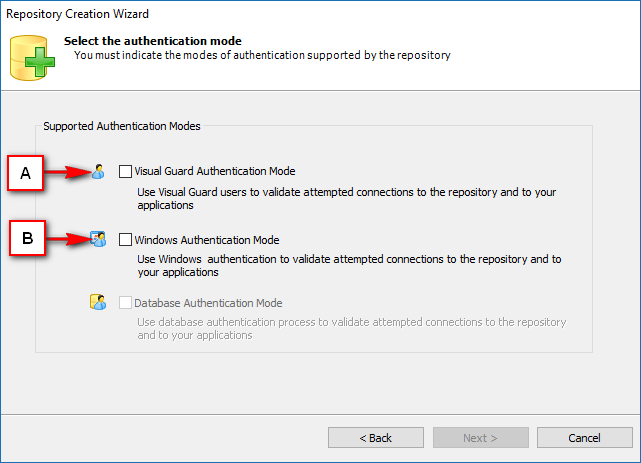
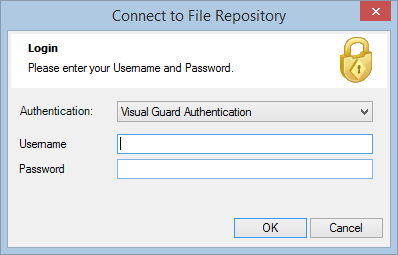
- Authentication: This feature verifies the identity of end users accessing an application. Visual Guard supports username/password authentication and can also utilize Windows accounts stored in Active Directory. Under specific conditions, you can even integrate your own authentication system, allowing Visual Guard to focus solely on authorization.
- Identity Management: Visual Guard offers robust administration consoles designed for both developers and non-technical administrators. These consoles facilitate efficient management of user accounts and groups.
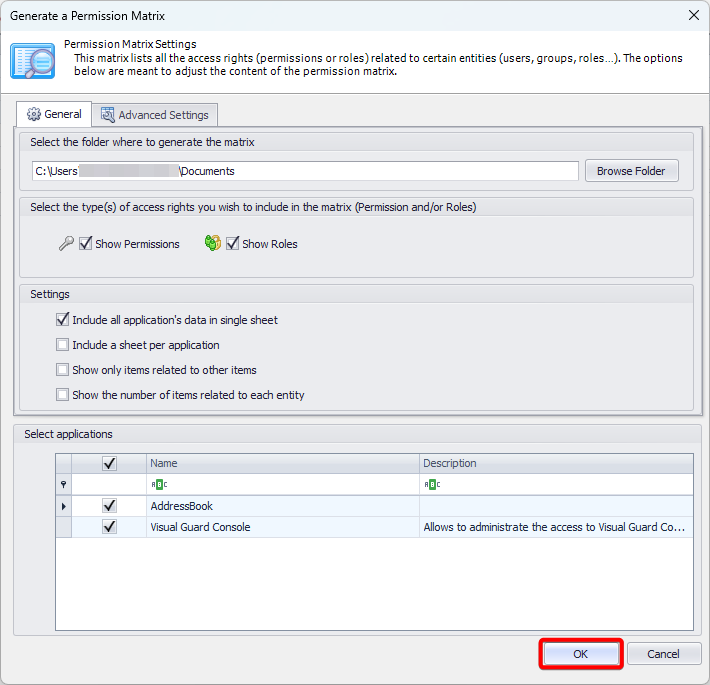
- Authorization: This feature defines the permissions of end users within an application, specifying what actions they can perform. Visual Guard allows you to centralize the permissions for all your applications in a single repository, simplifying access control management.
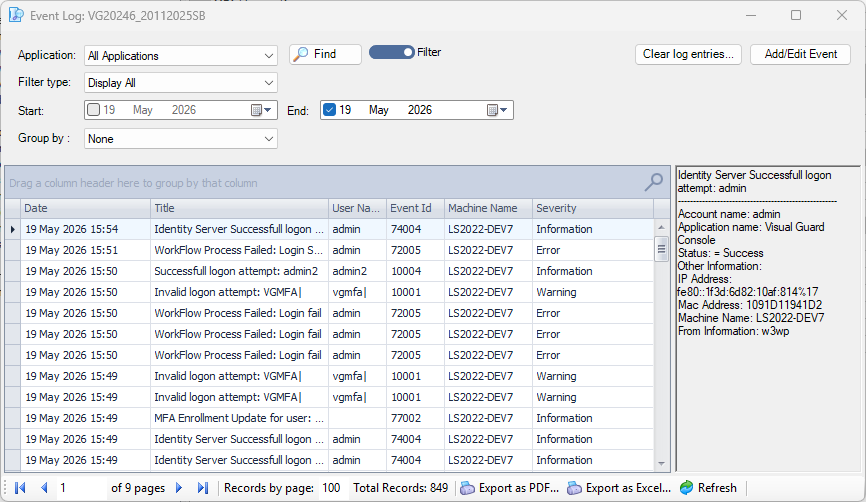
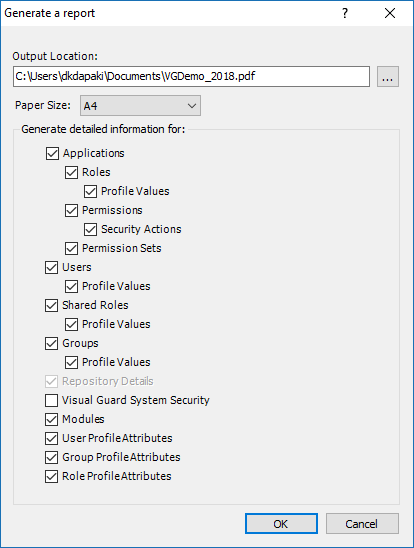
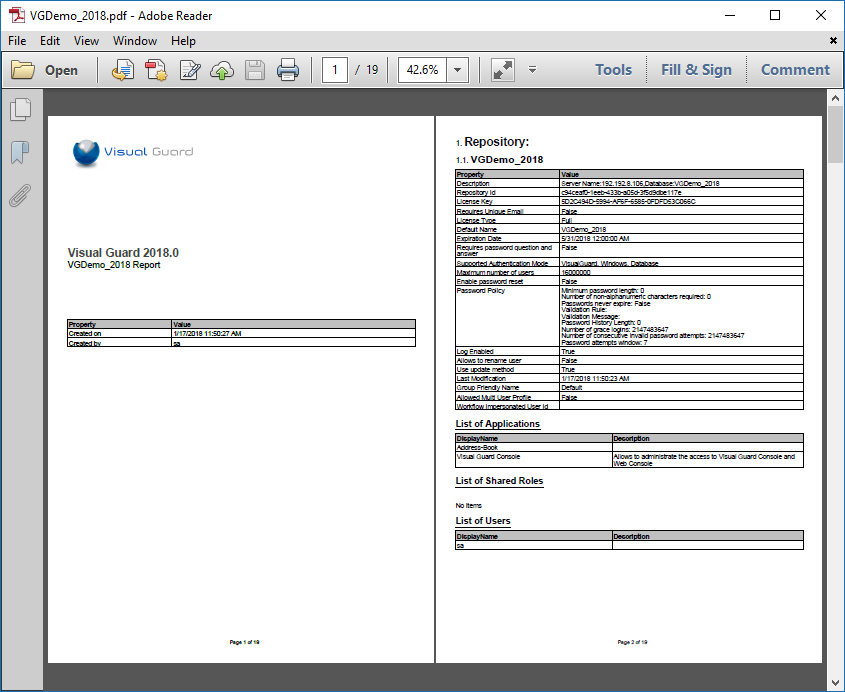
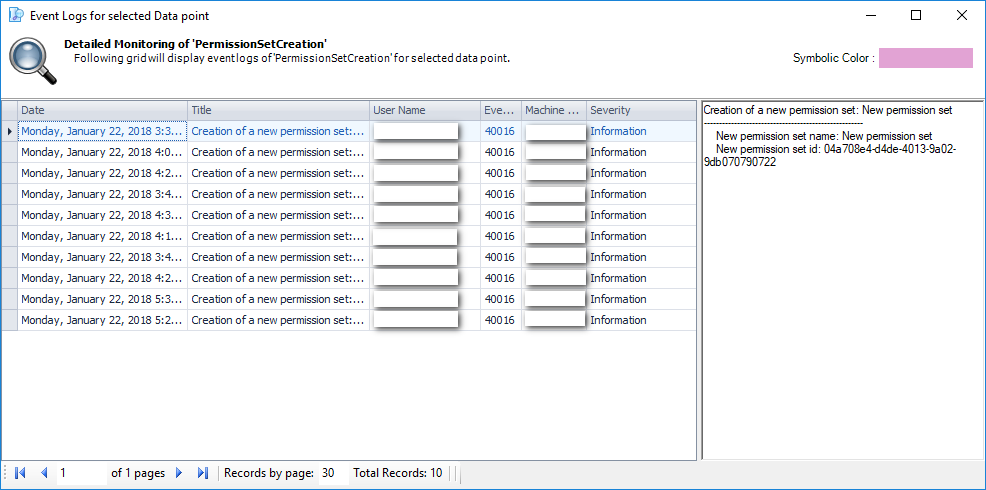
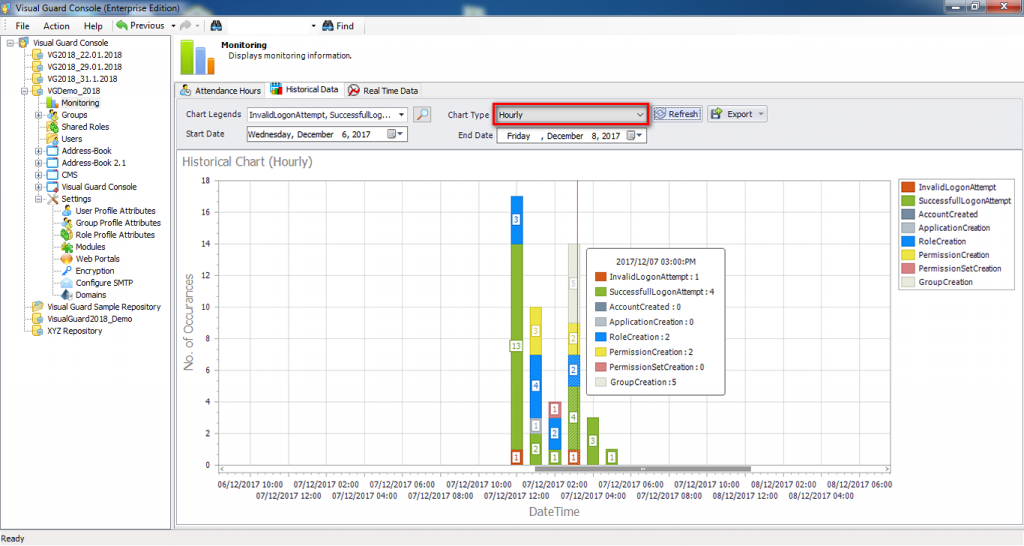
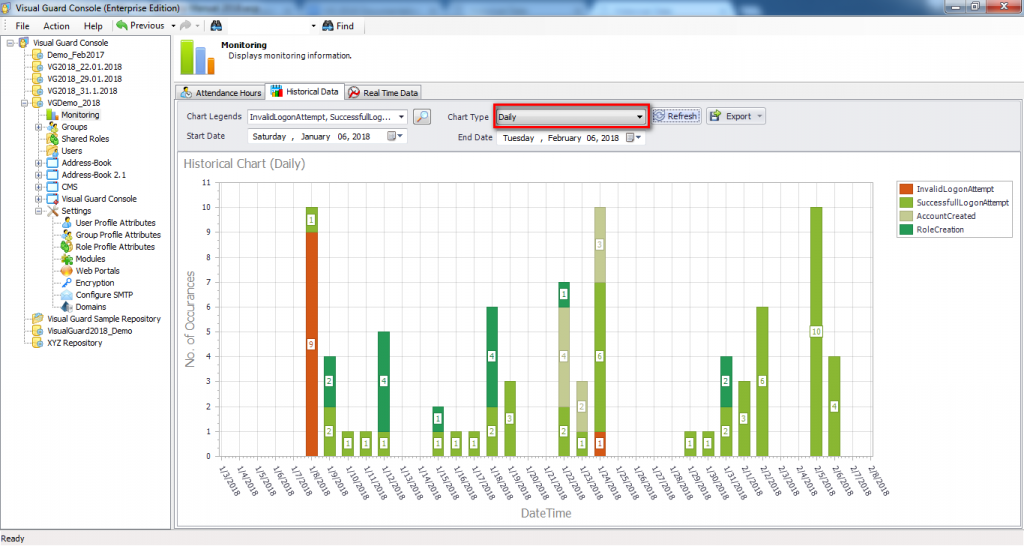
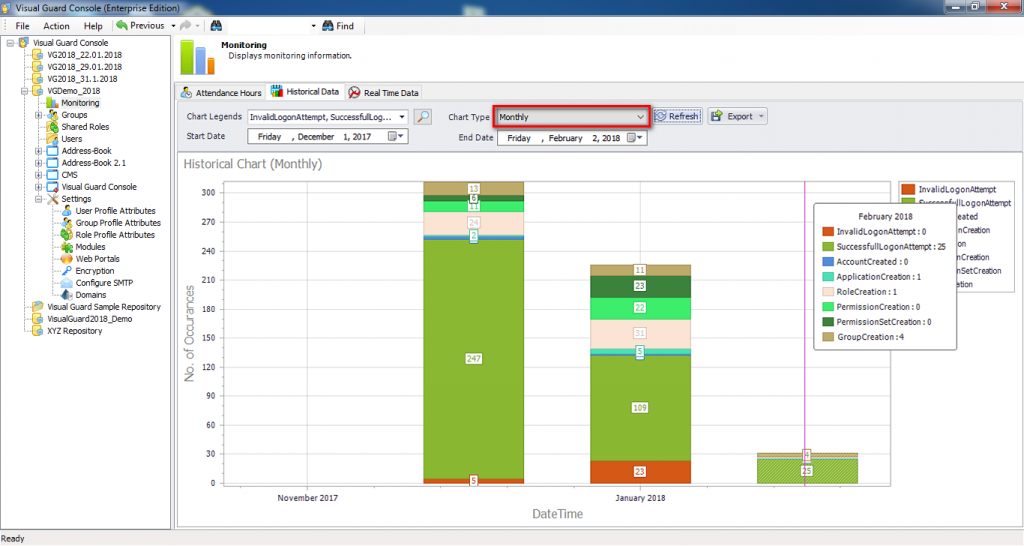
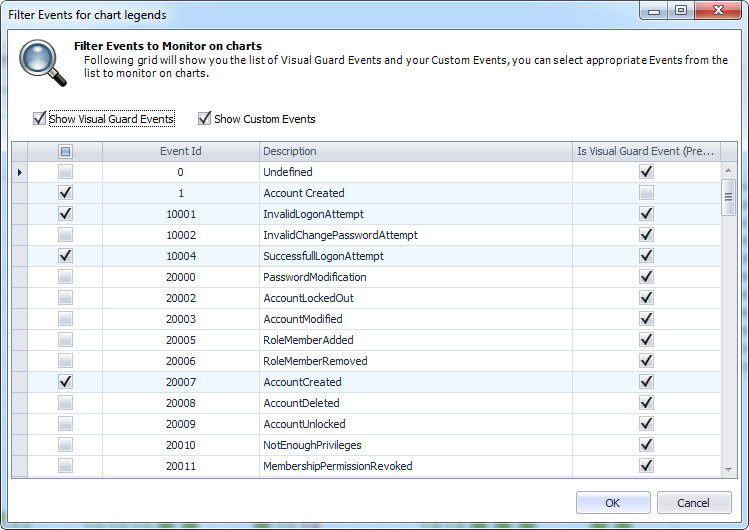
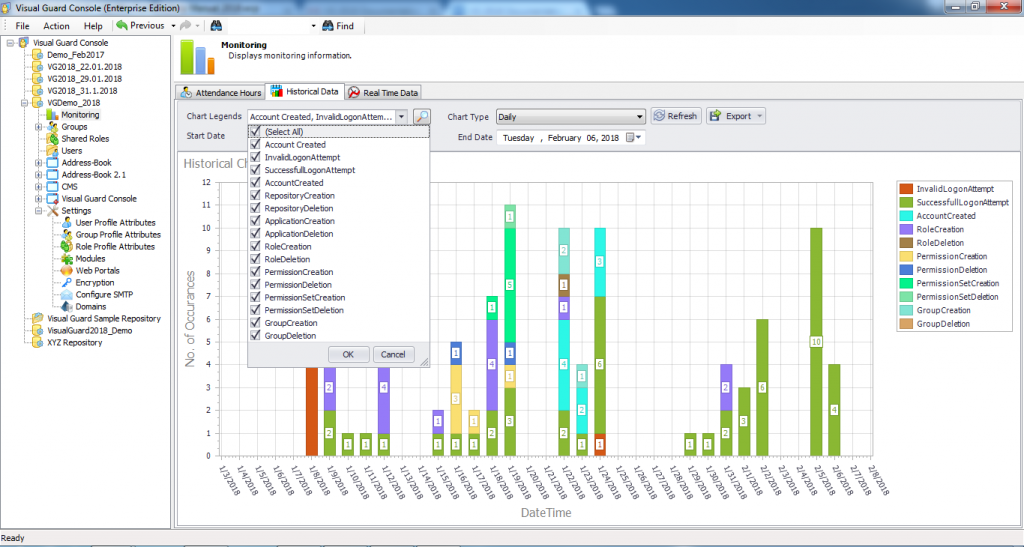
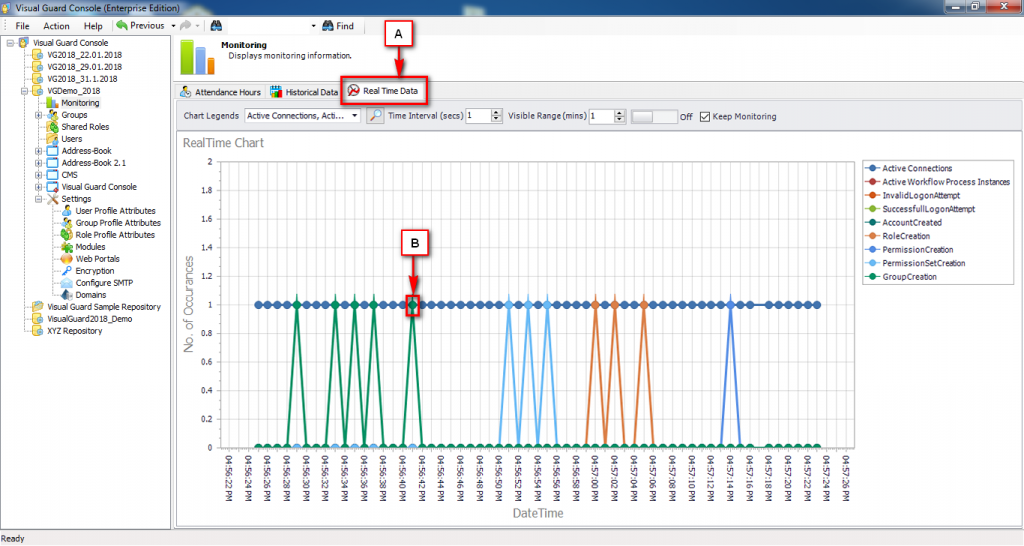
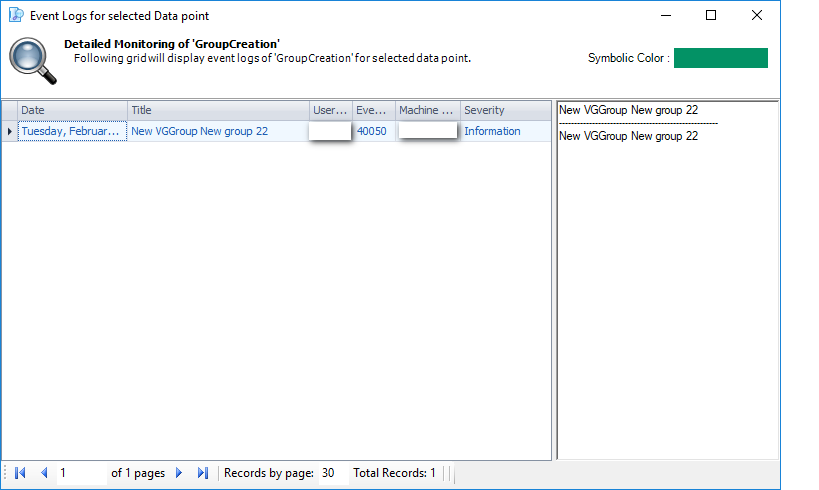
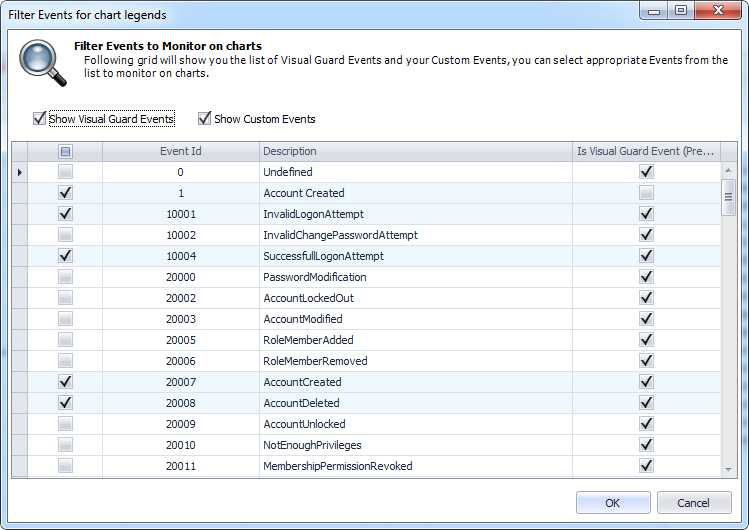
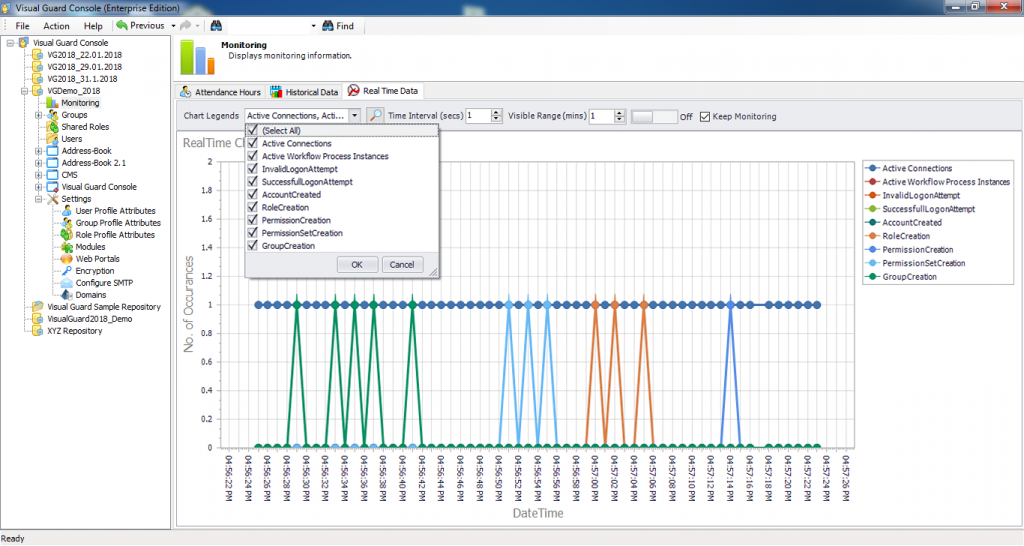
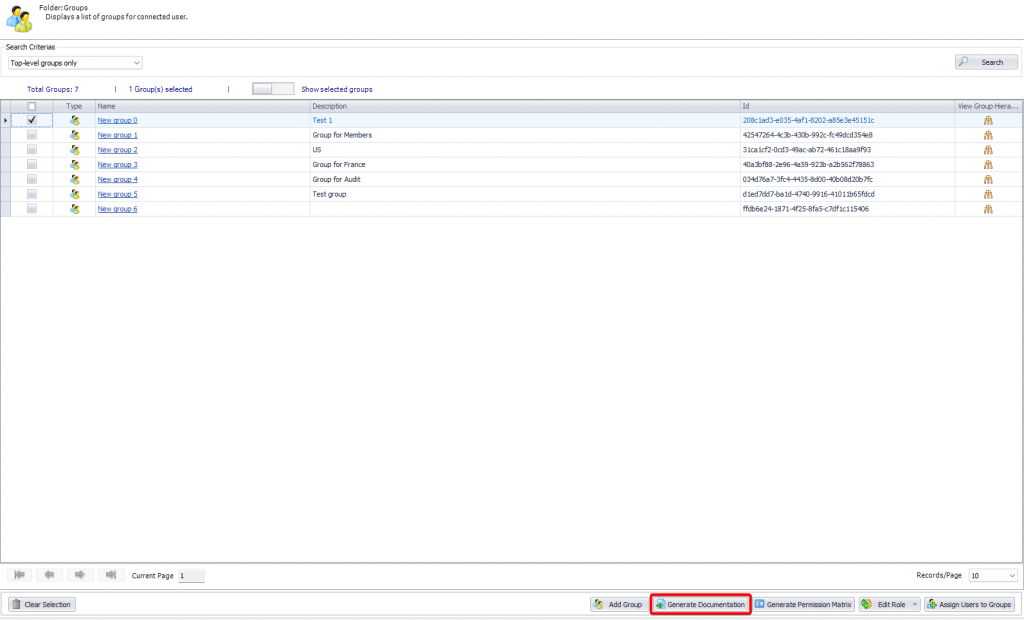
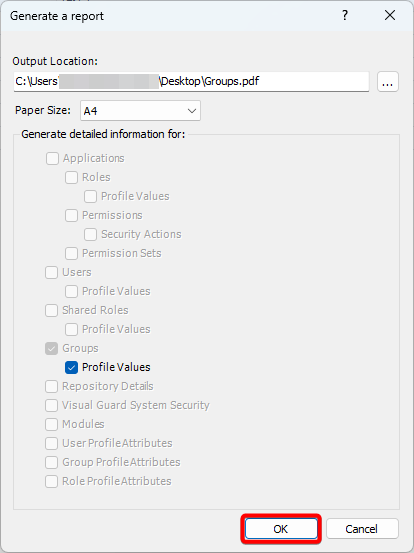
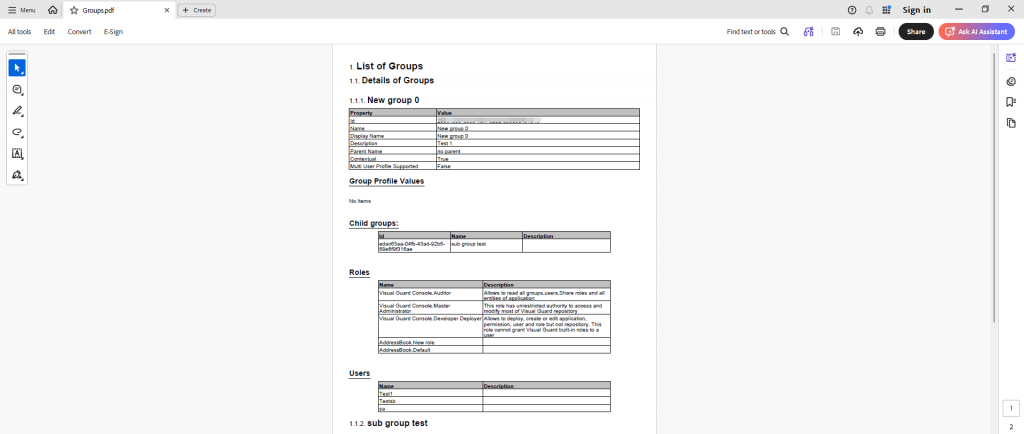
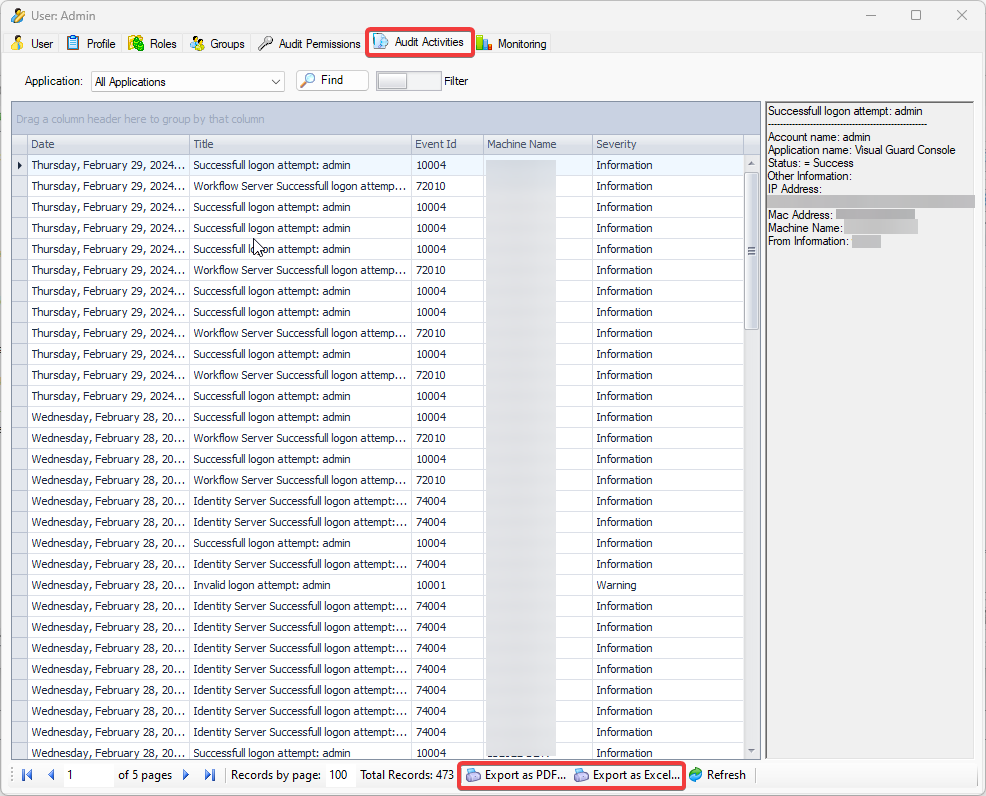
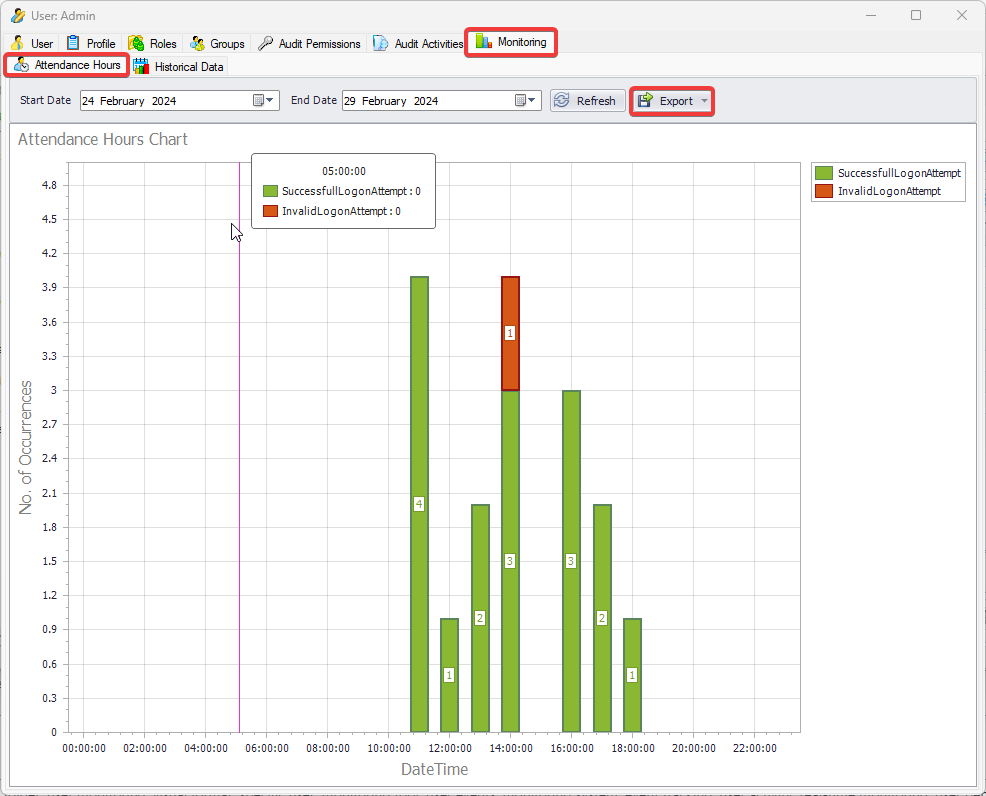
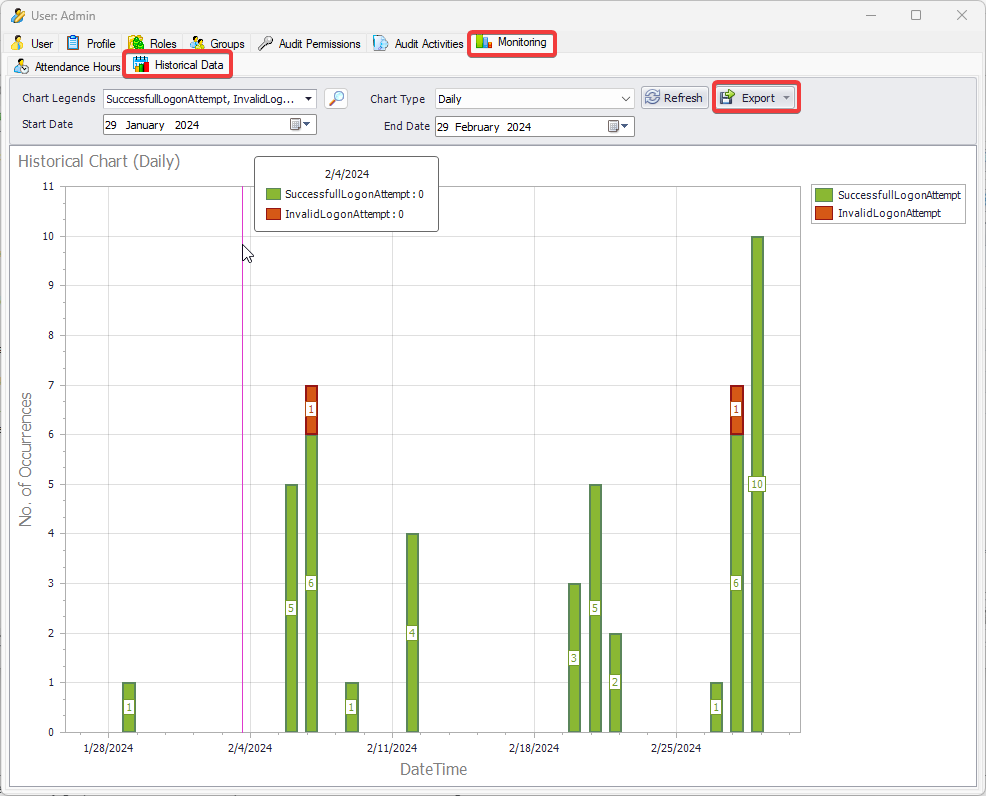
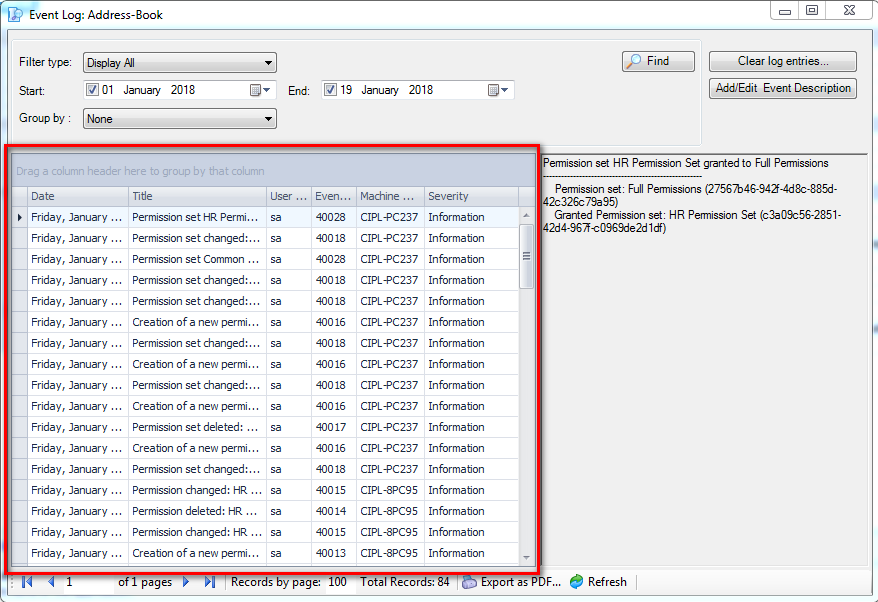
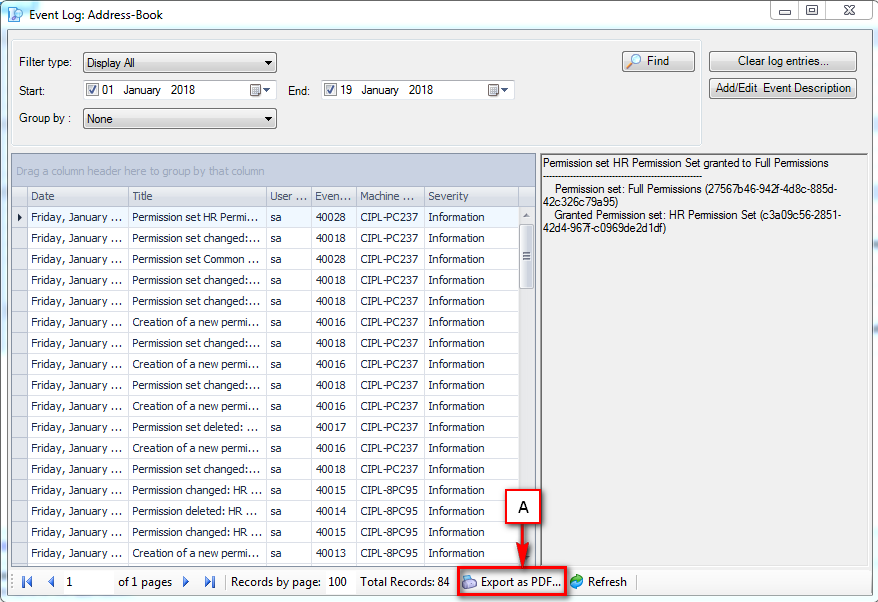
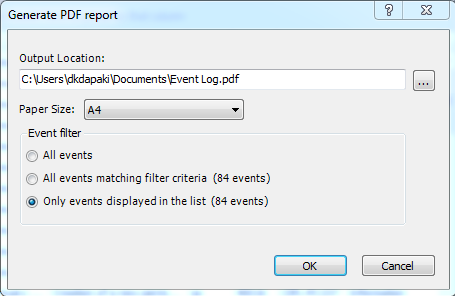
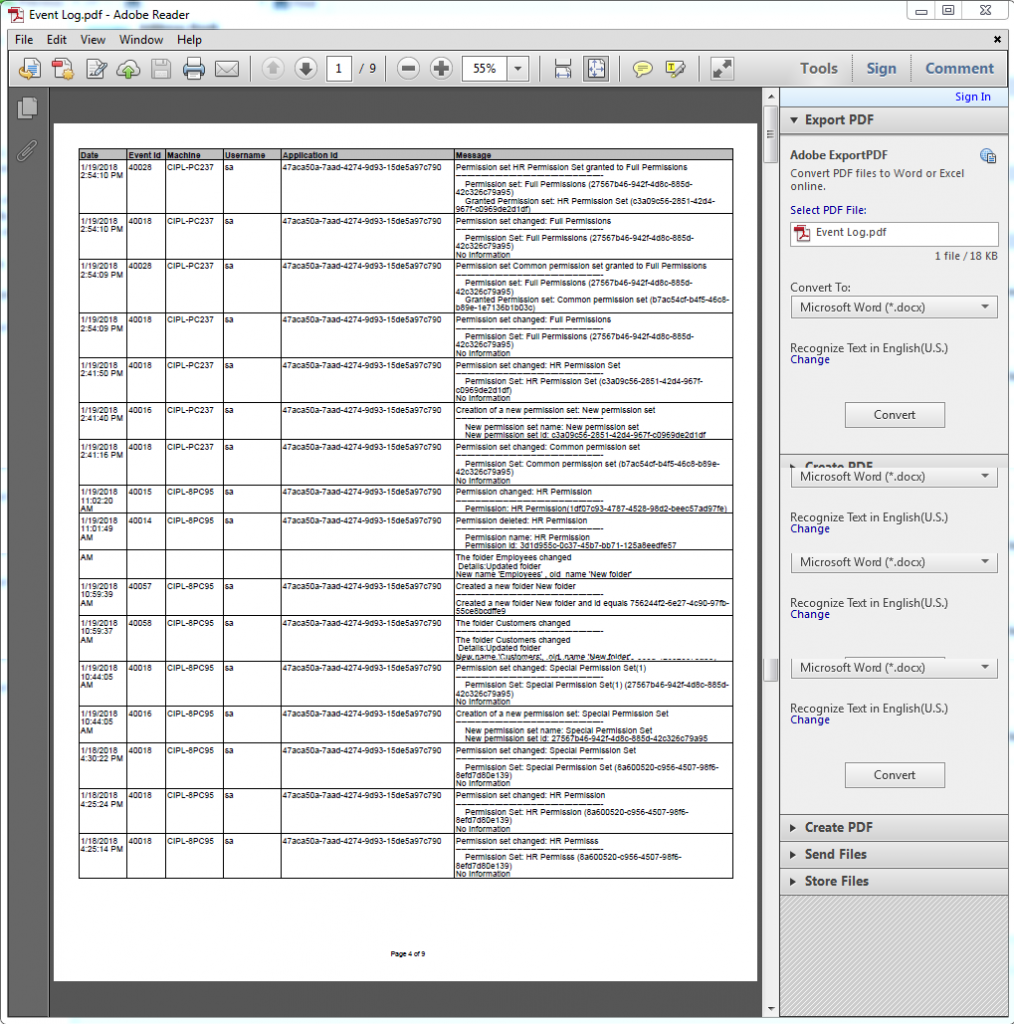
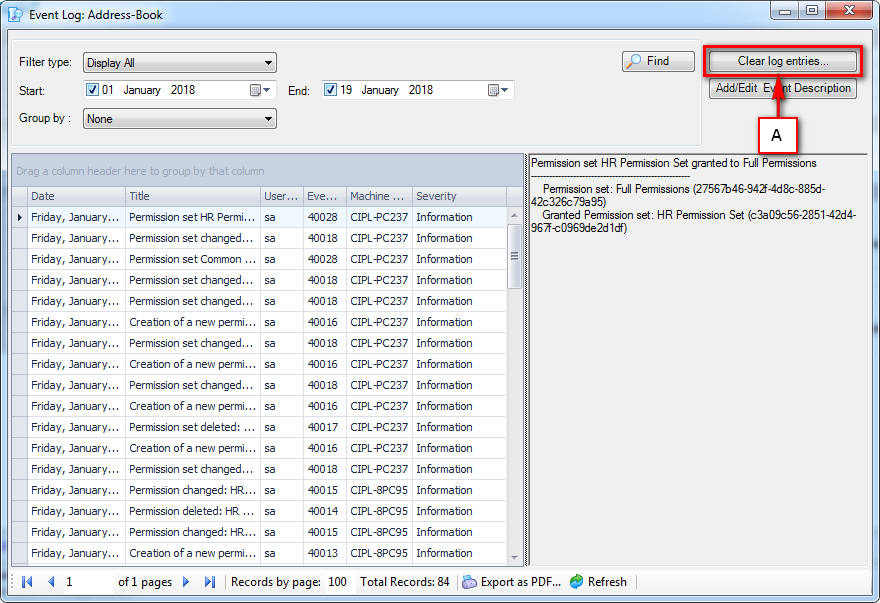
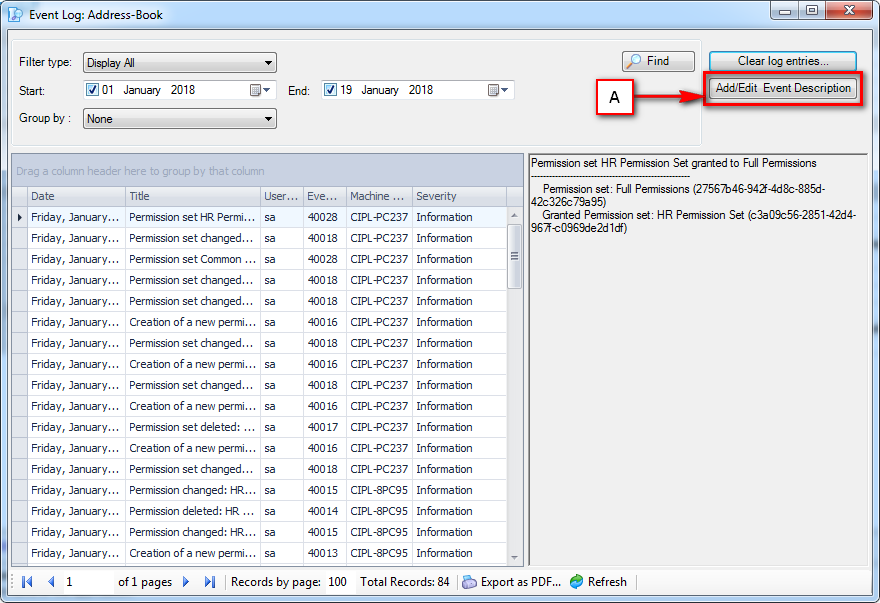
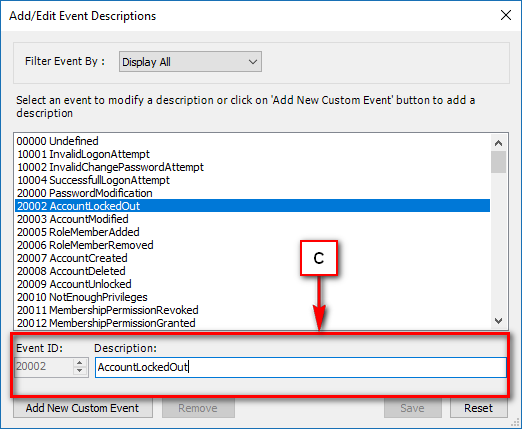
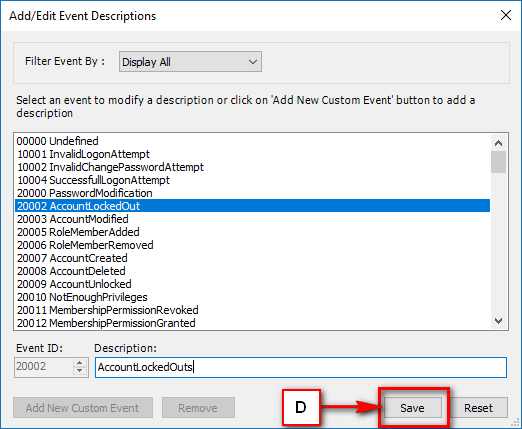
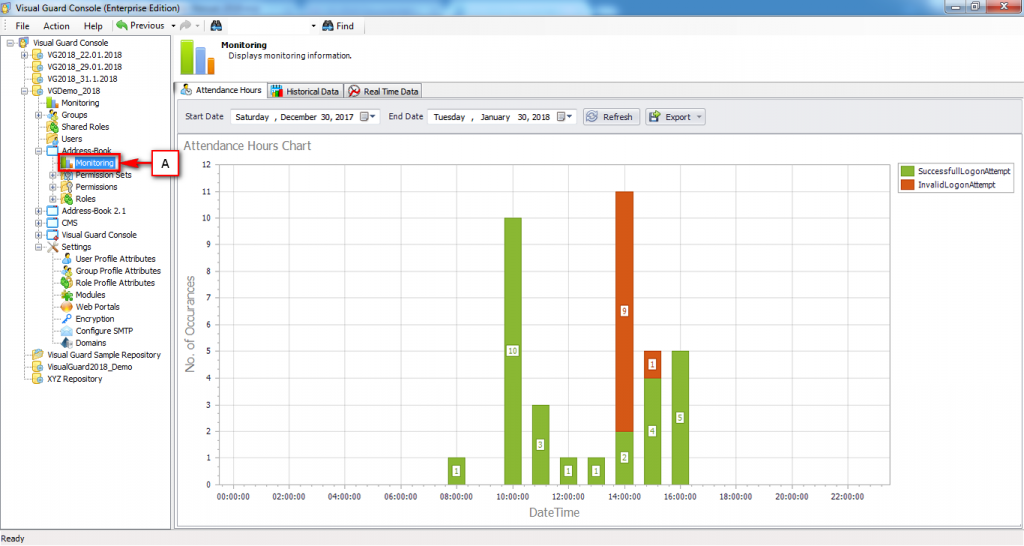
- Audit & Reporting: Visual Guard provides robust auditing capabilities, enabling you to monitor events in both the secured application and Visual Guard tools. It allows for customization of the application log and can generate PDF reports for auditing purposes.
Visual Guard supports any technology capable of HTTP Request, including .Net, Java, C++, PowerBuilder, and more. This makes it a versatile solution that can be integrated into any new or existing applications. By centralizing the security of multiple applications in one repository, Visual Guard provides a streamlined and efficient approach to managing application security.
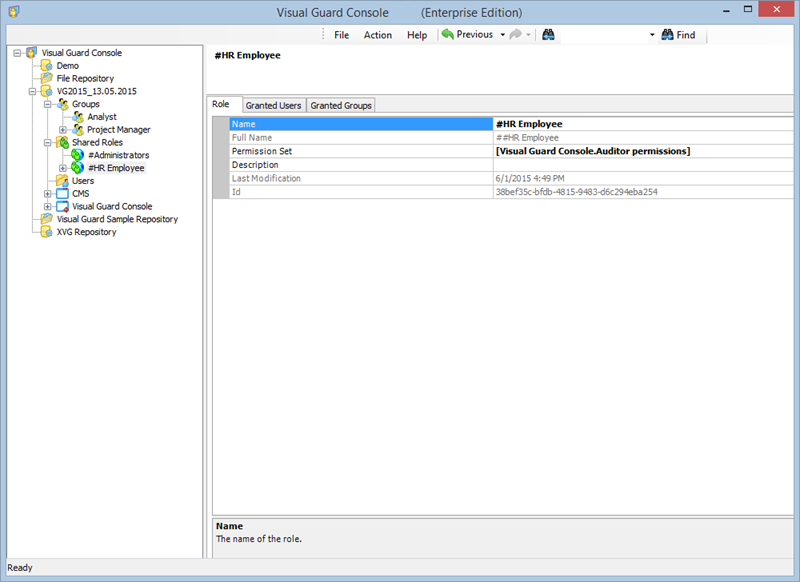
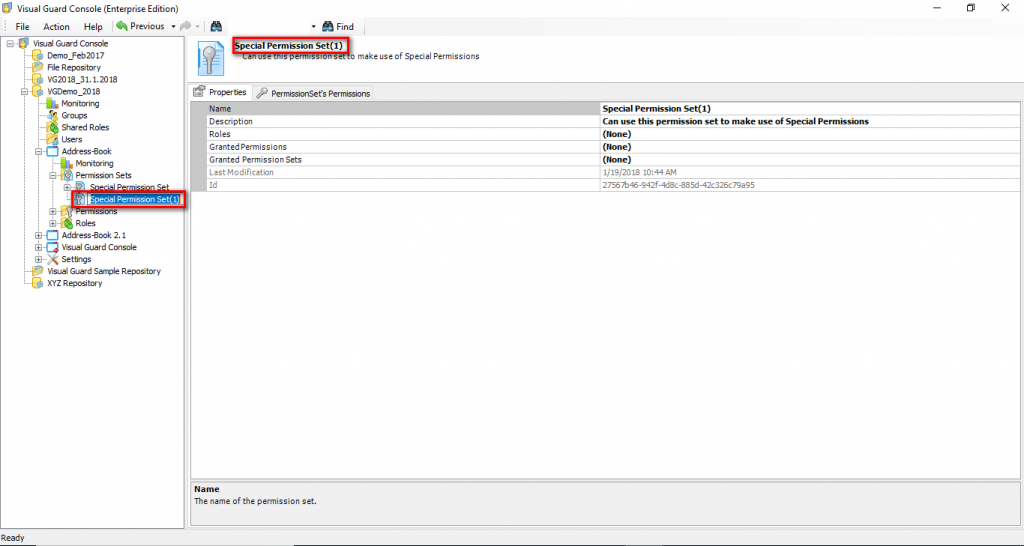
1.1 Visual Guard Console UI
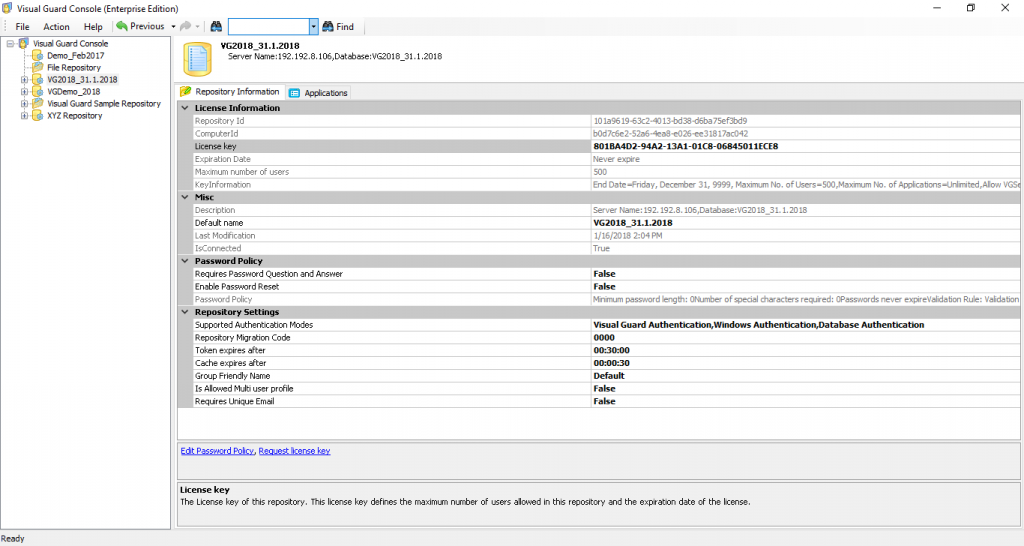
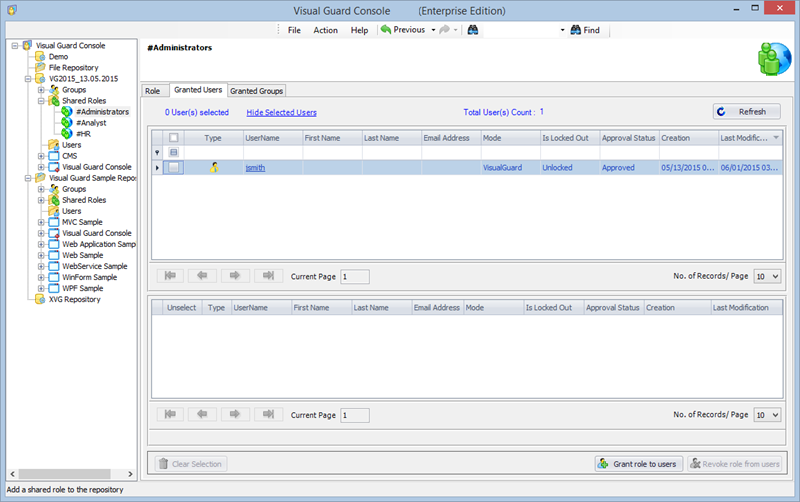
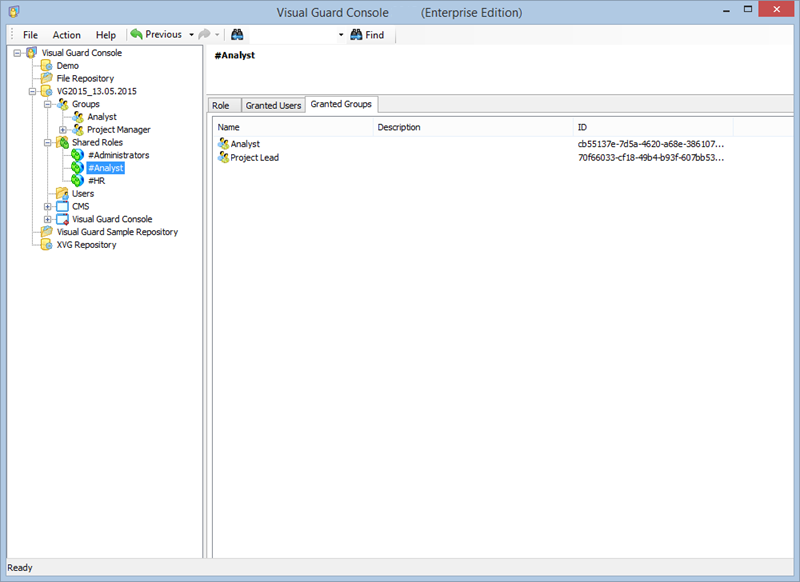
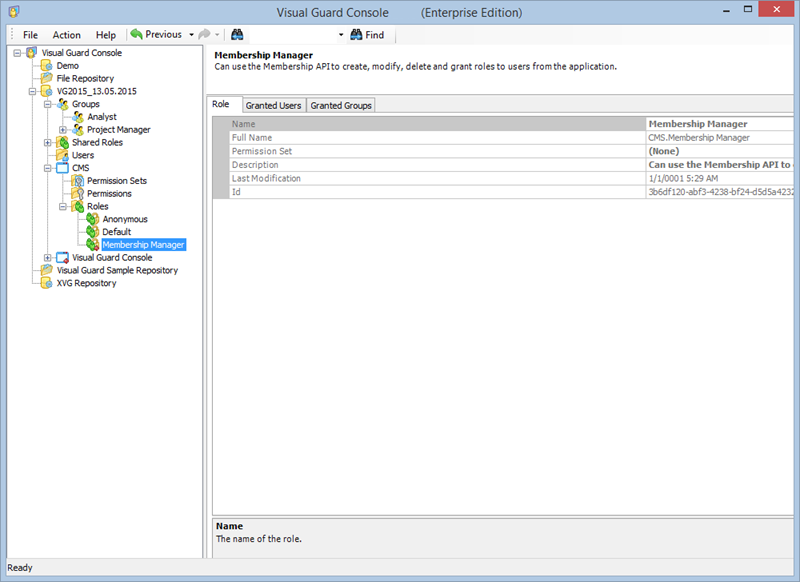
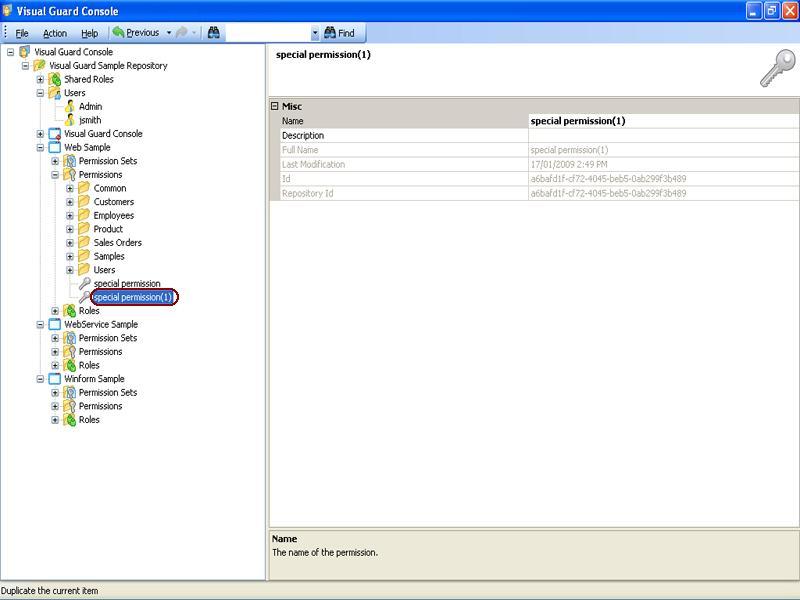
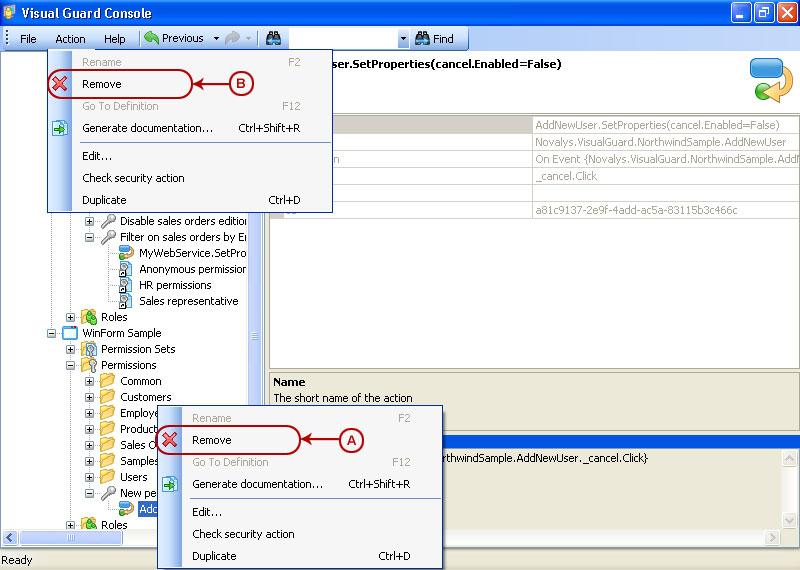
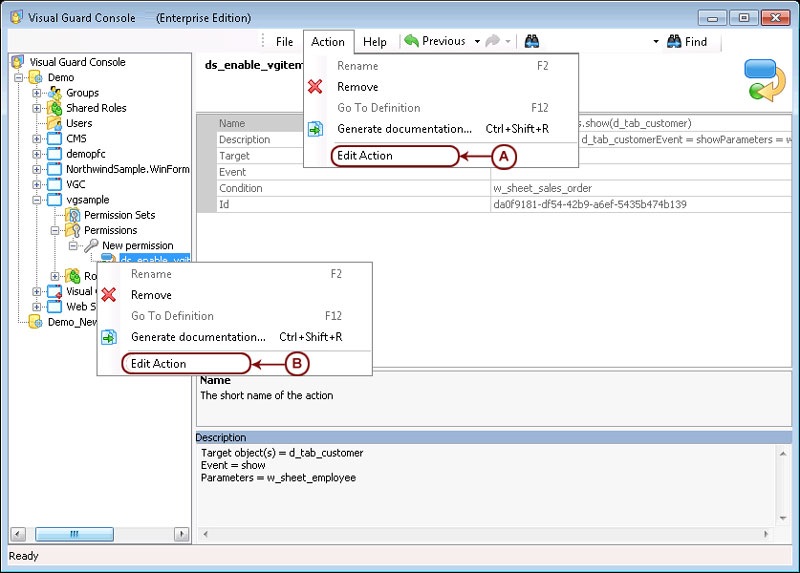
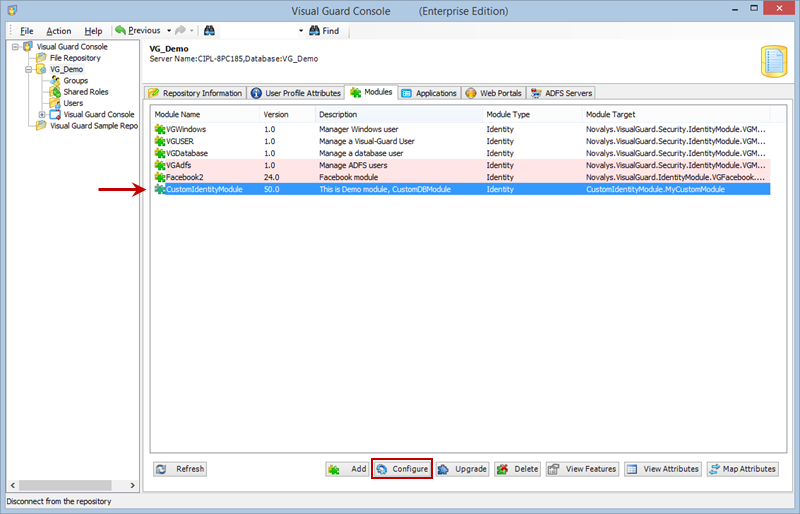
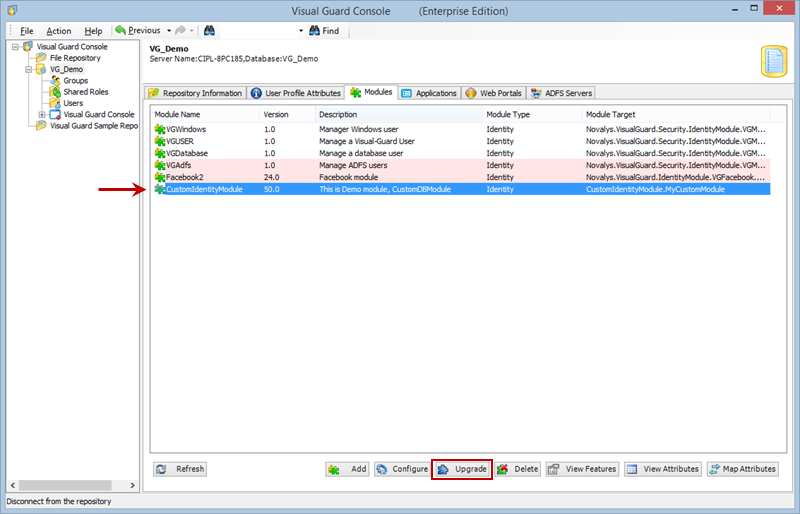
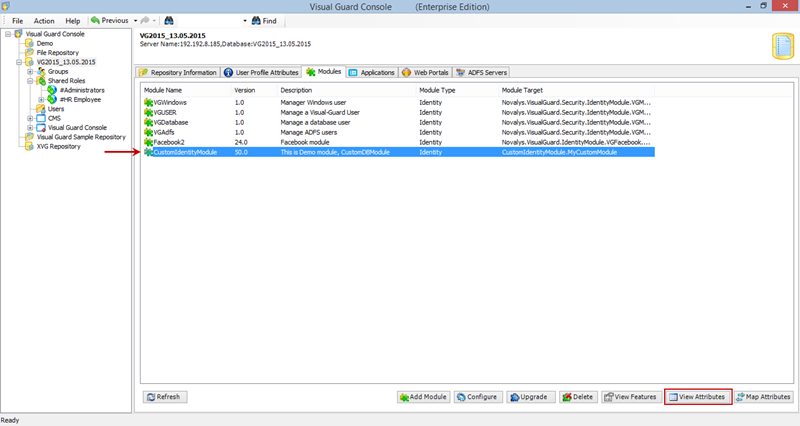
The Visual Guard Win console is the interface through which you can manage the security information of your application.
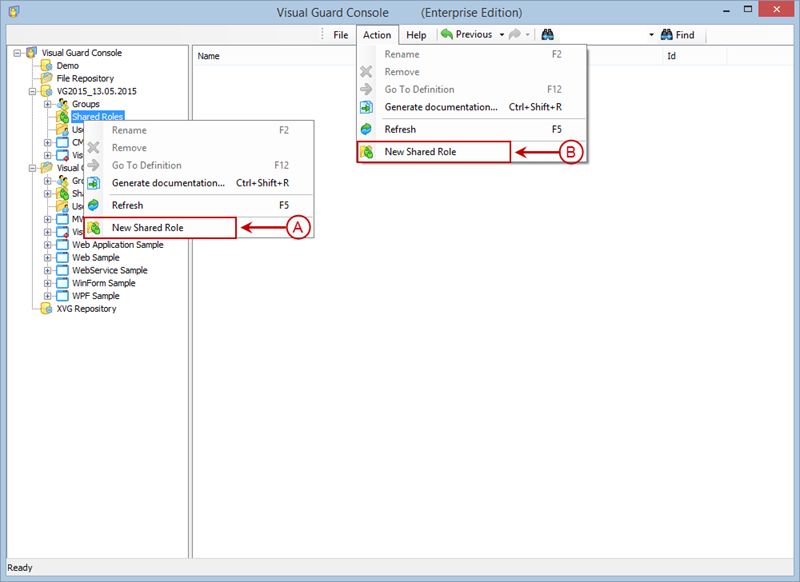
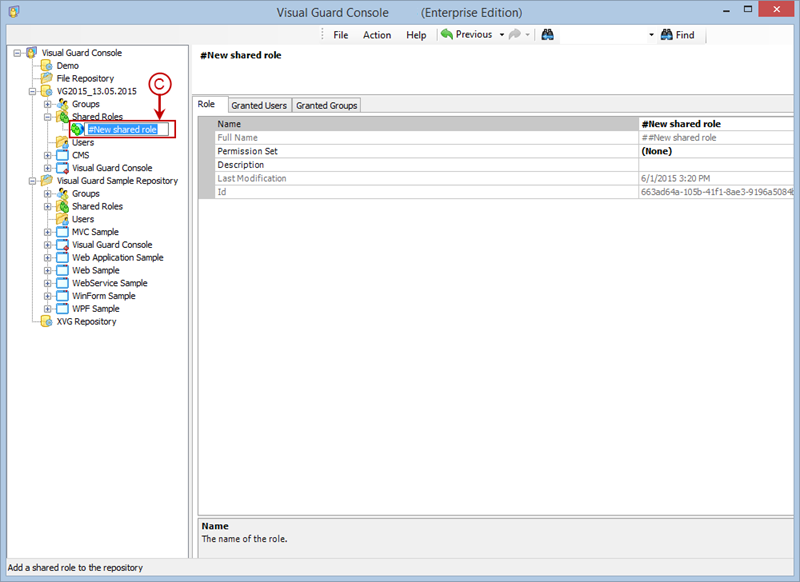
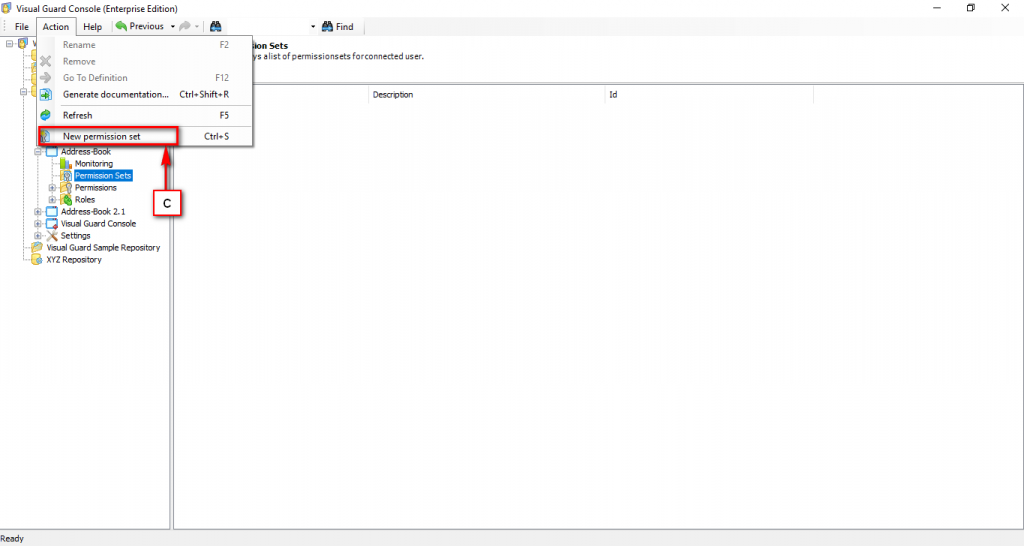
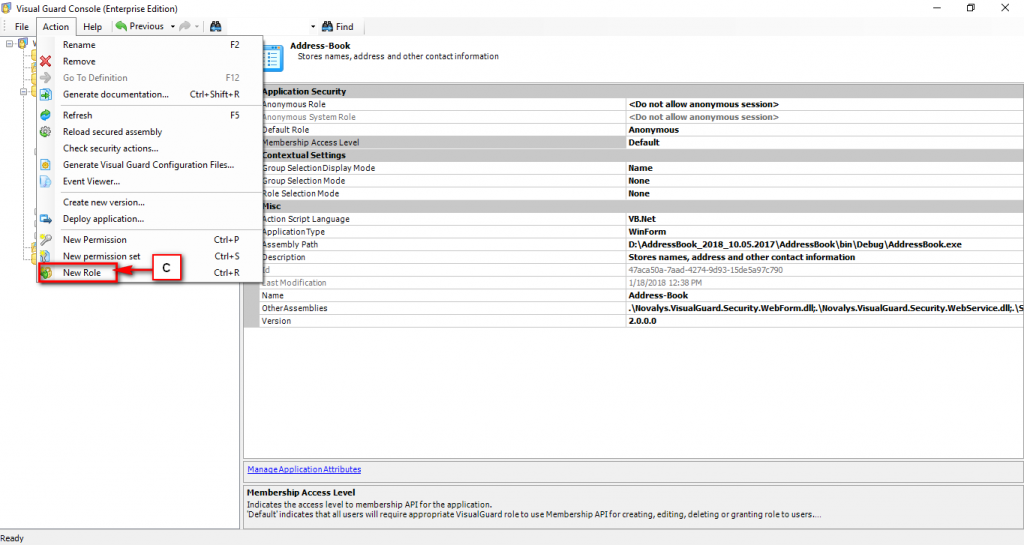
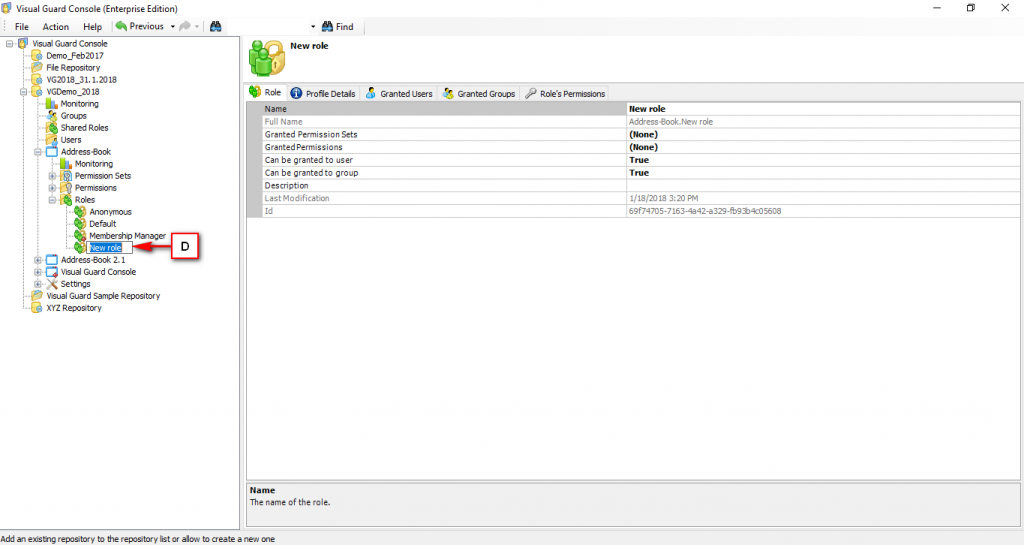
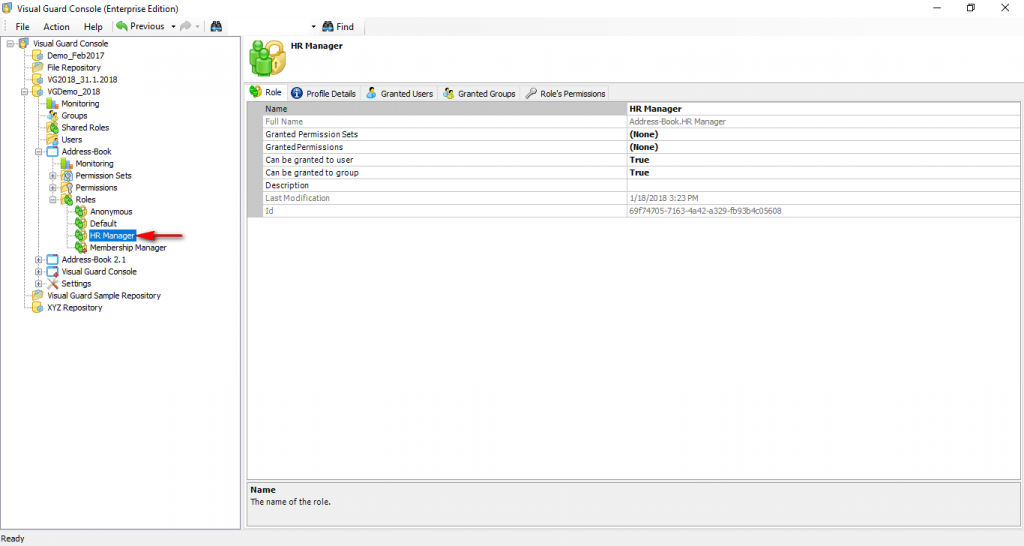
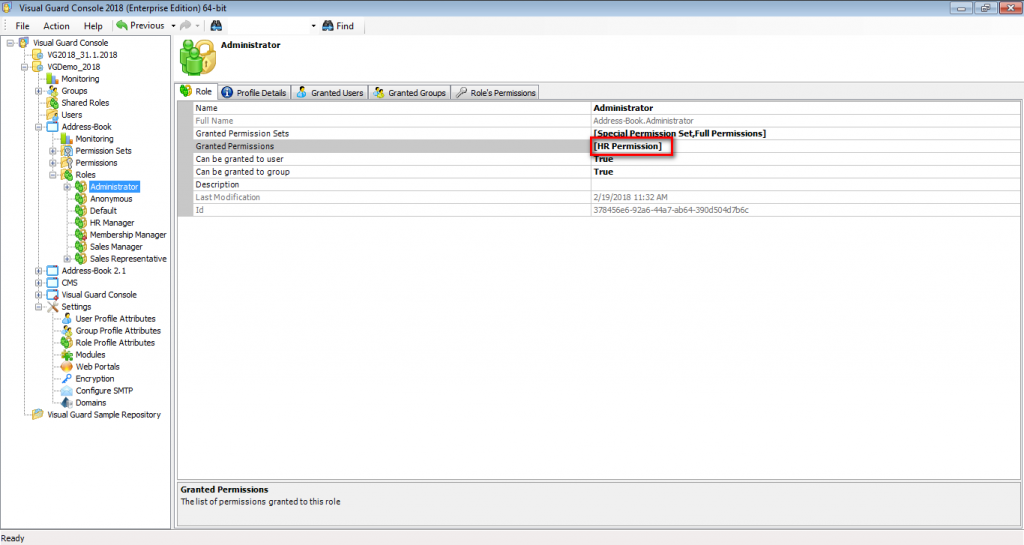
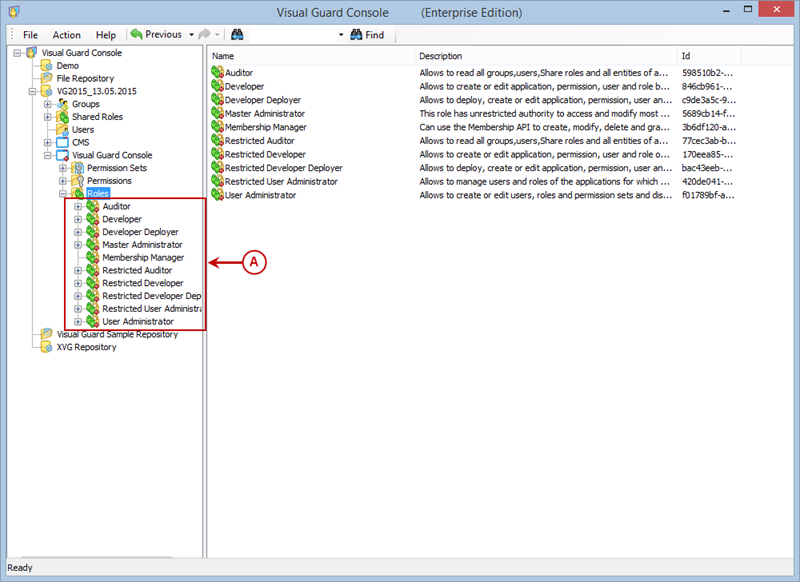
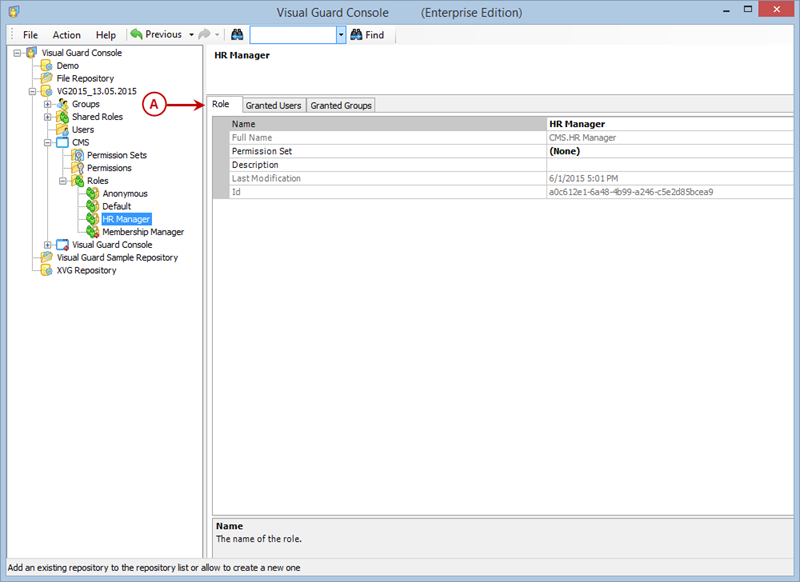
The console is a development tool, where developers can create and manage all the security data: repositories, permissions, permission sets, user accounts, roles, etc.
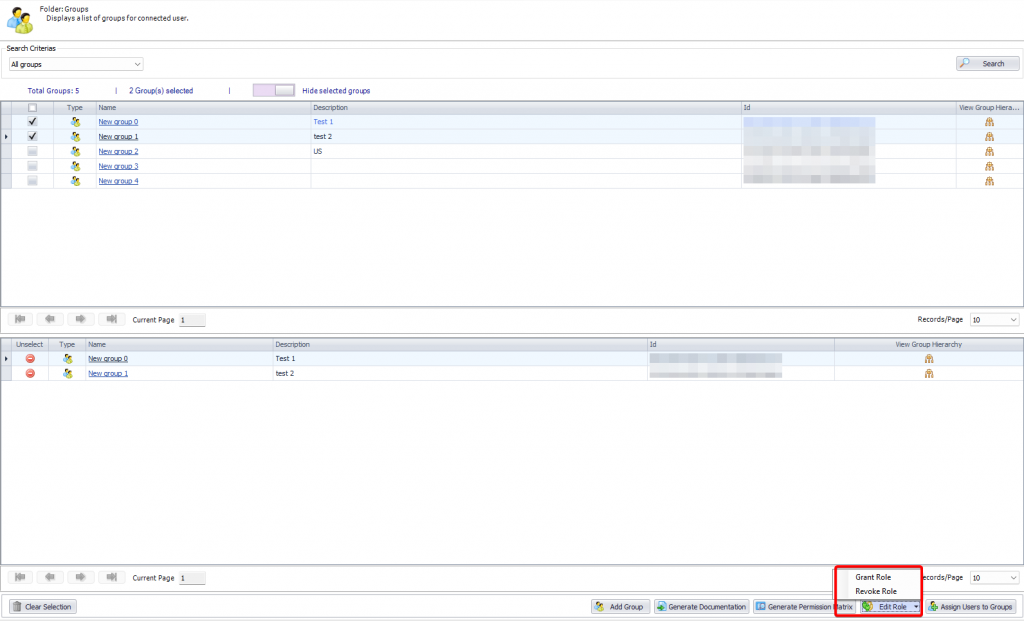
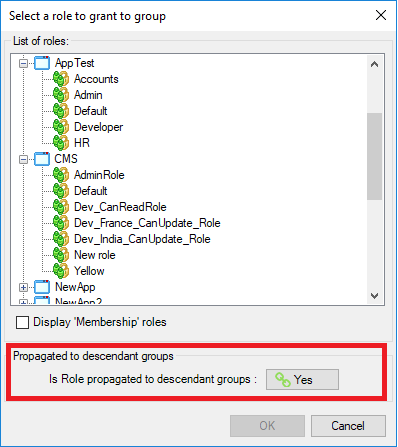
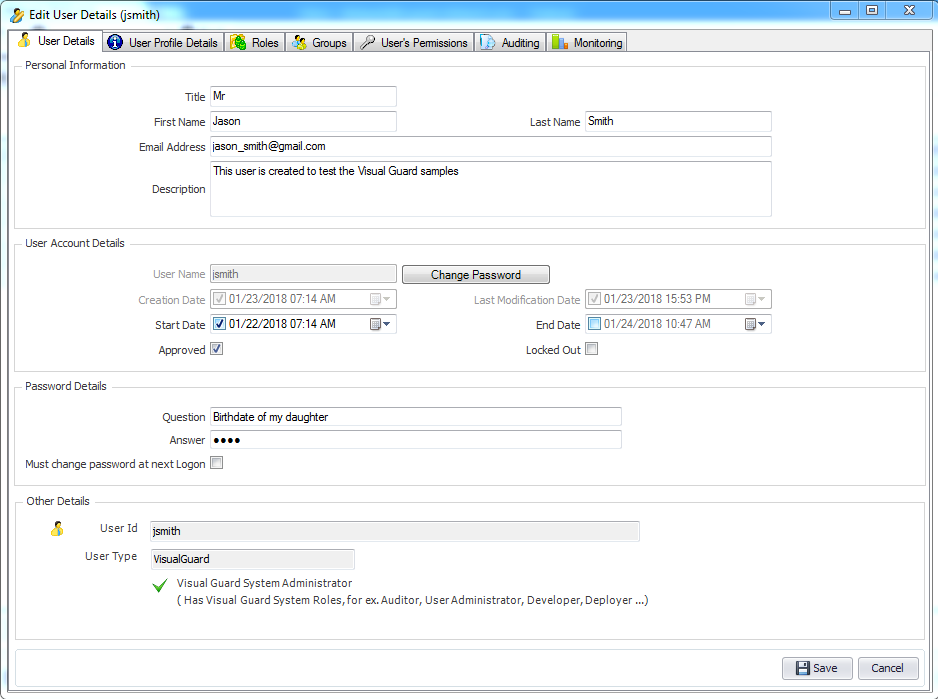
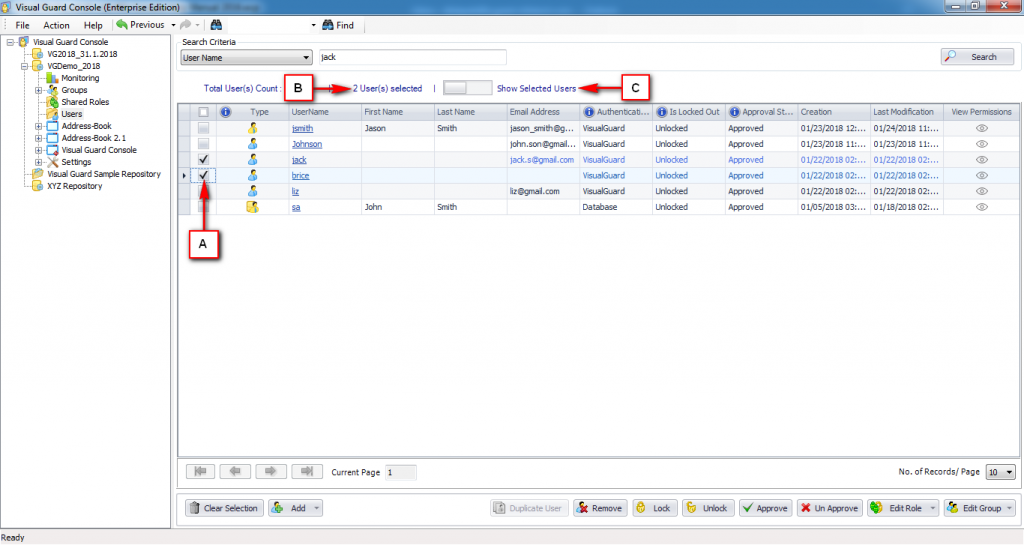
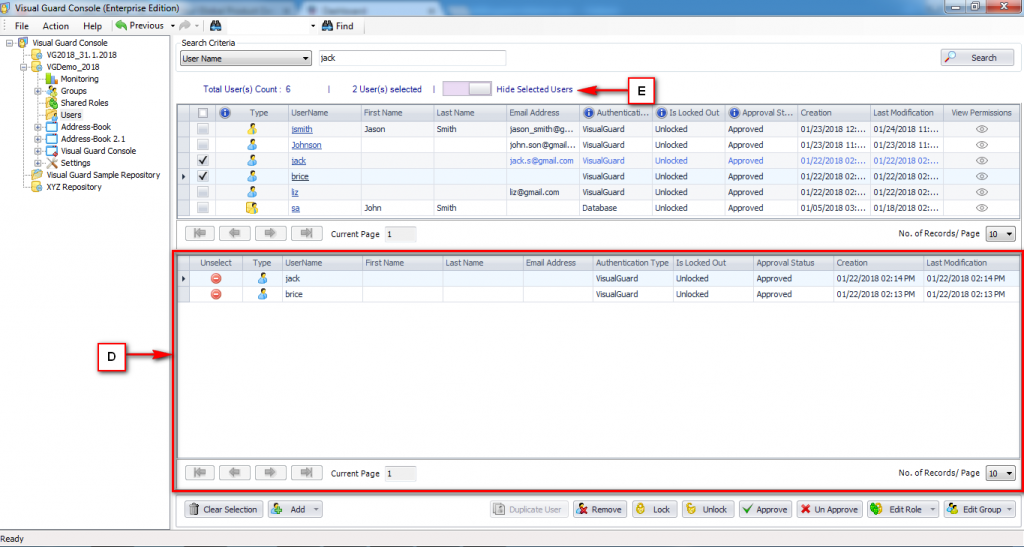
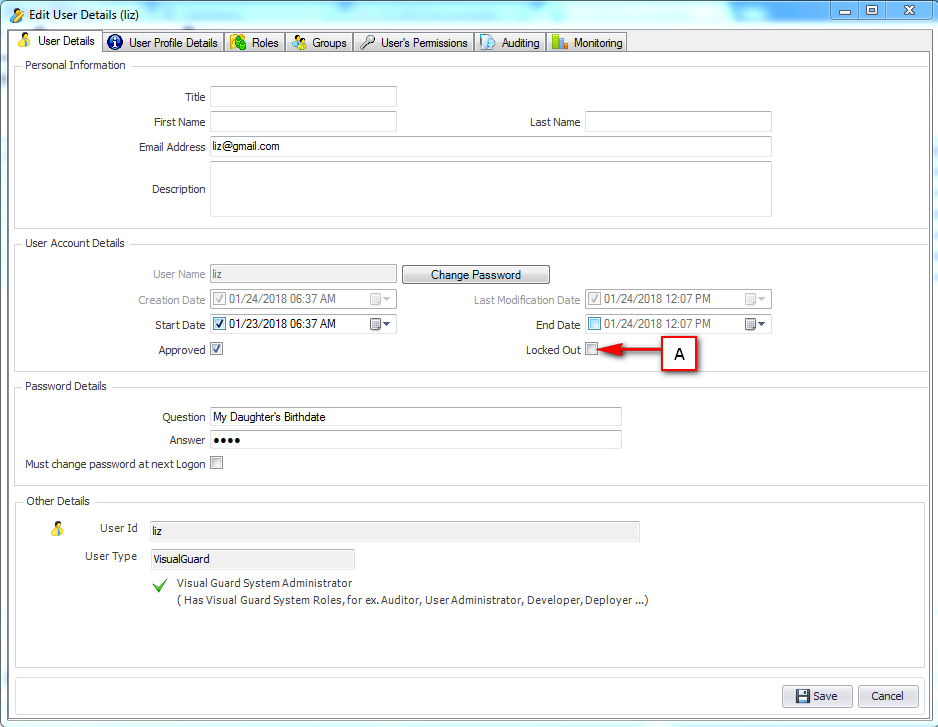
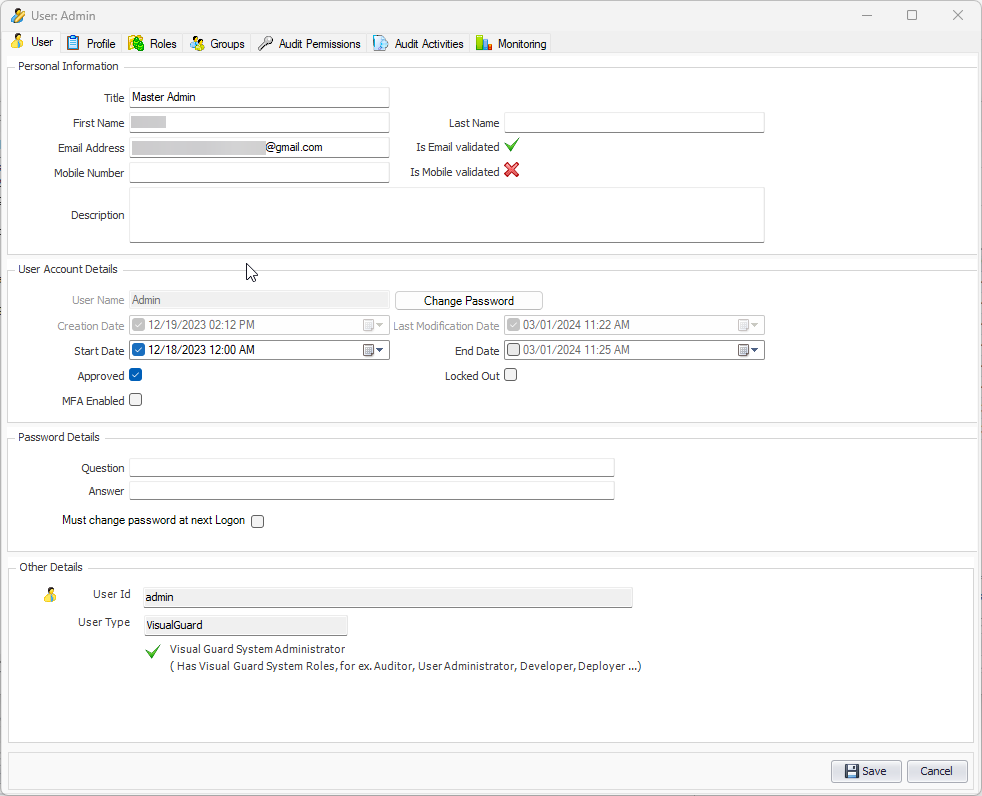
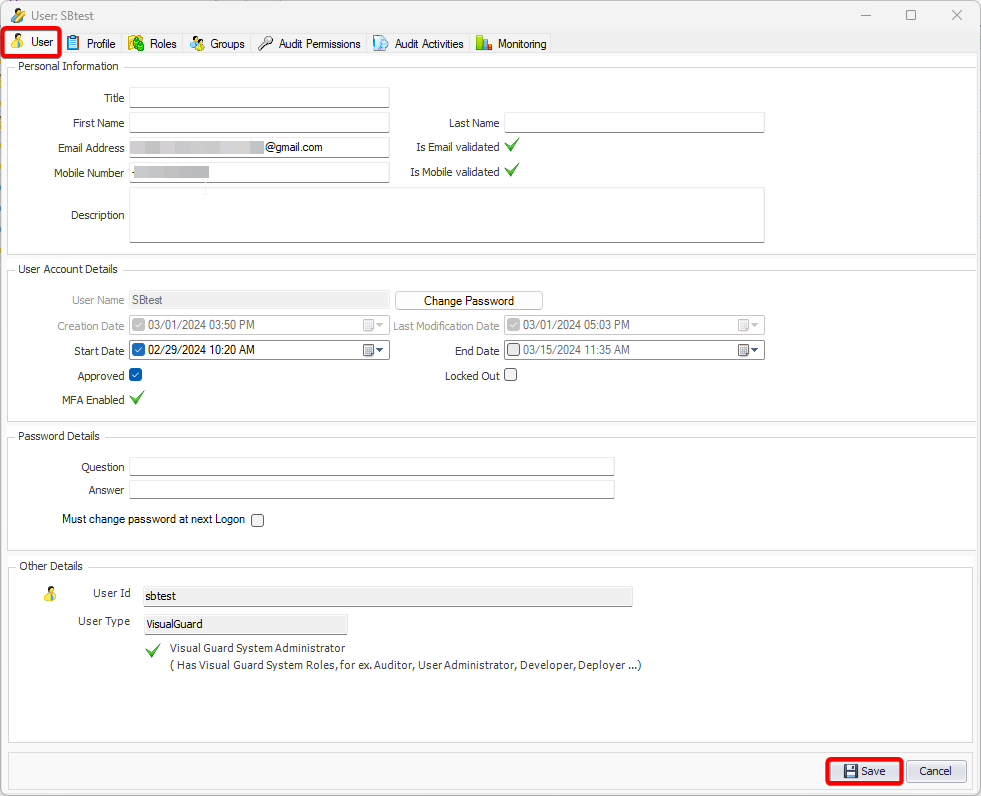
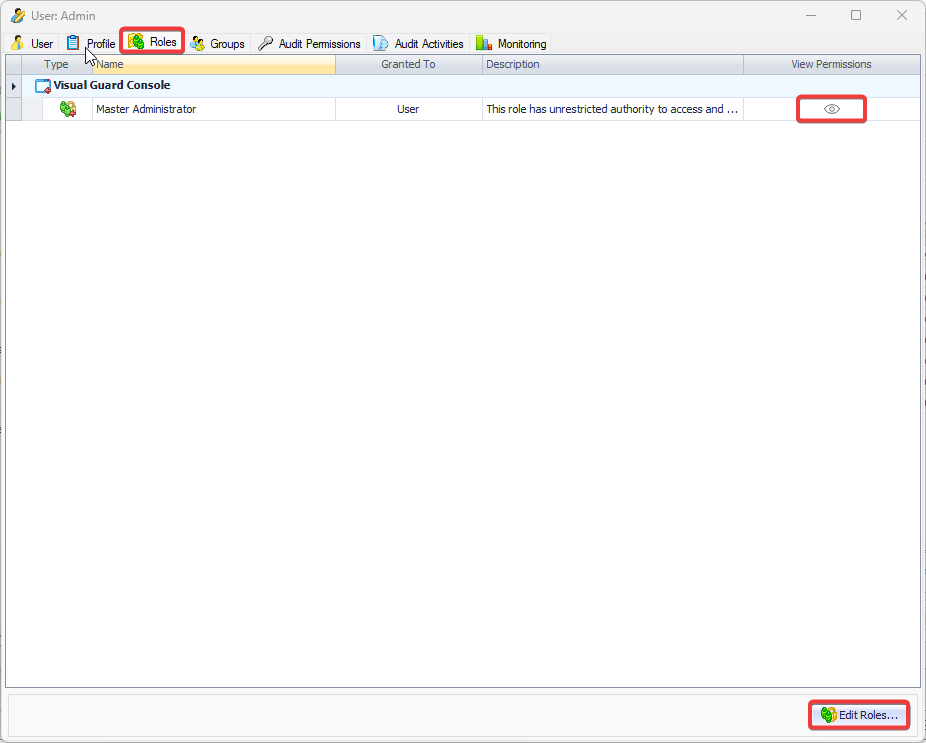
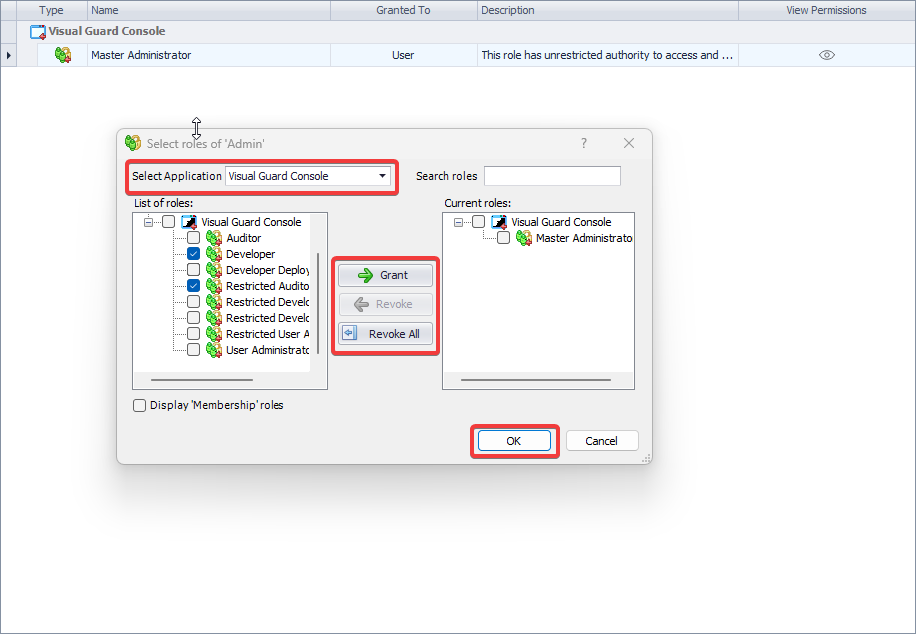
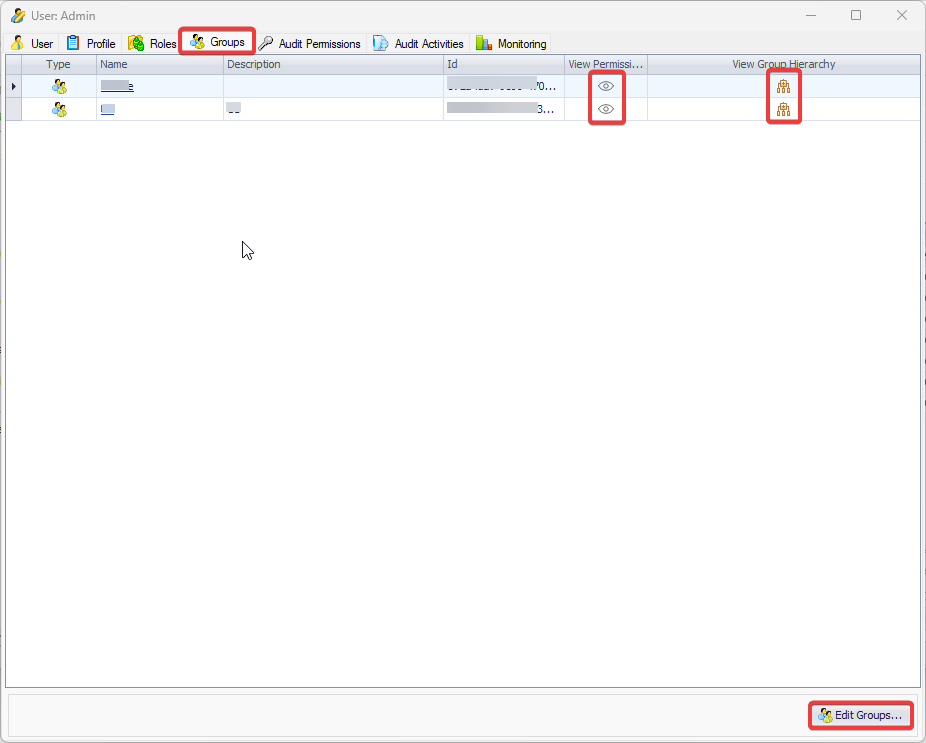
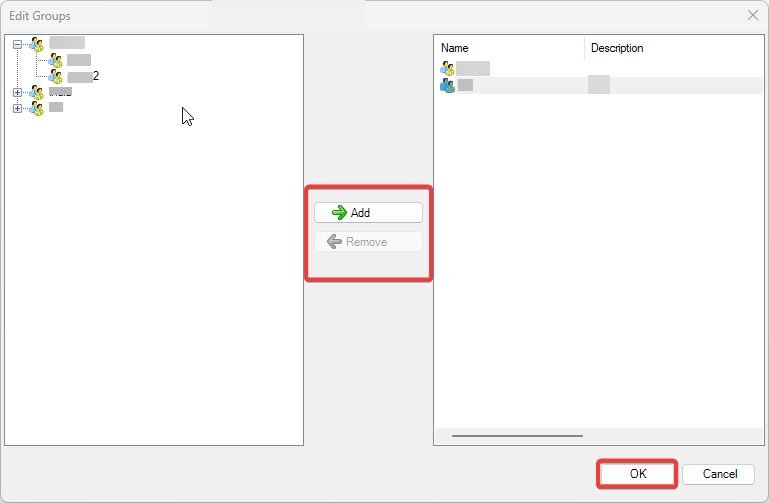
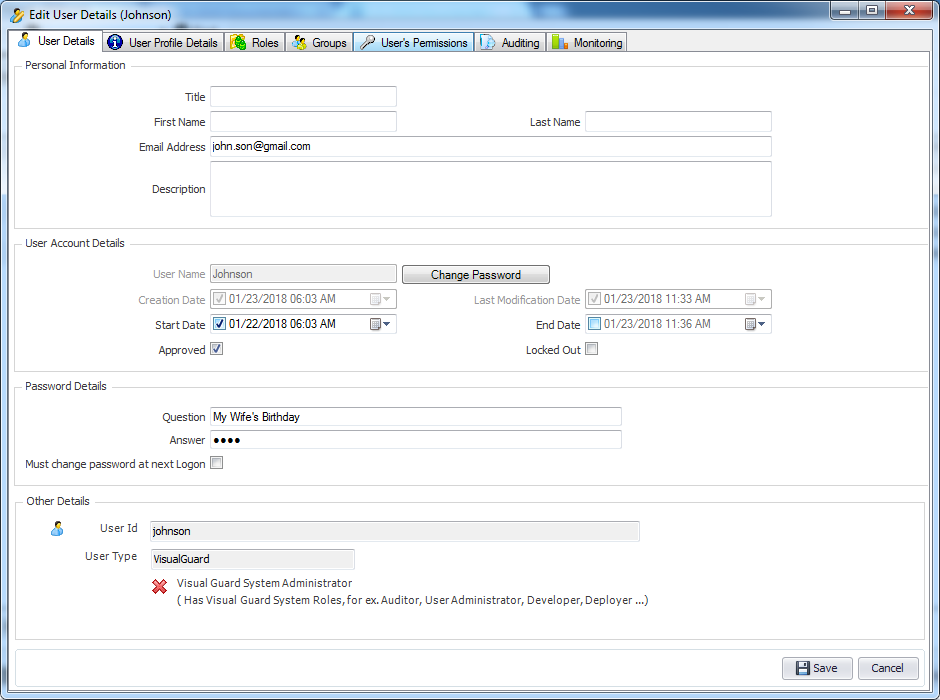
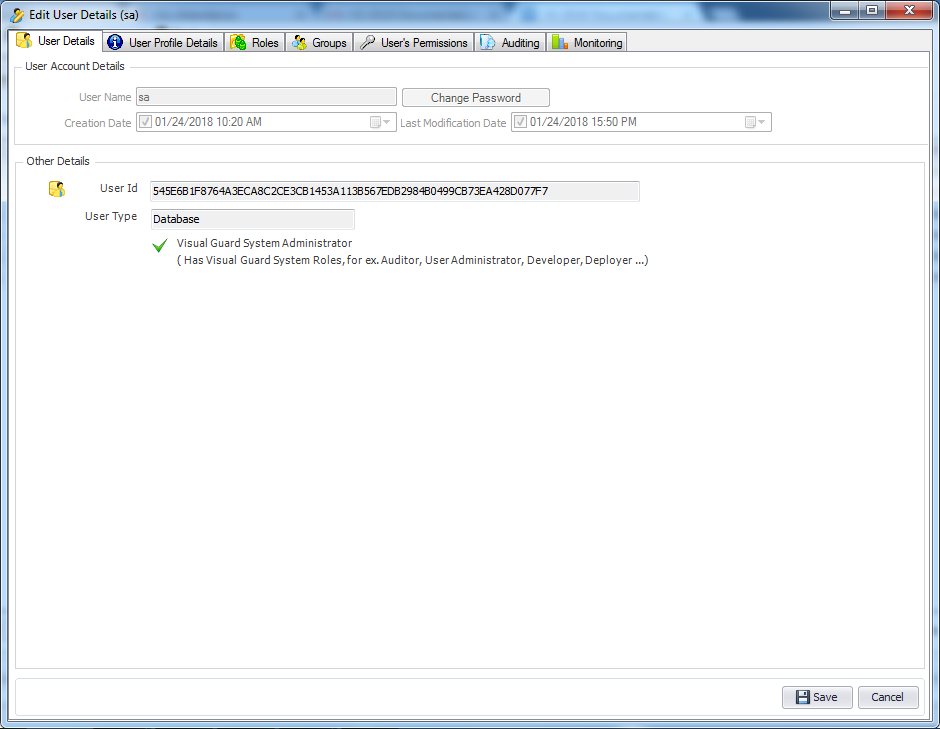
It is an Identity management tool, where user administrators can manage user accounts, user groups, password, password policy, grant roles, etc
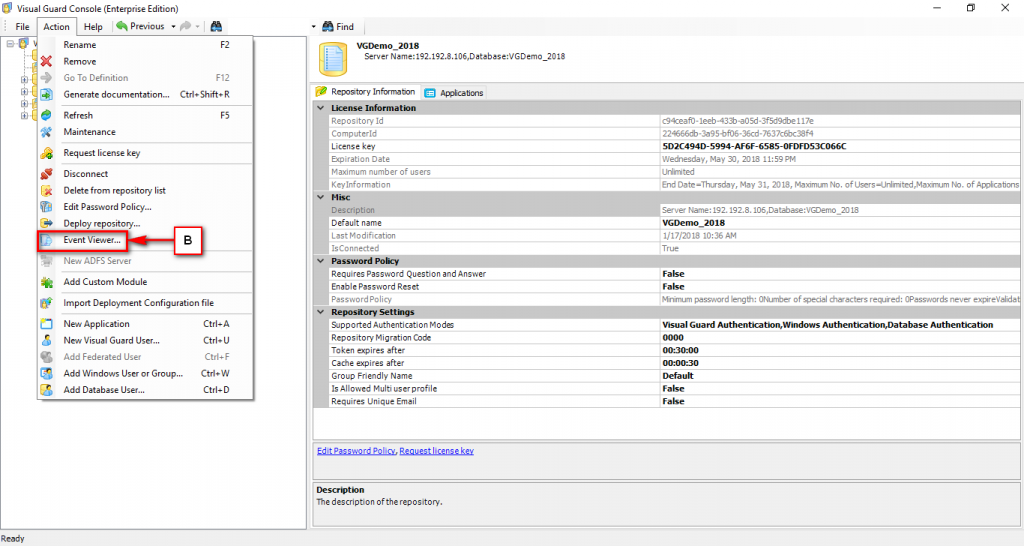
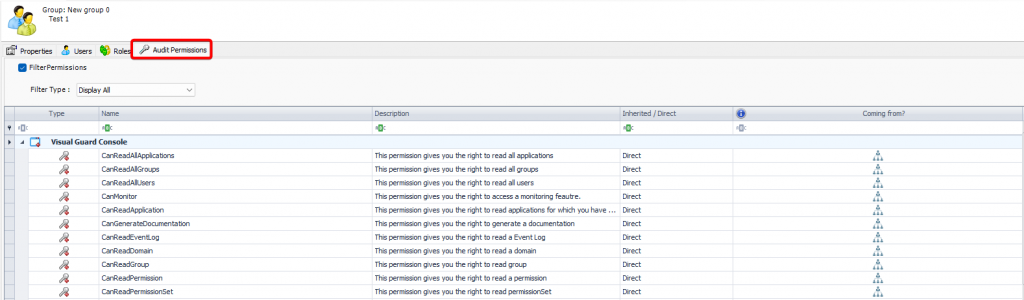
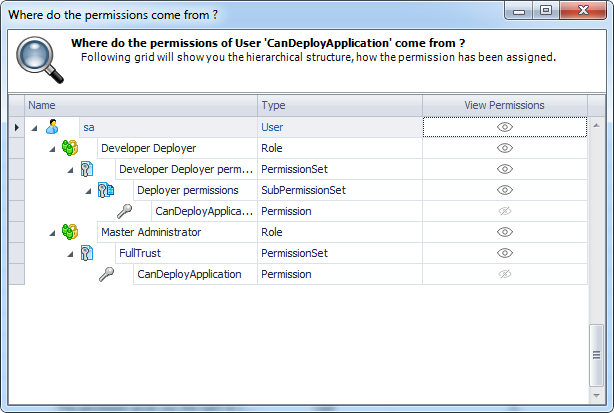
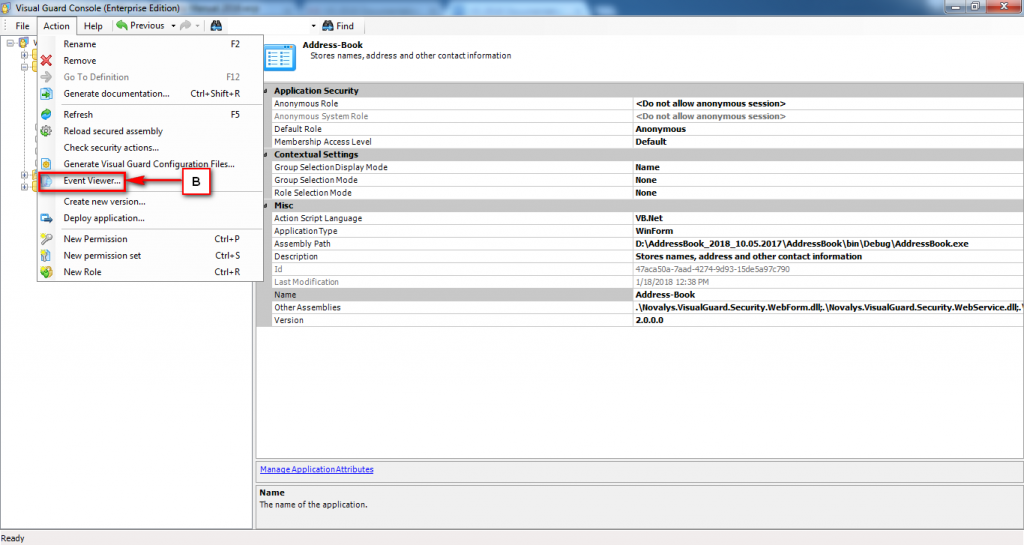
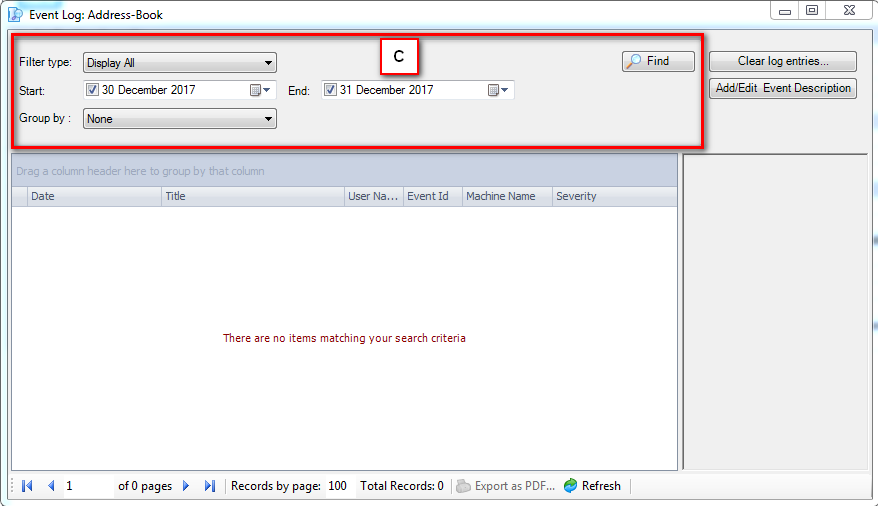
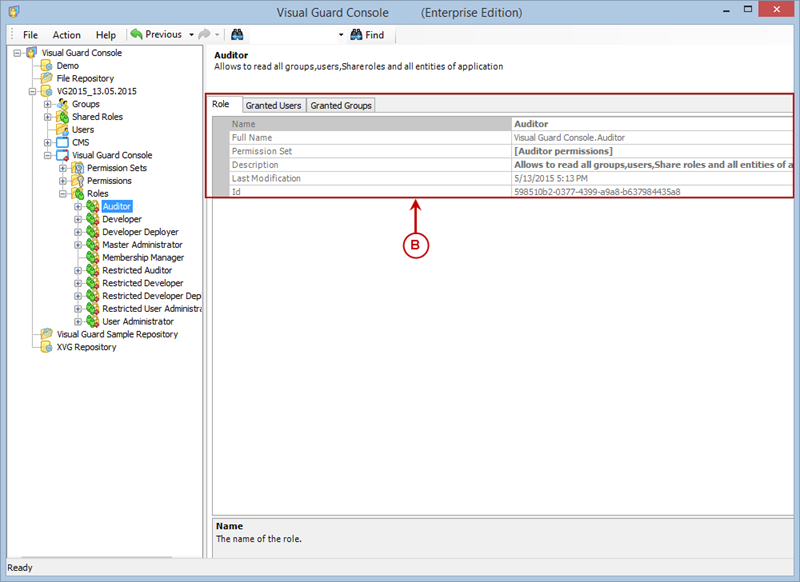
It is an Audit tool which allows auditors to generate reports and review the log of your applications.
Please Note:
-
The identity management features can also be performed in the Web Console. Please refer to the VG Web Console documentation for more information.
-
A large range of the features of the winconsole can be accessed through the VG API in case you want to develop you own security management interface. For more information about the API, please refer to the Developer’s guide.
-
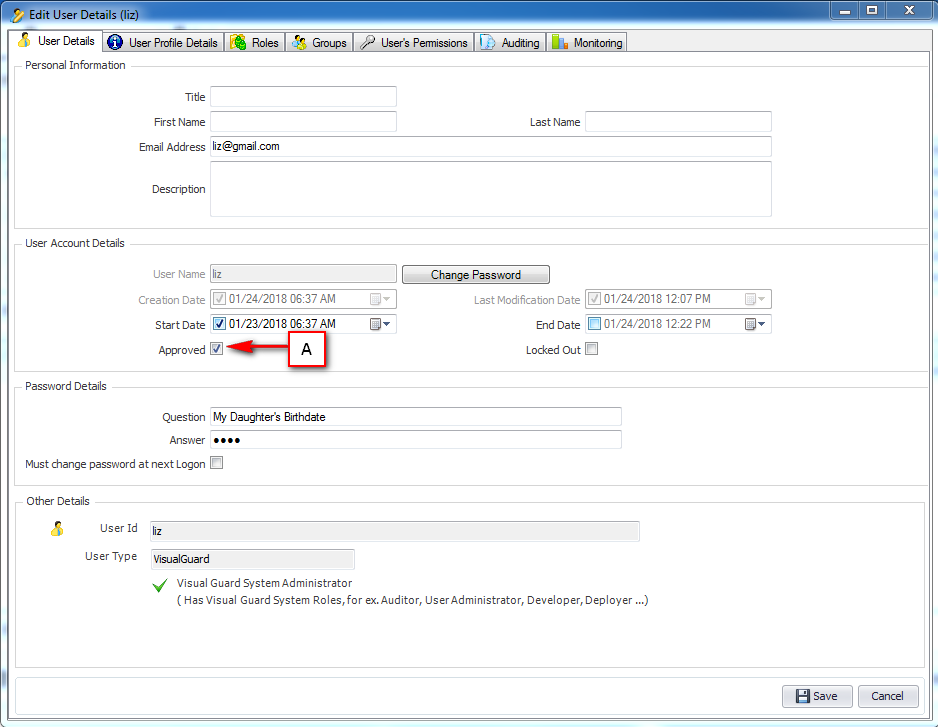
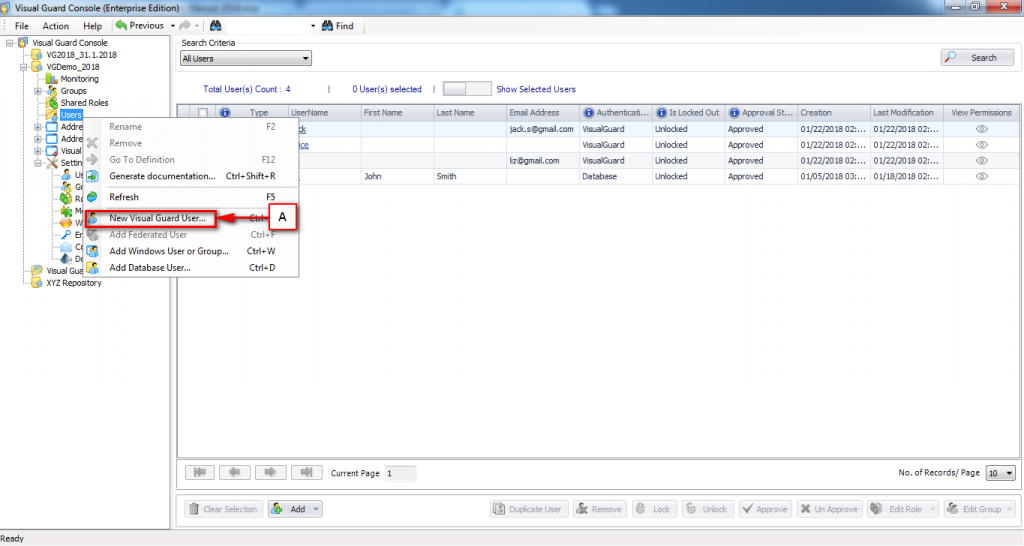
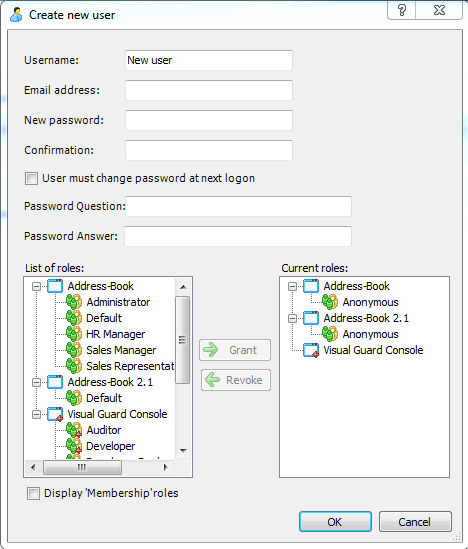
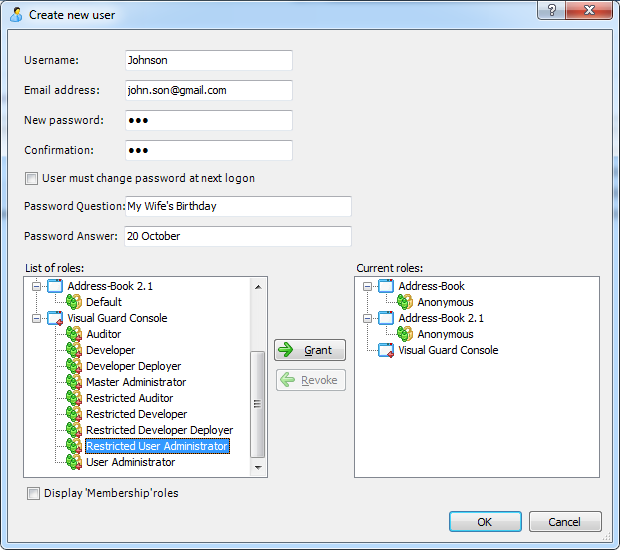
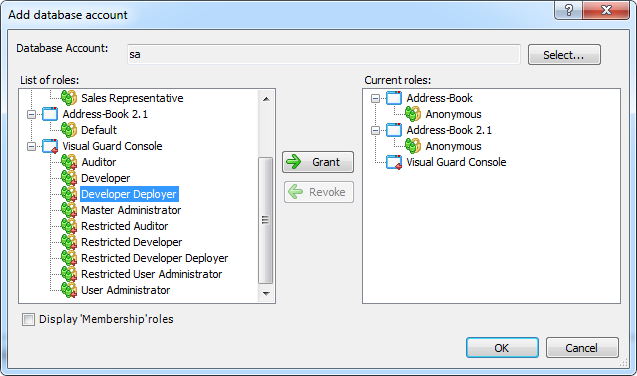
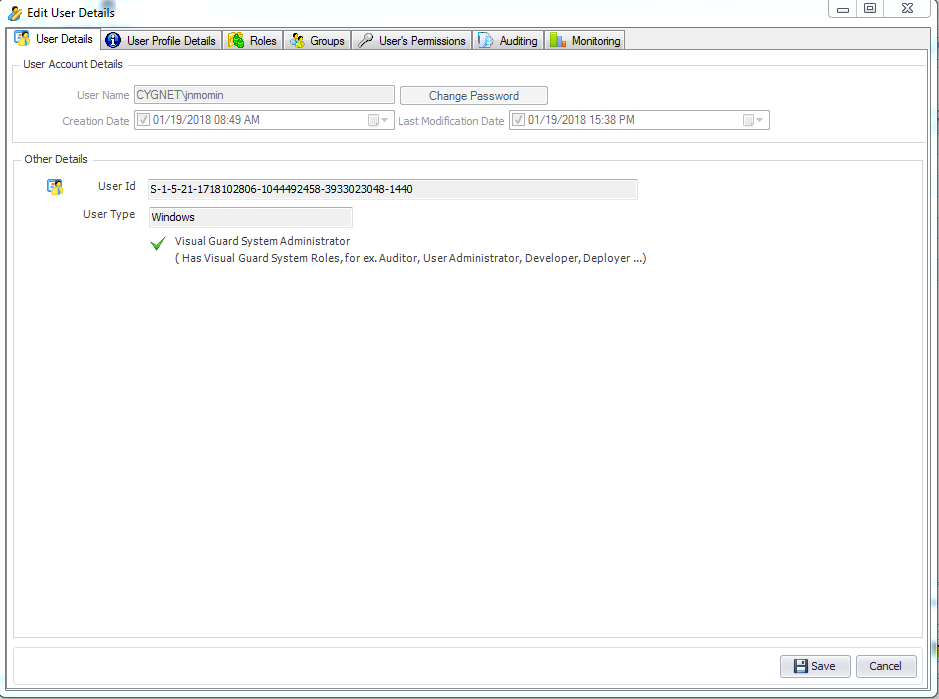
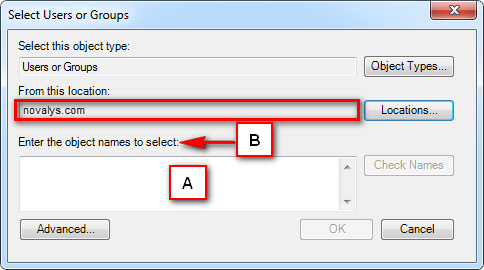
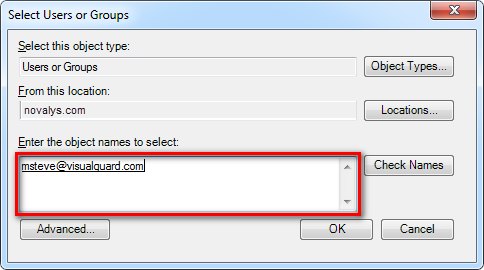
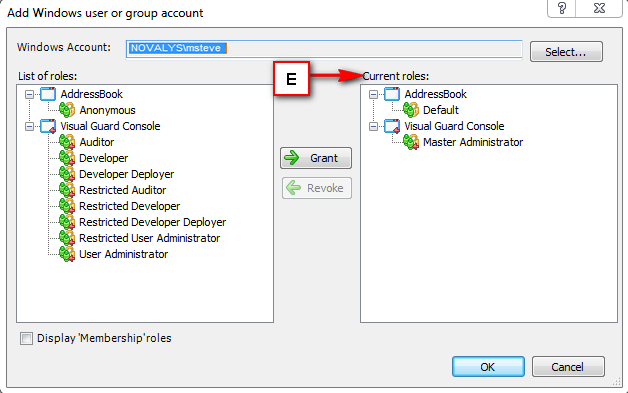
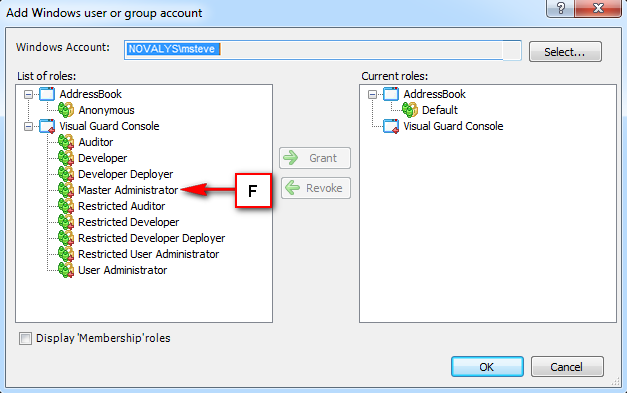
Visual Guard allows users to create new user accounts or reuse existing Windows accounts stored in Active Directory.
-
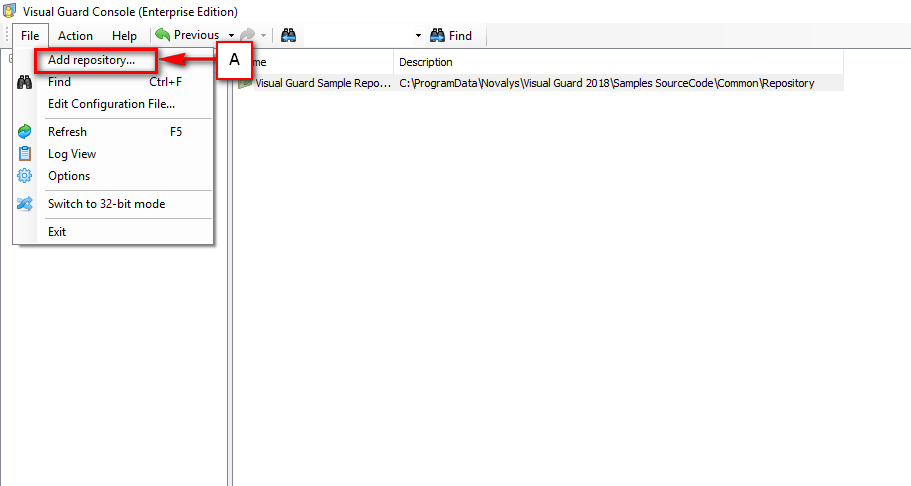
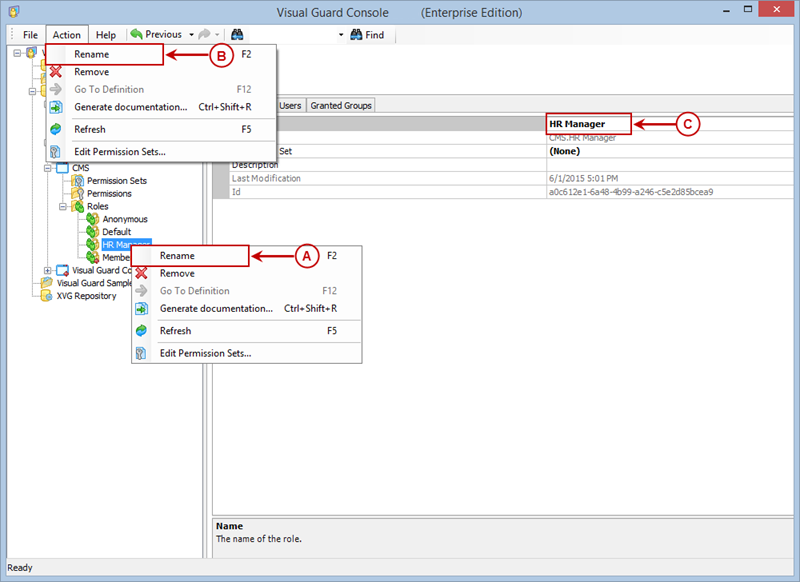
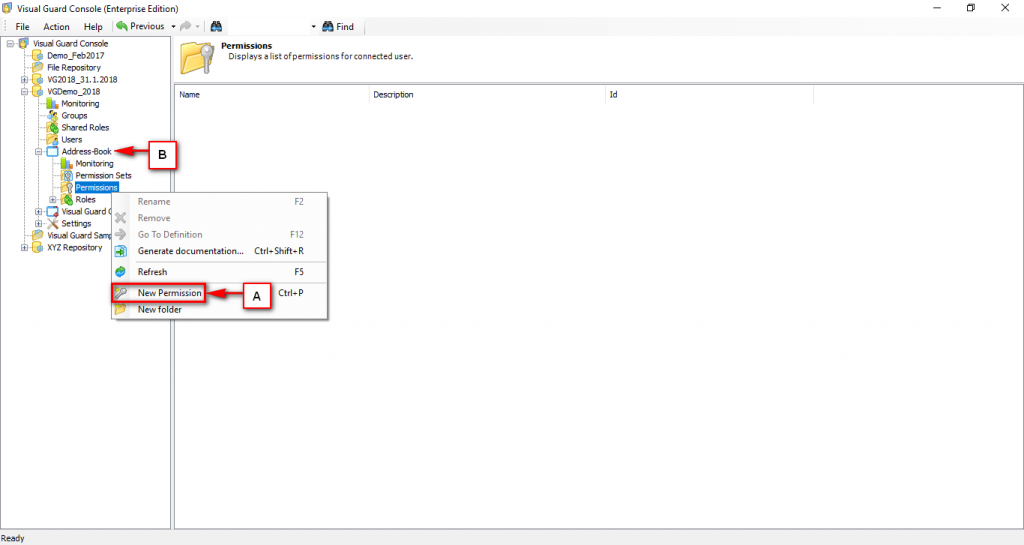
Follow the steps below to open the Visual Guard application.
-
Access the Visual Guard console using the path Start > All Programs > Novalys > Visual Guard > Visual Guard Console
OR
-
Double click on the “Visual guard Console” icon provided on the desktop.
-
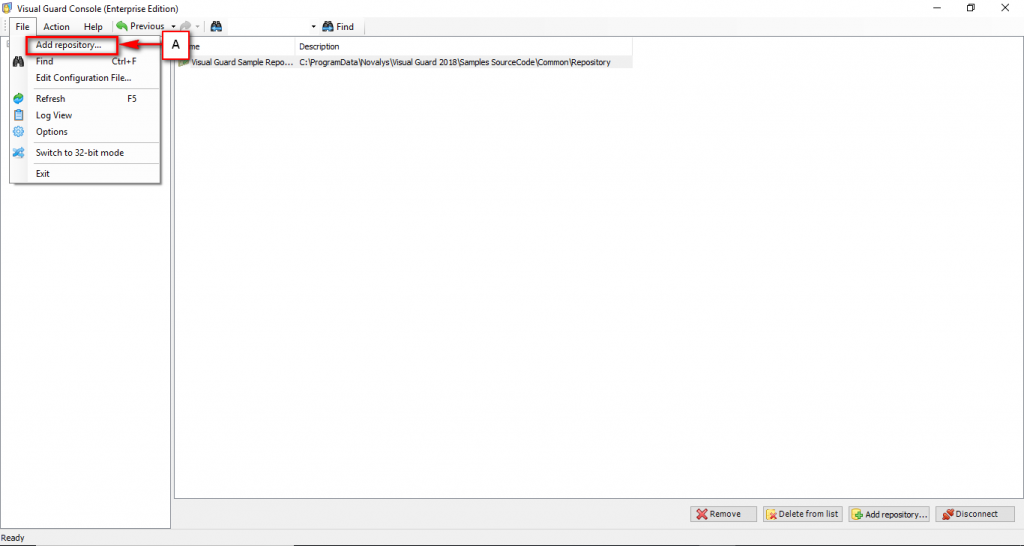
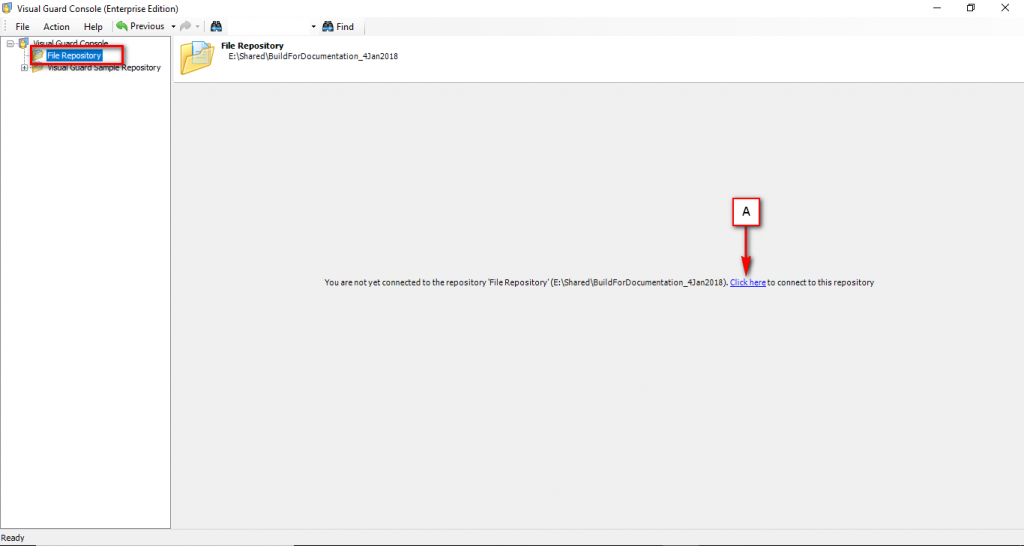
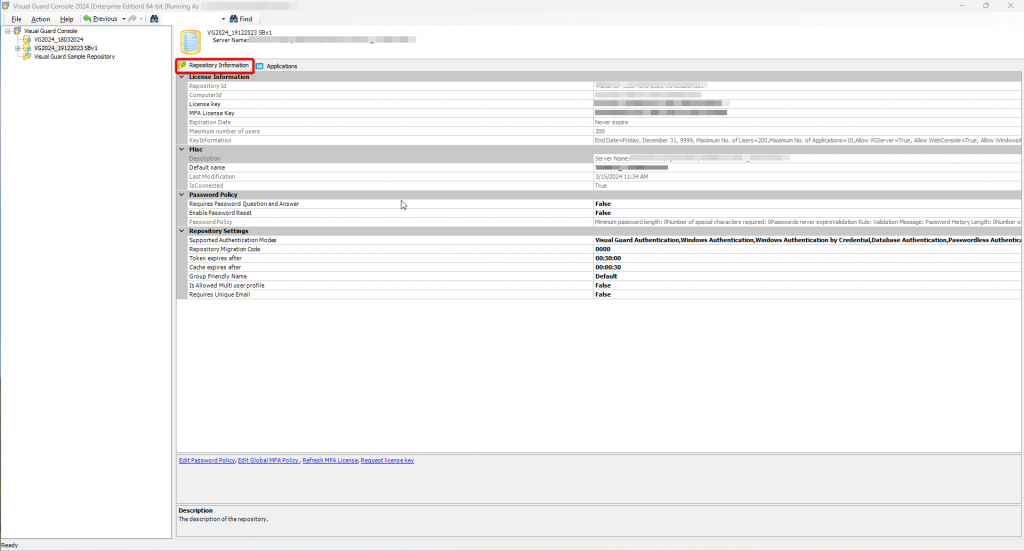
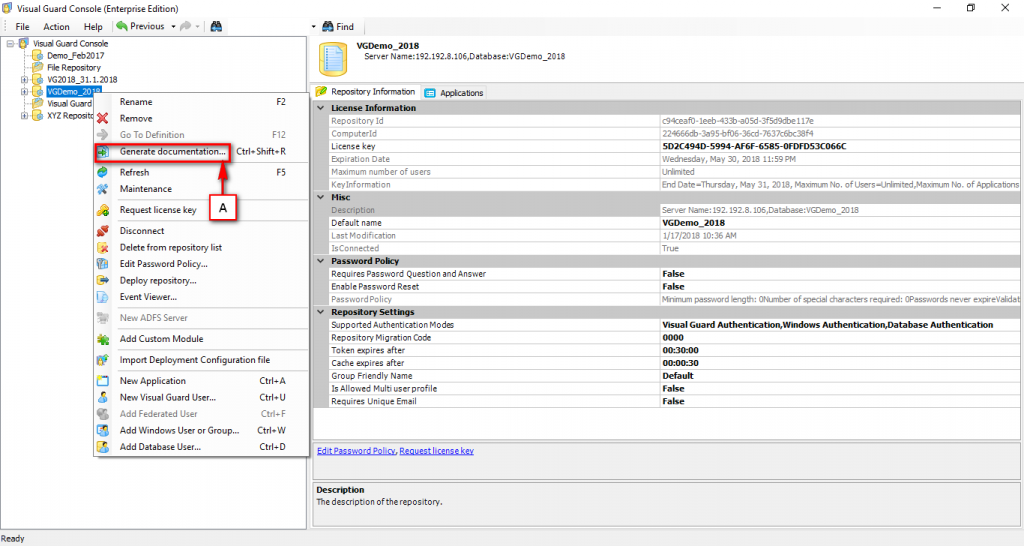
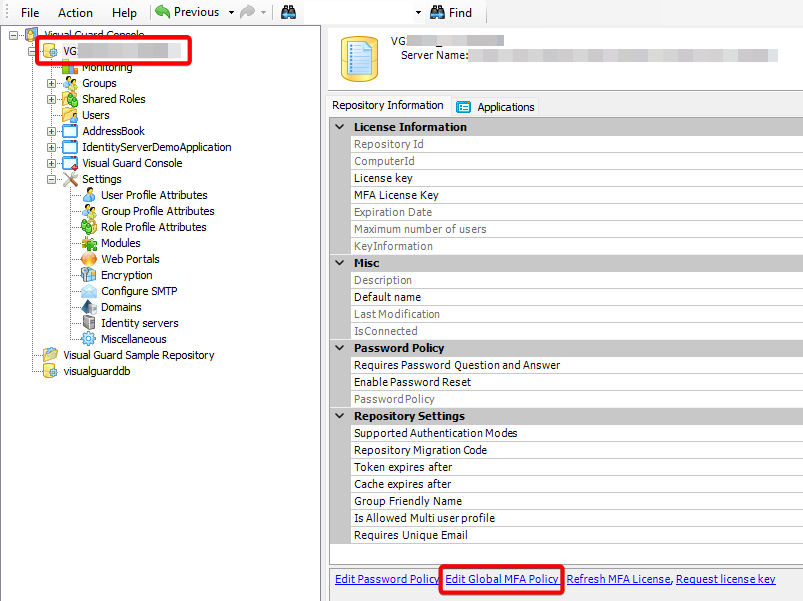
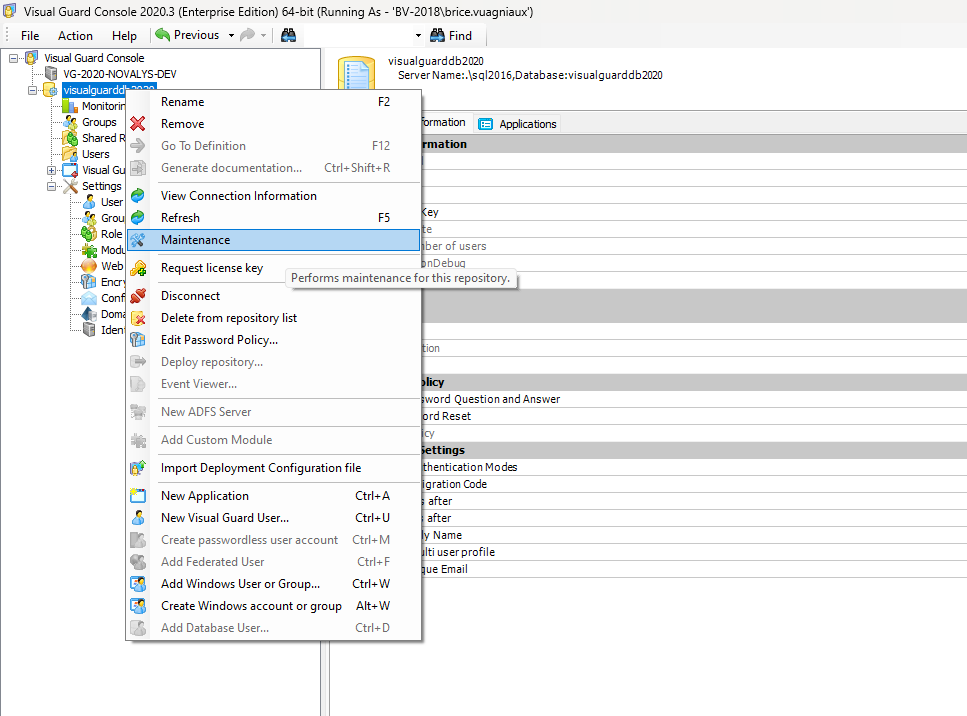
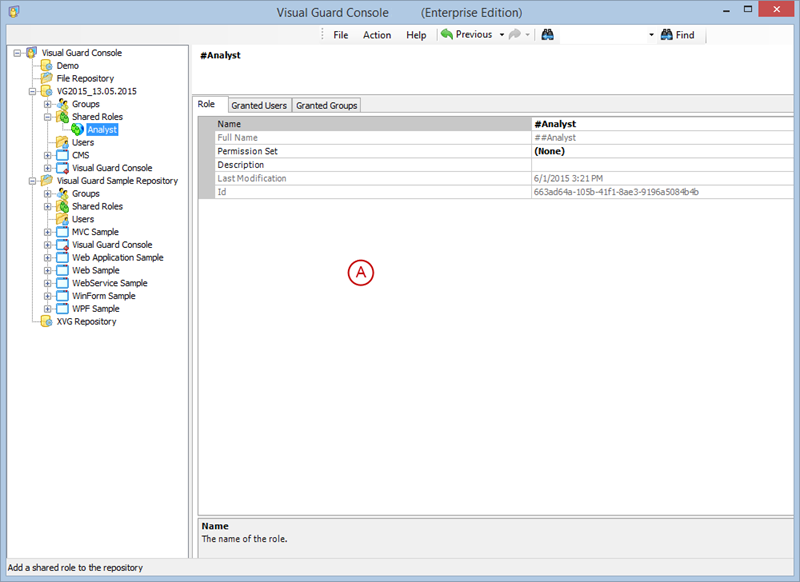
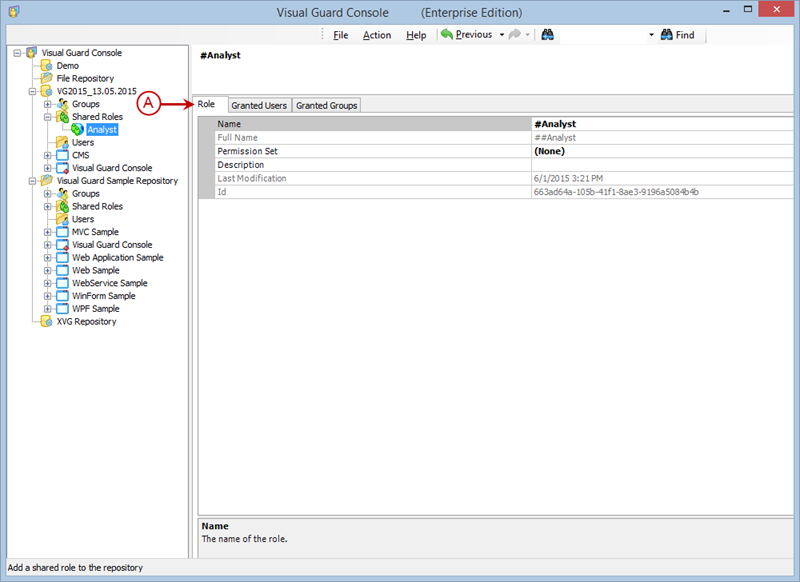
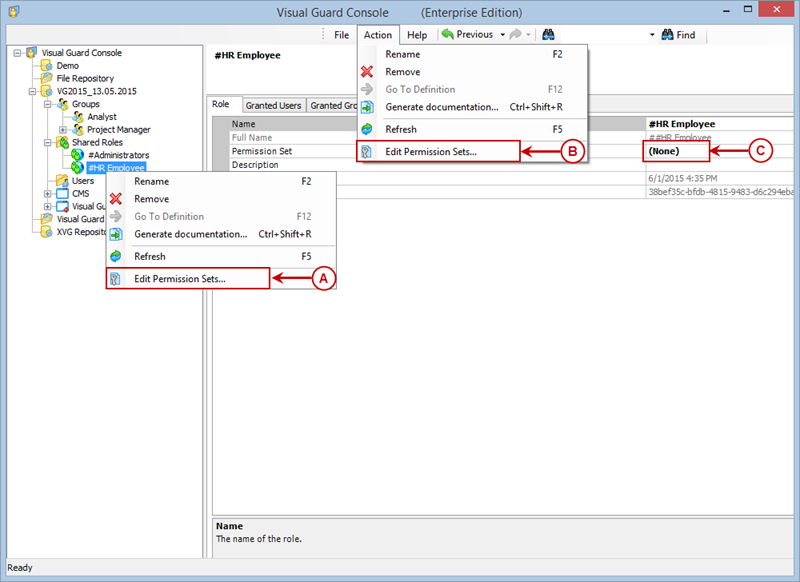
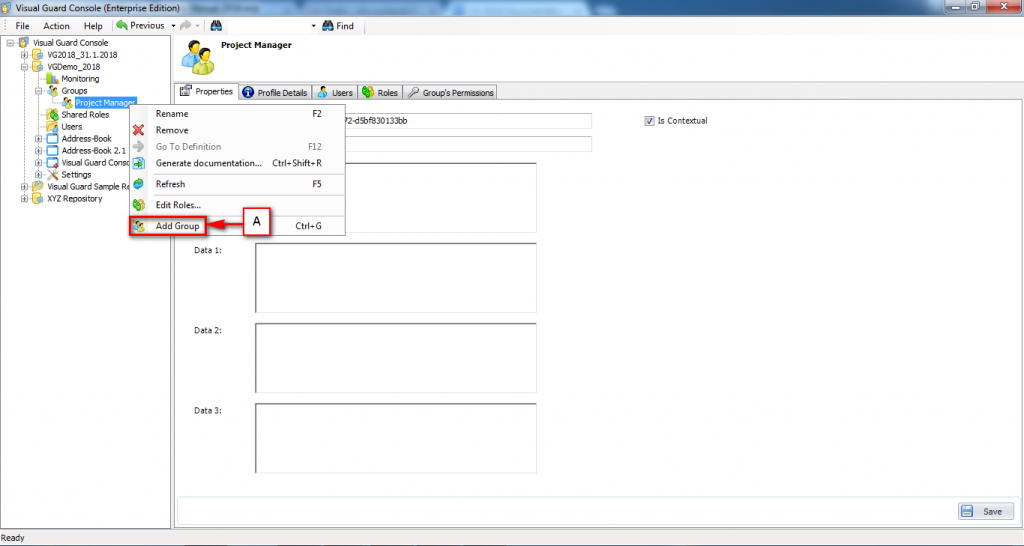
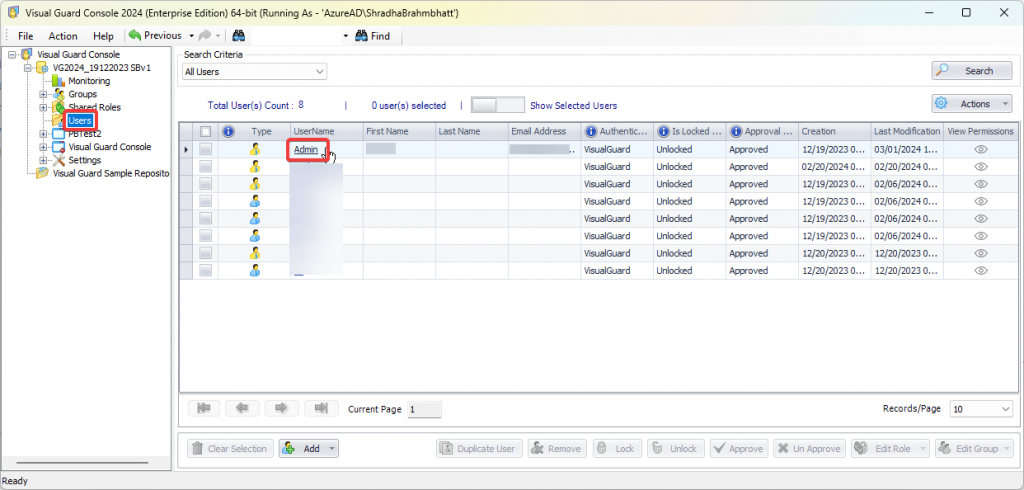
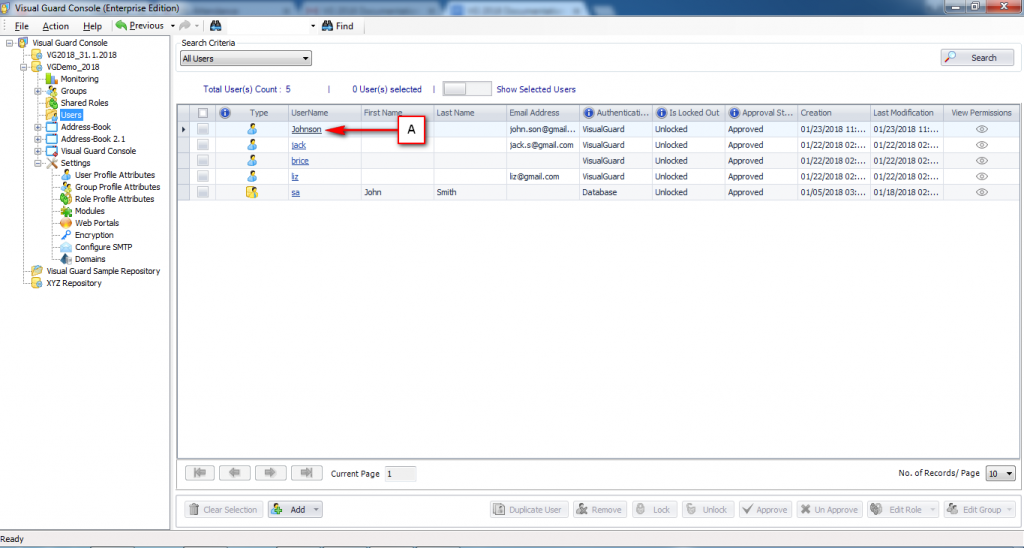
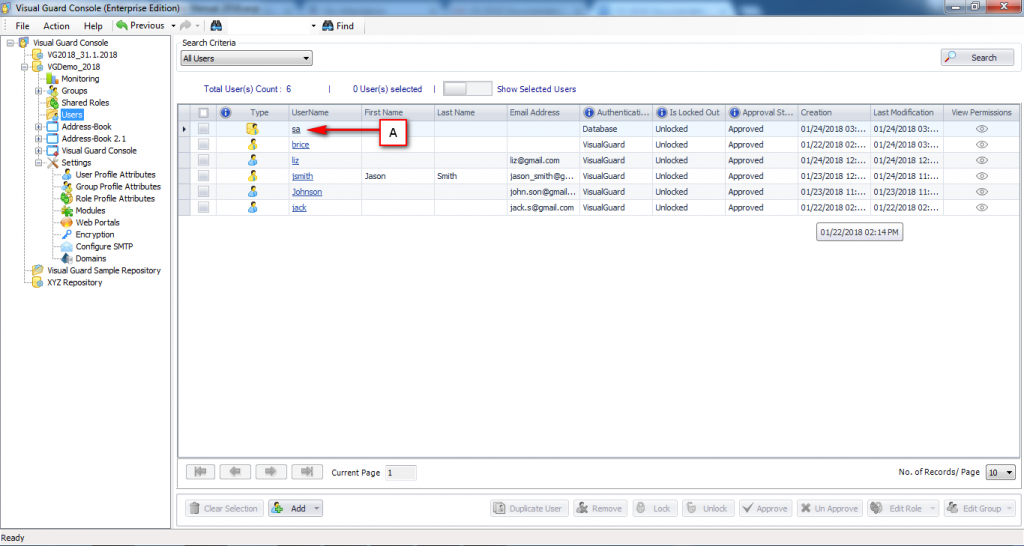
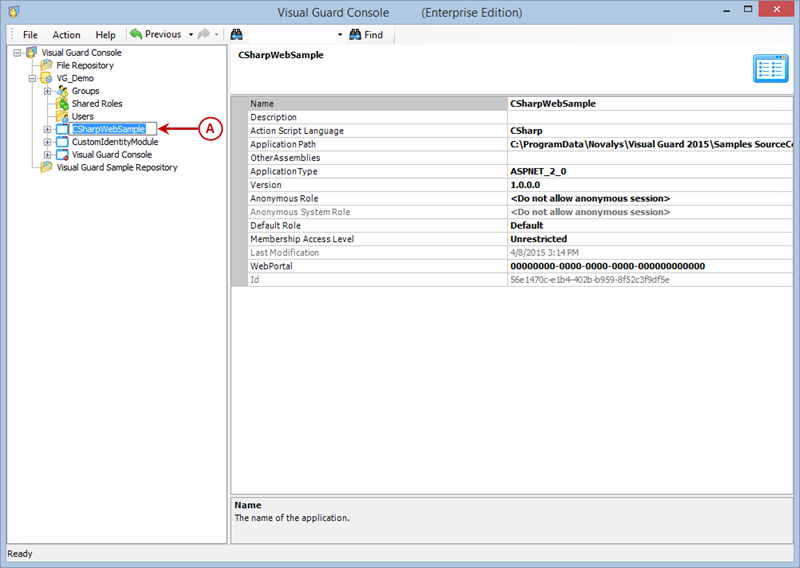
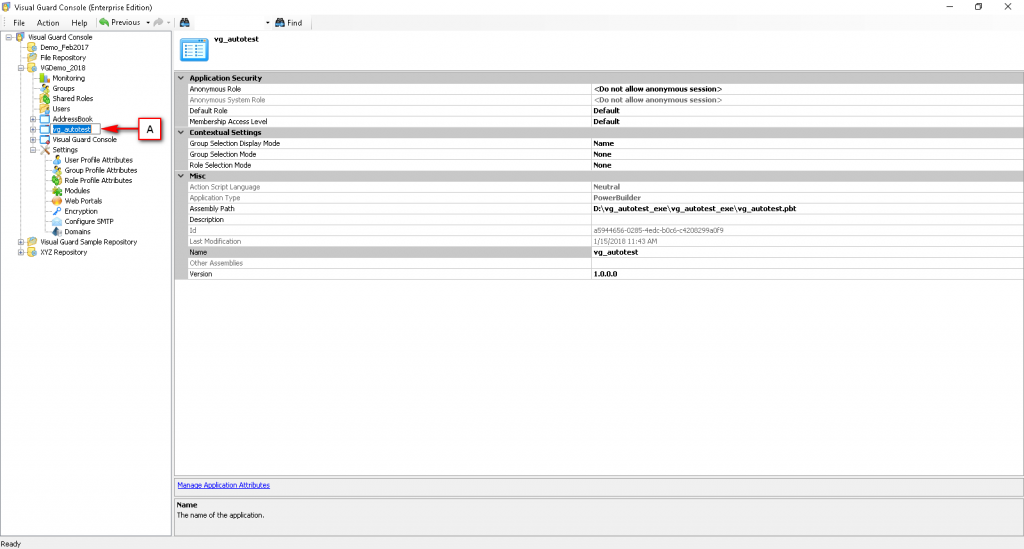
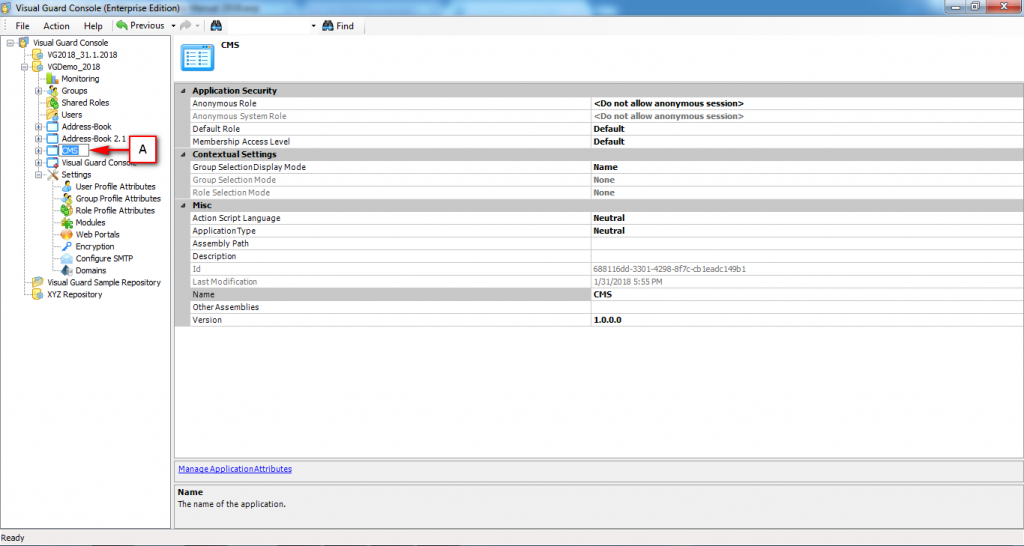
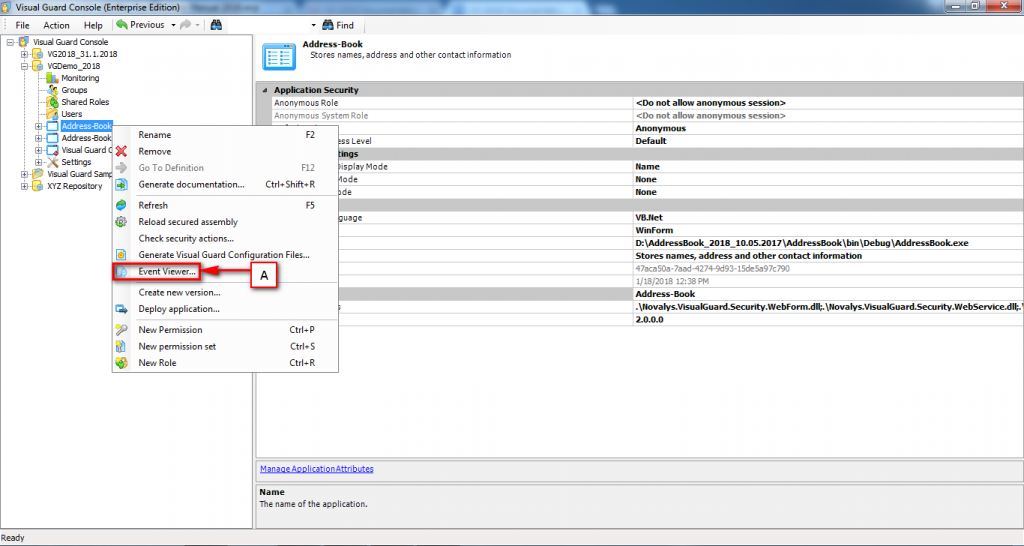
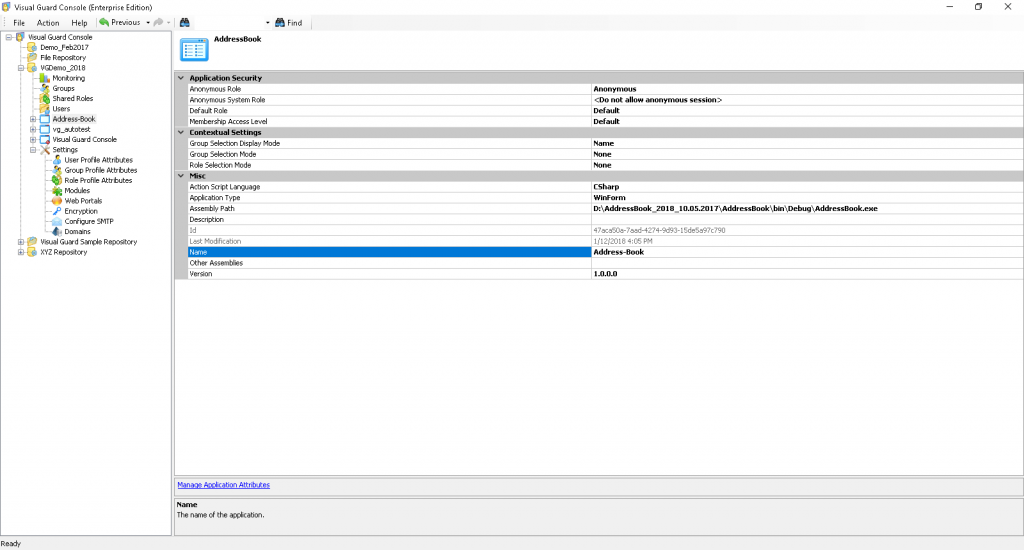
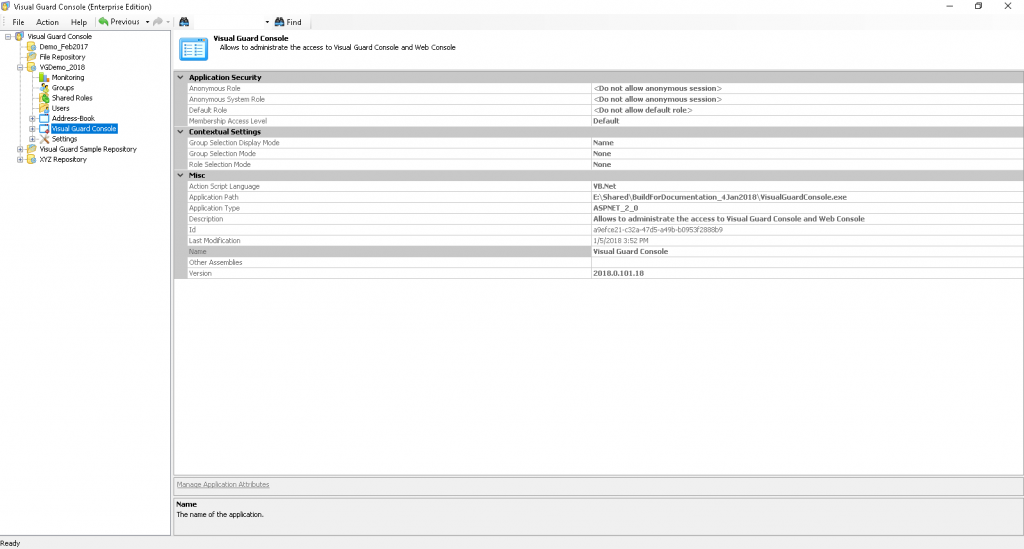
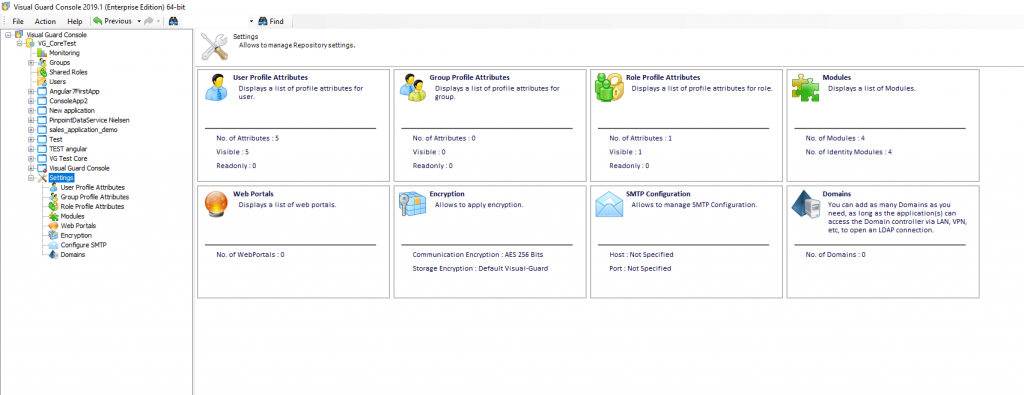
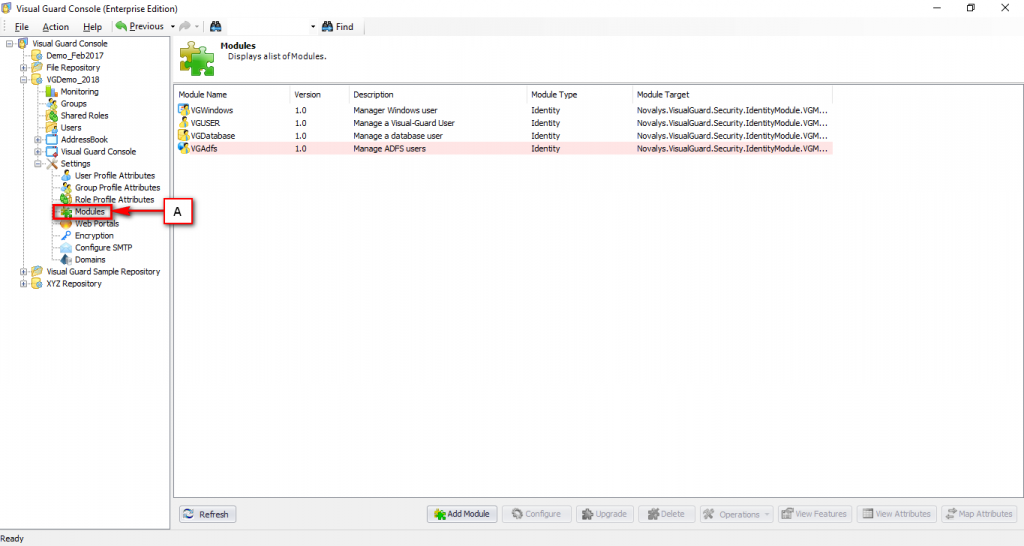
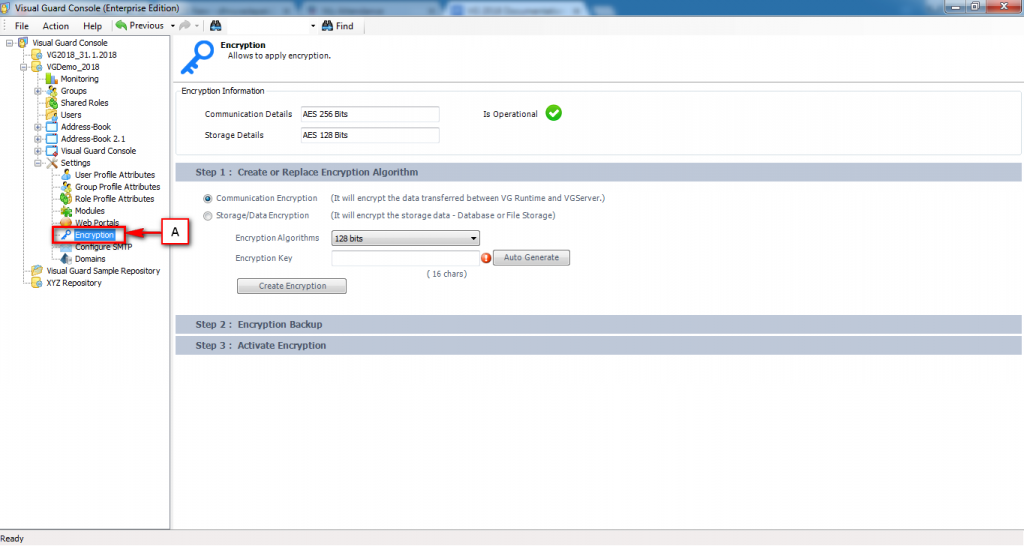
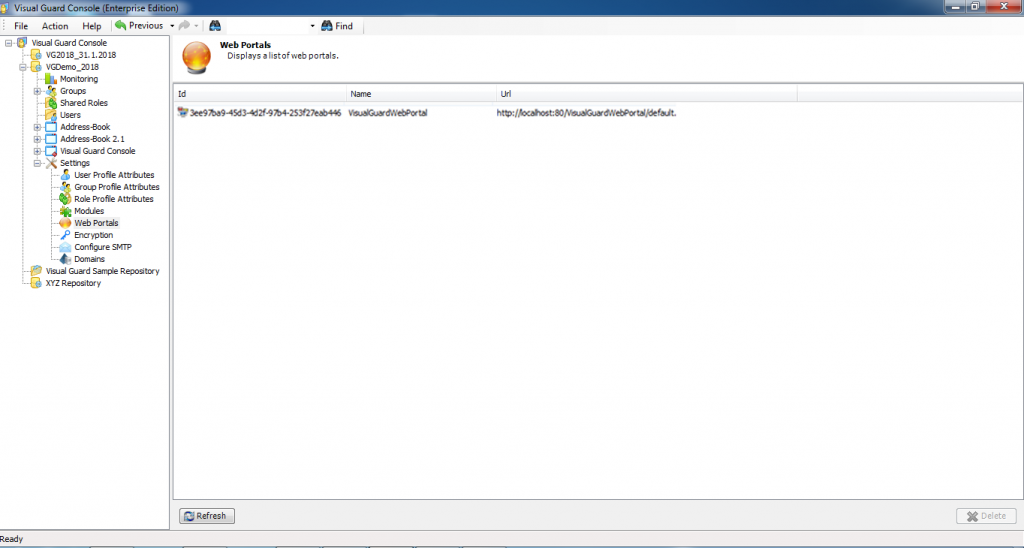
The Visual Guard console will open.
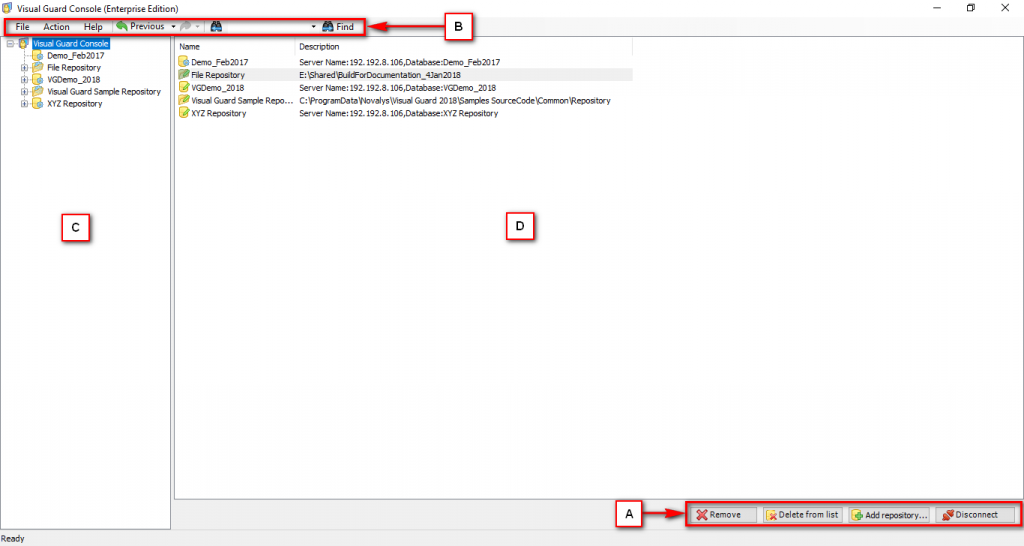
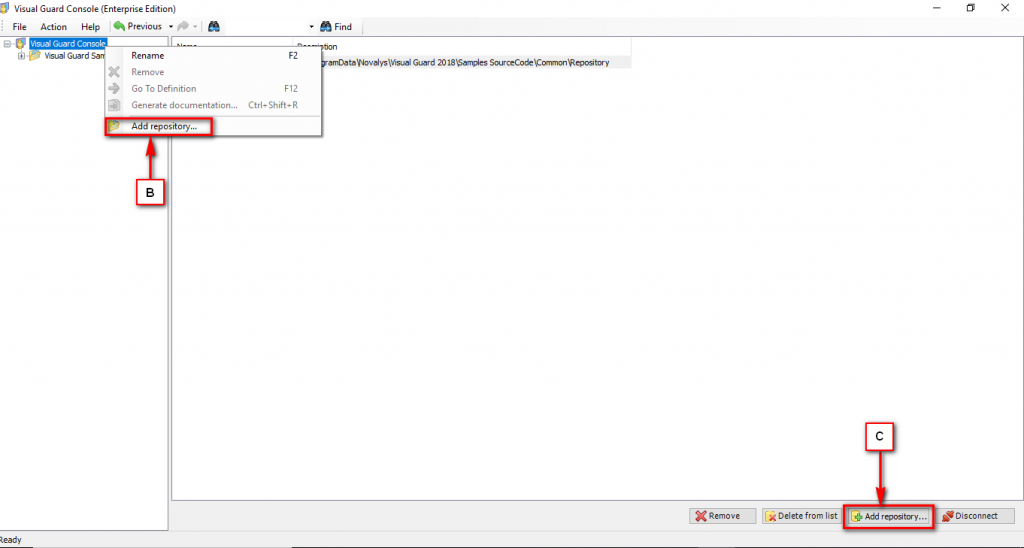
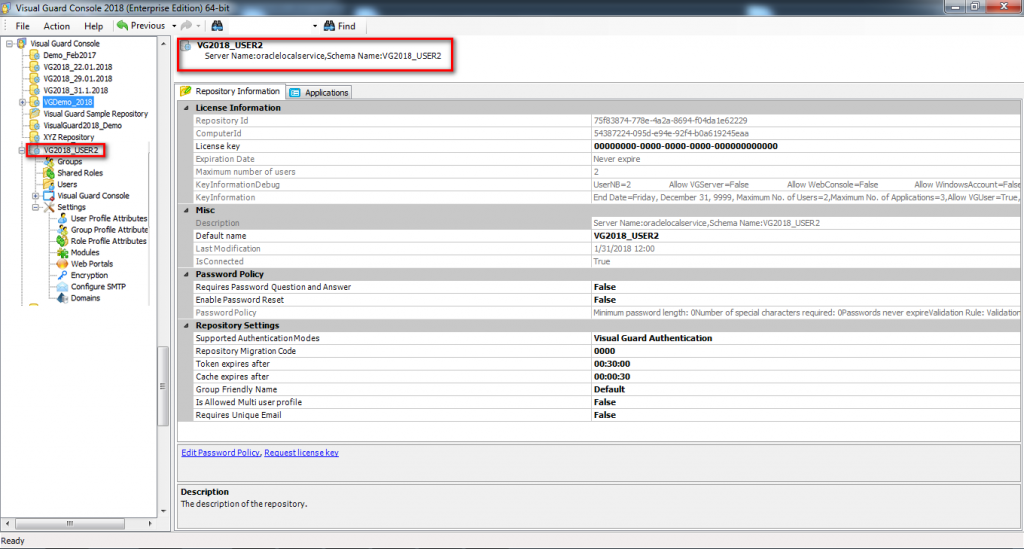
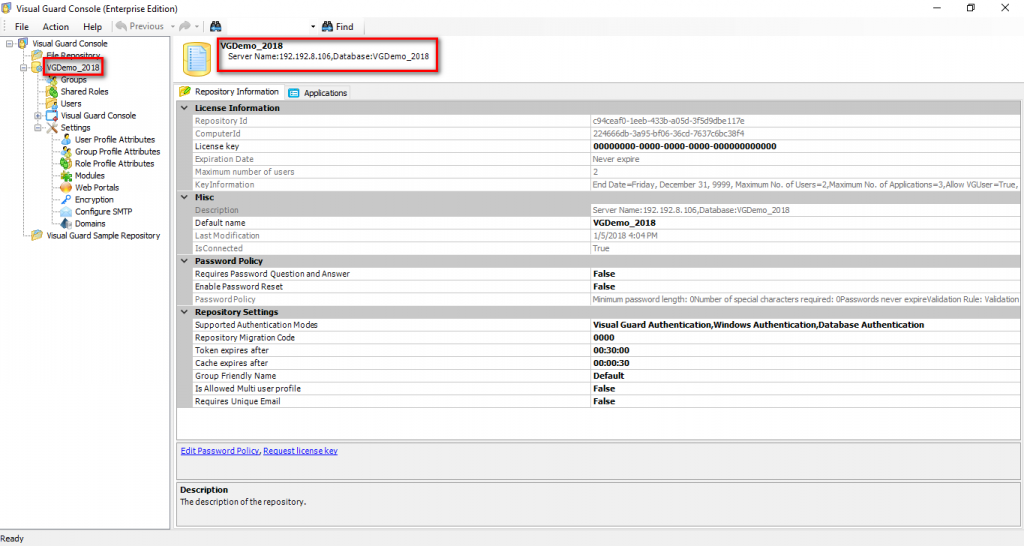
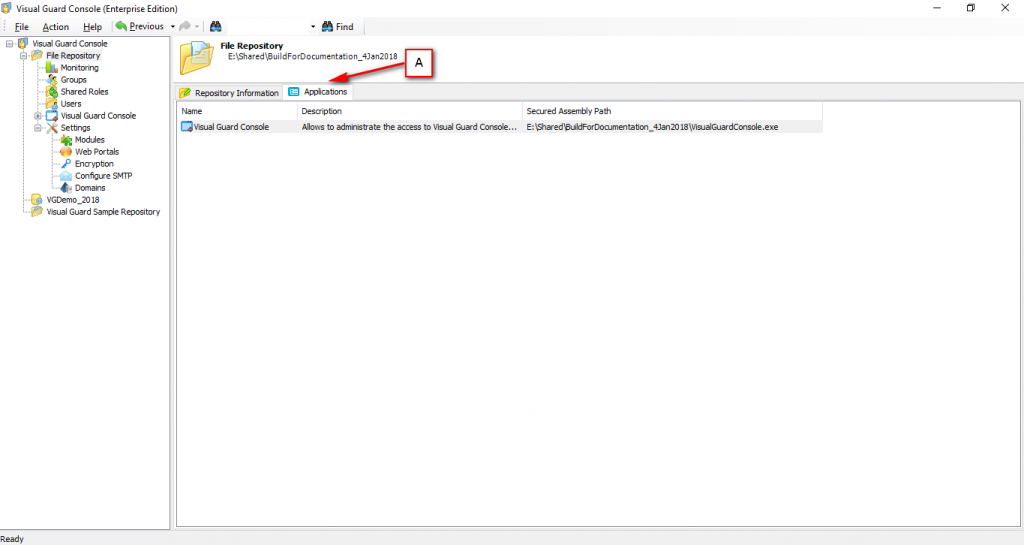
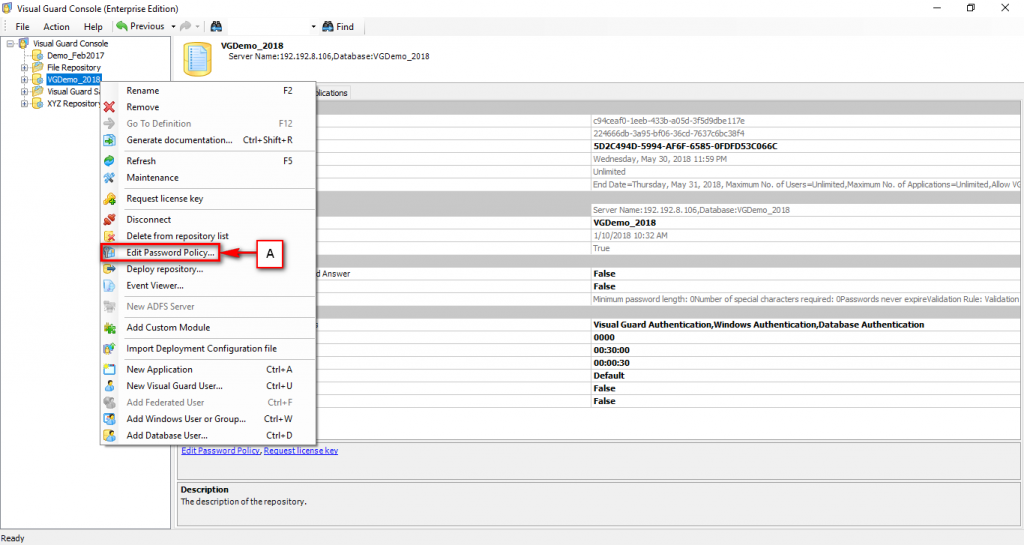
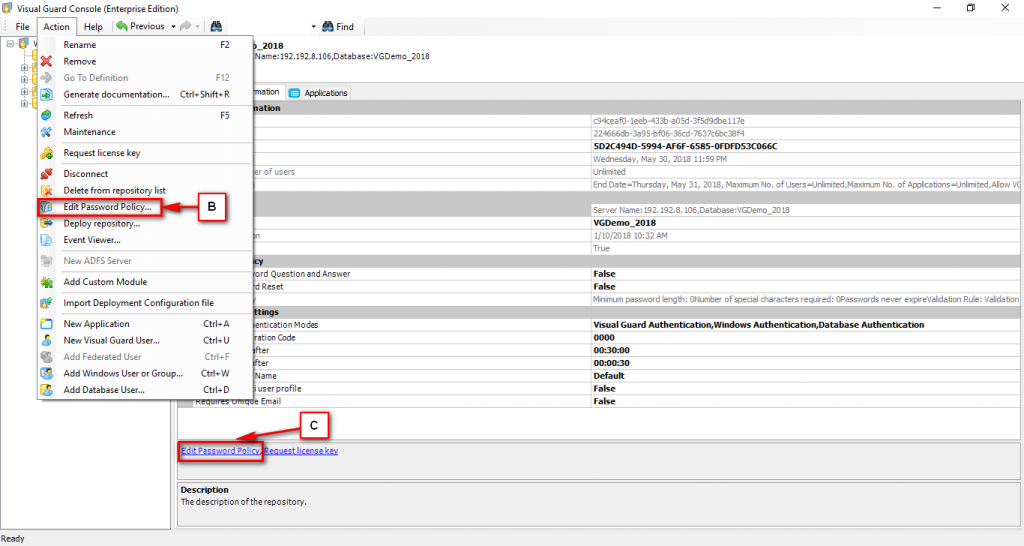
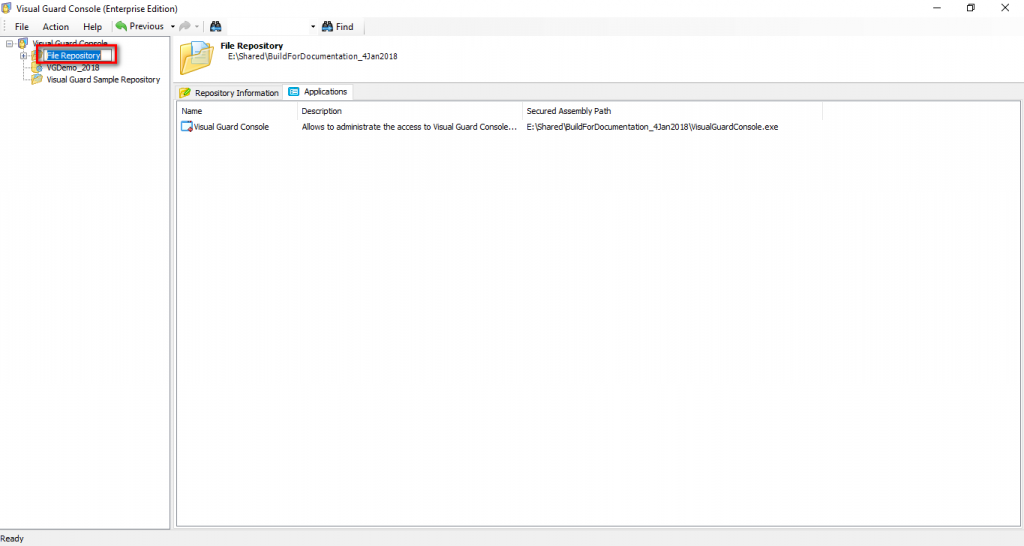
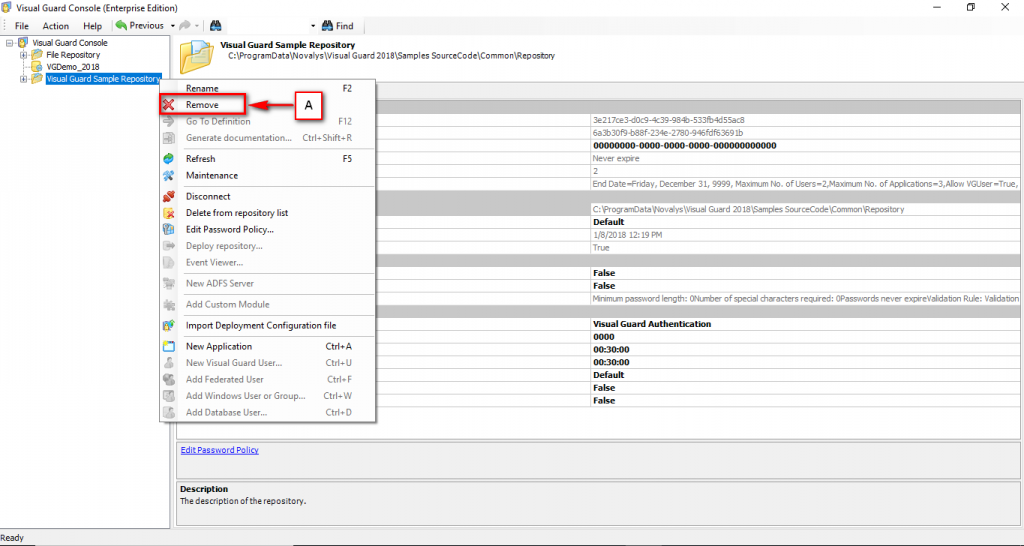
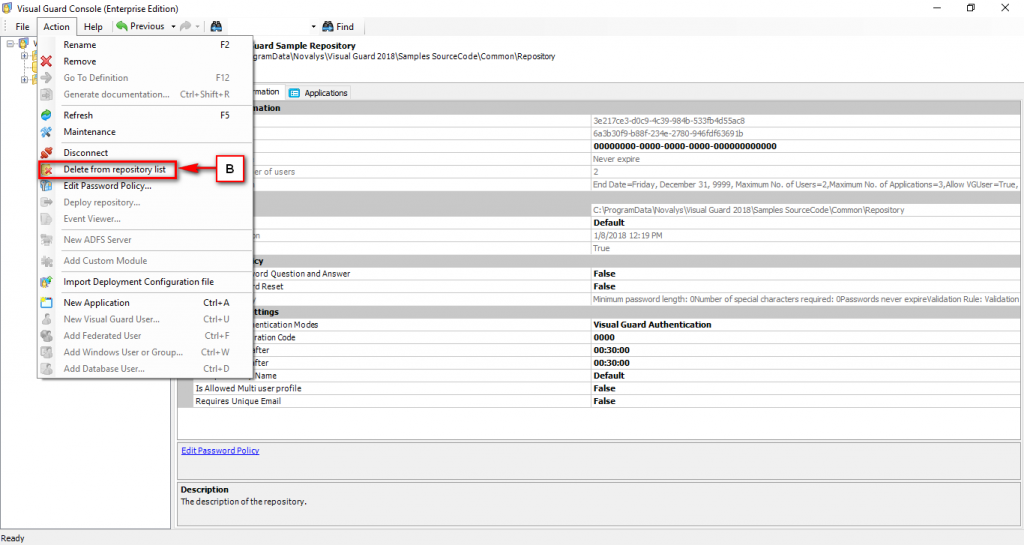
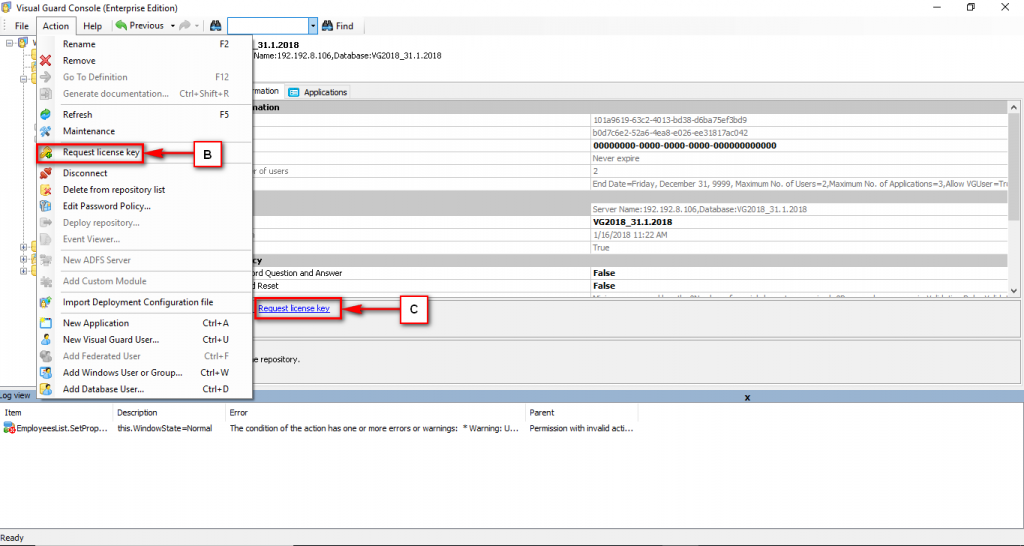
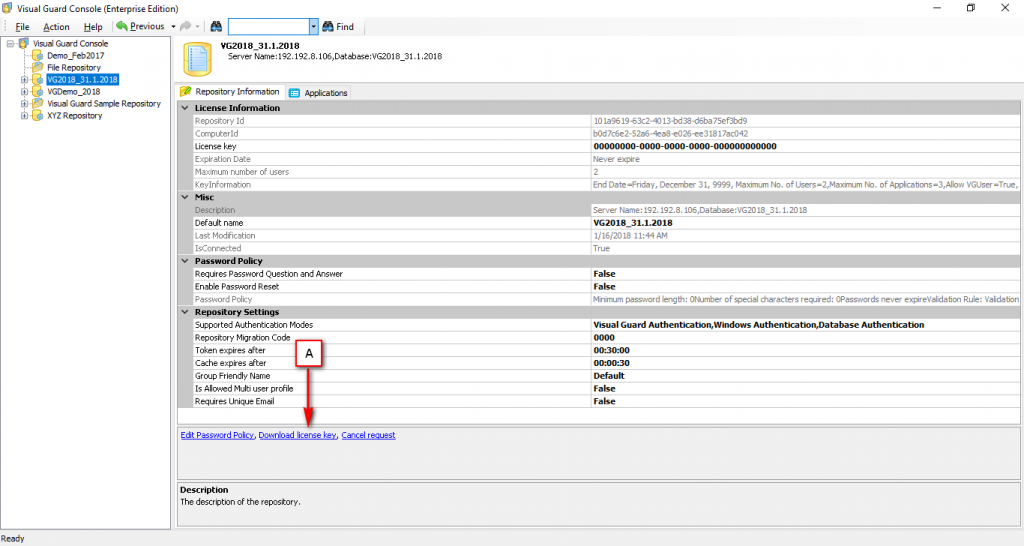
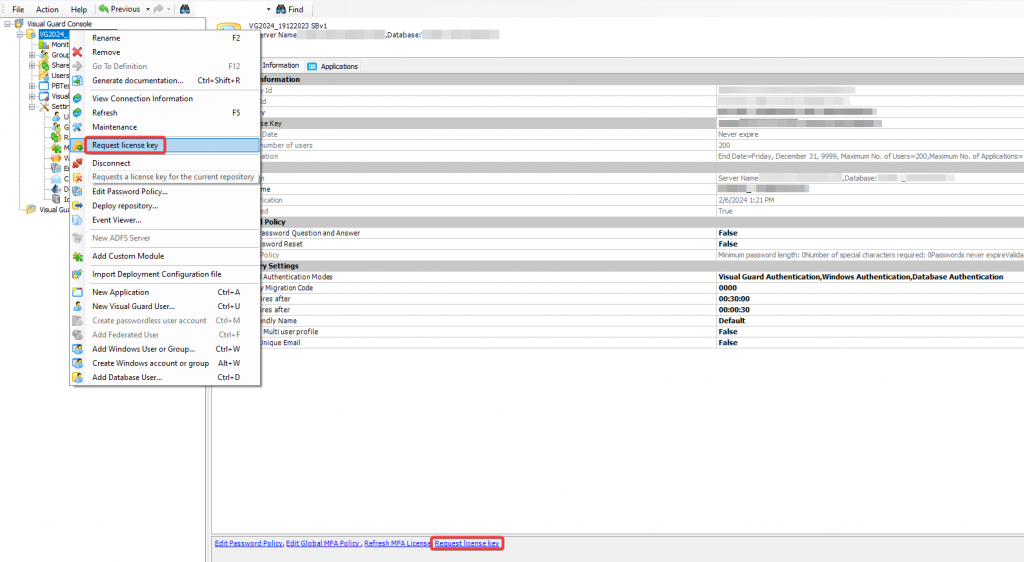
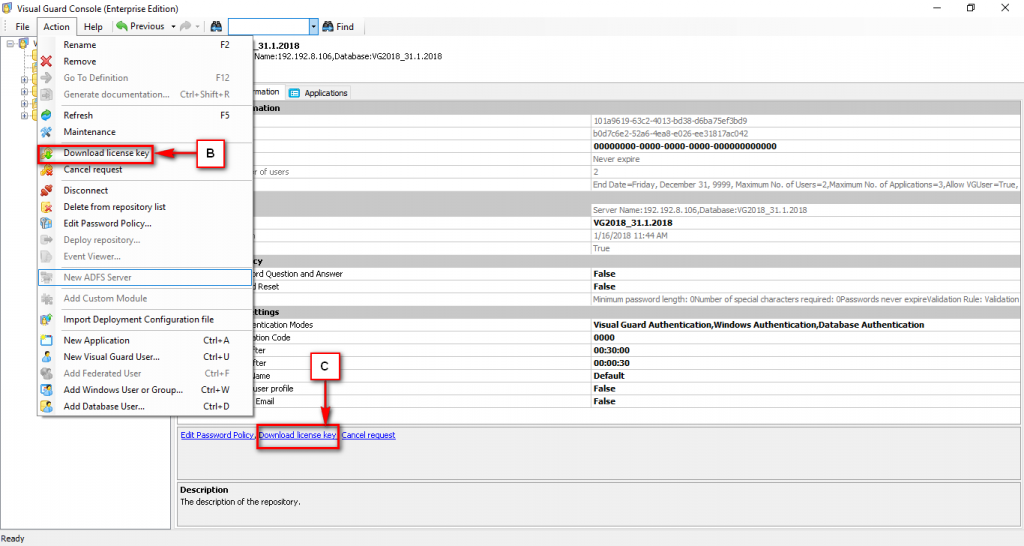
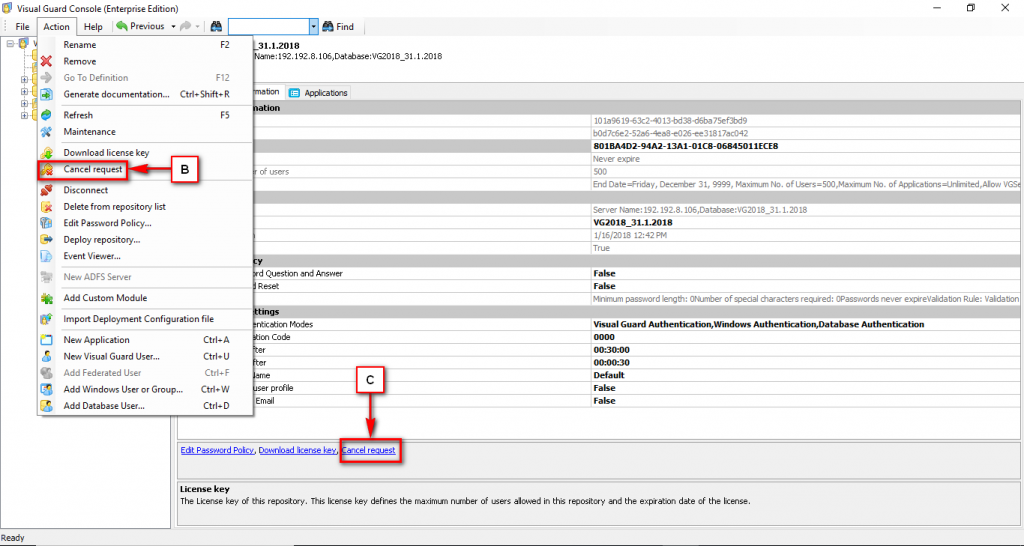
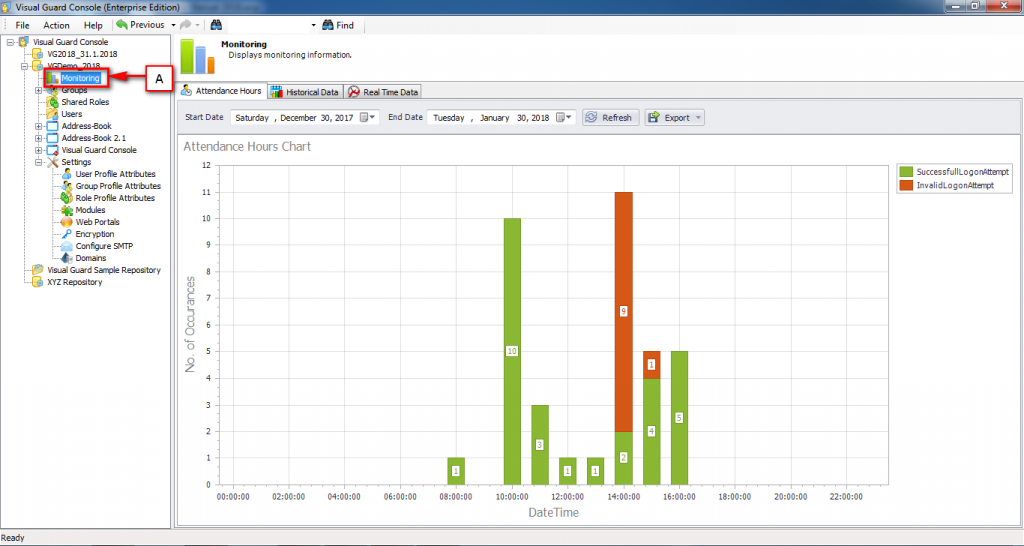
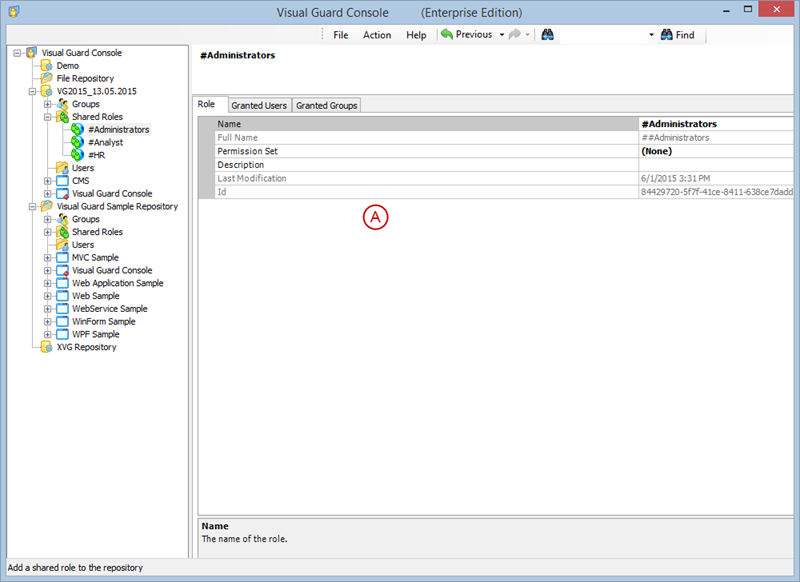
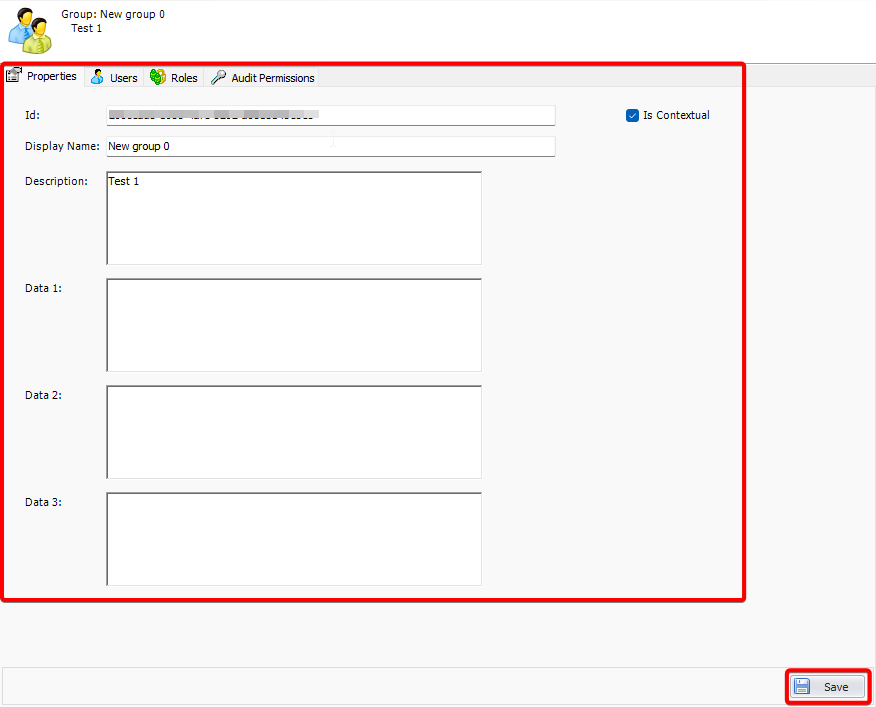
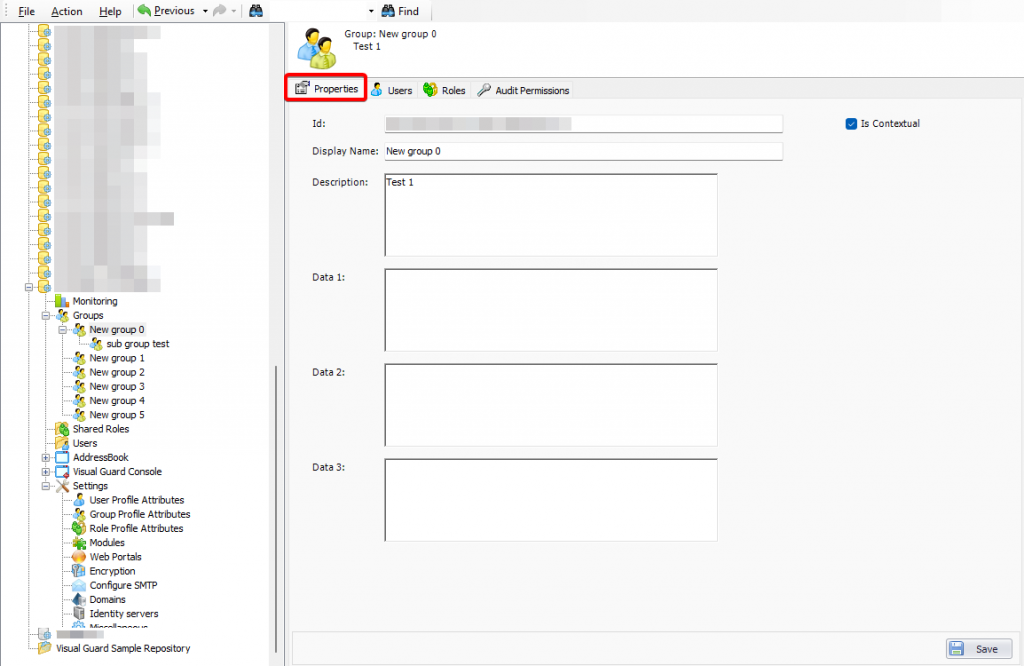
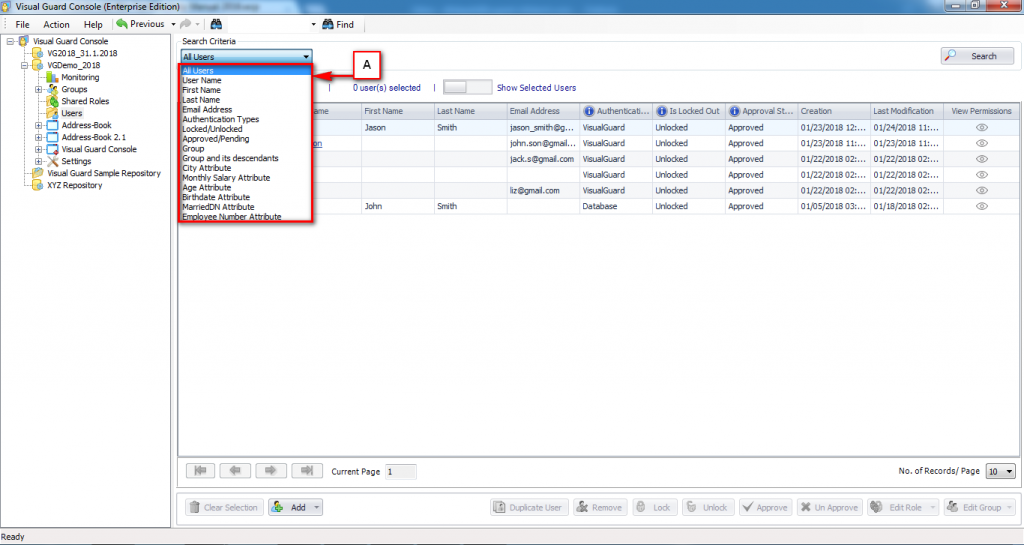
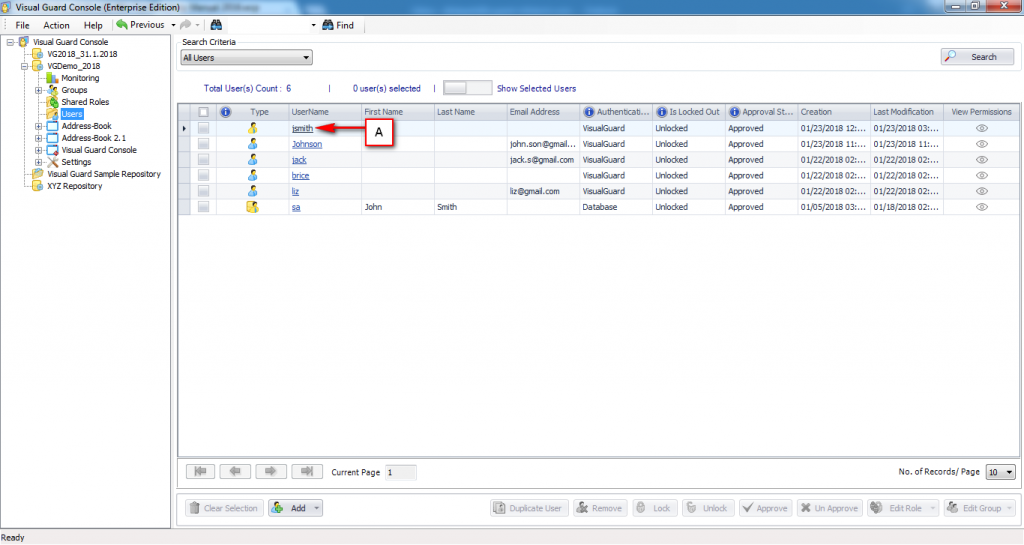
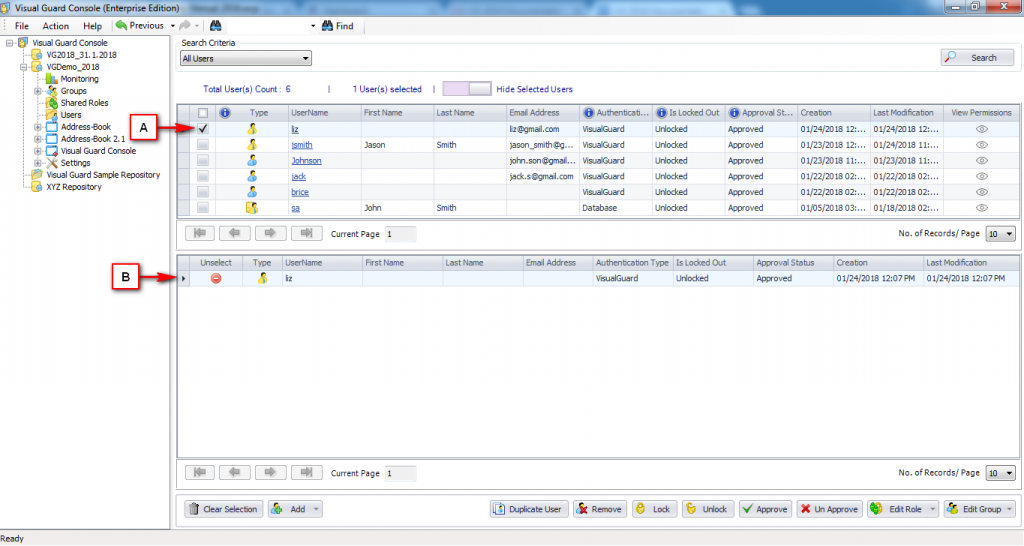
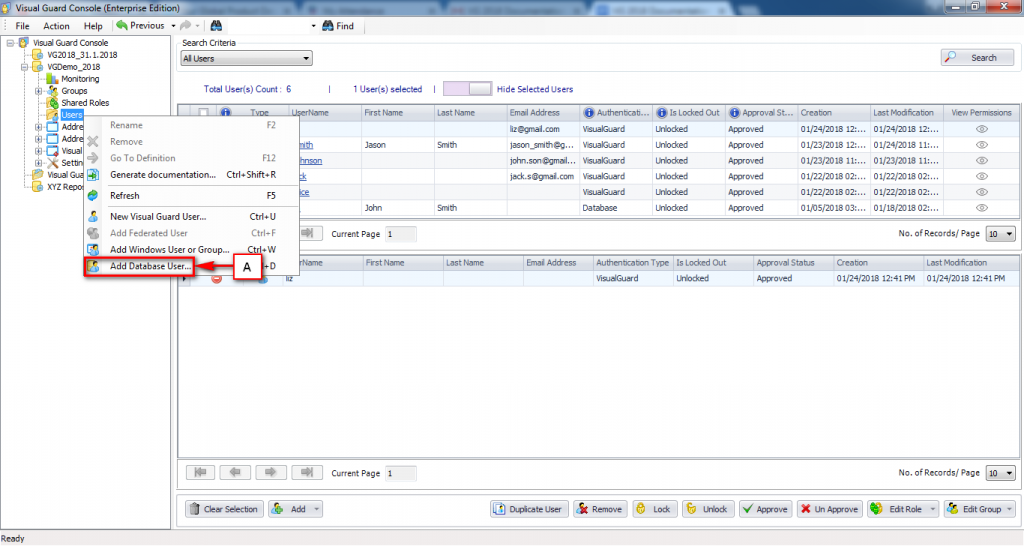
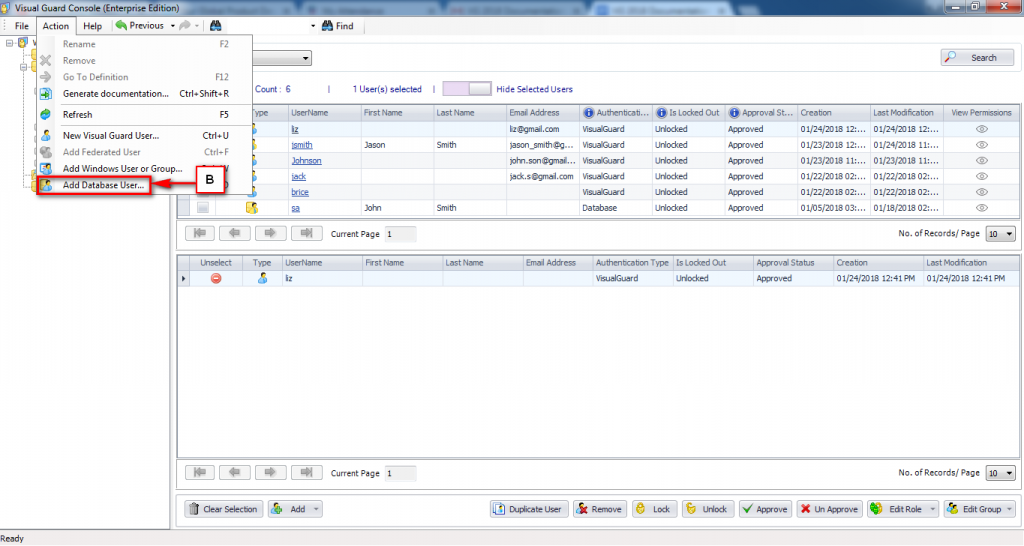
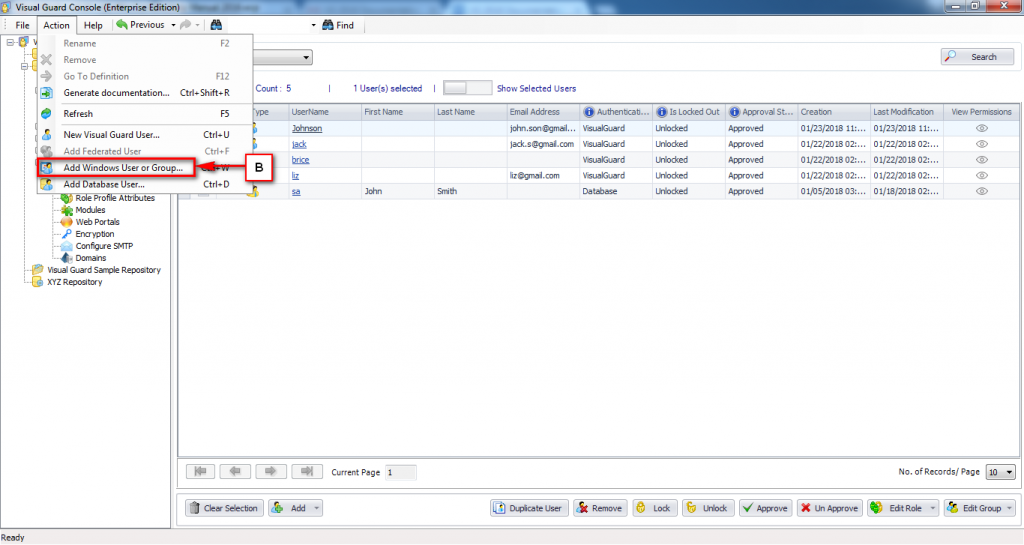
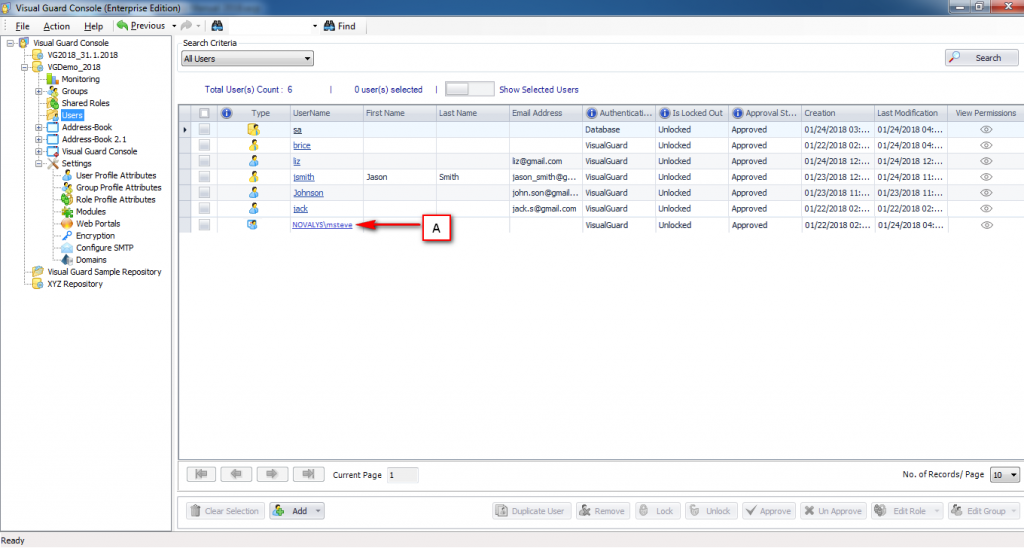
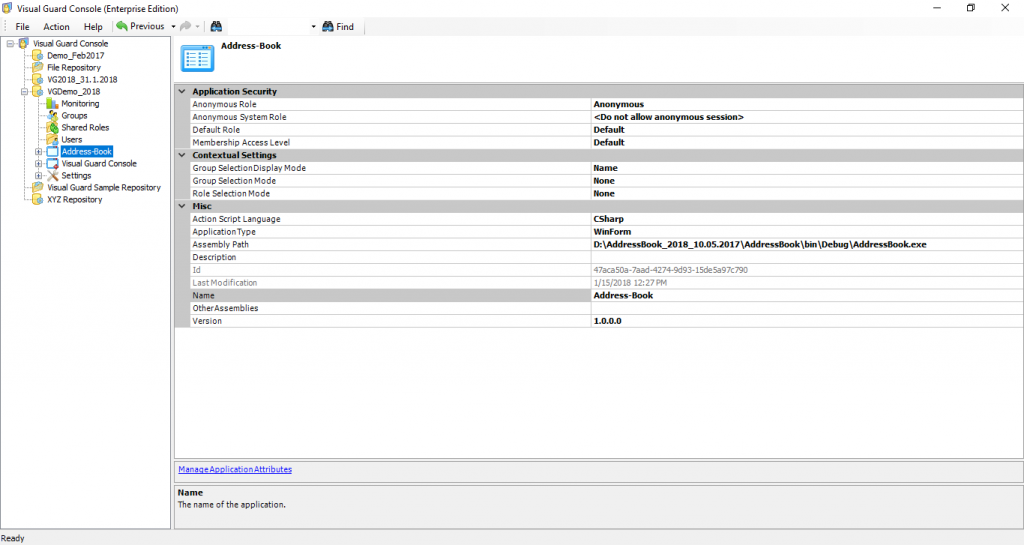
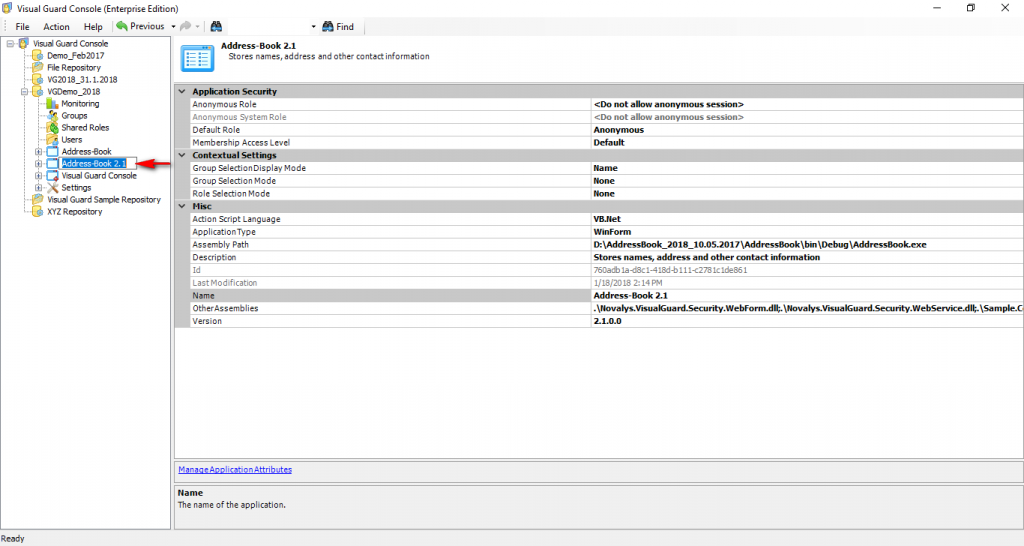
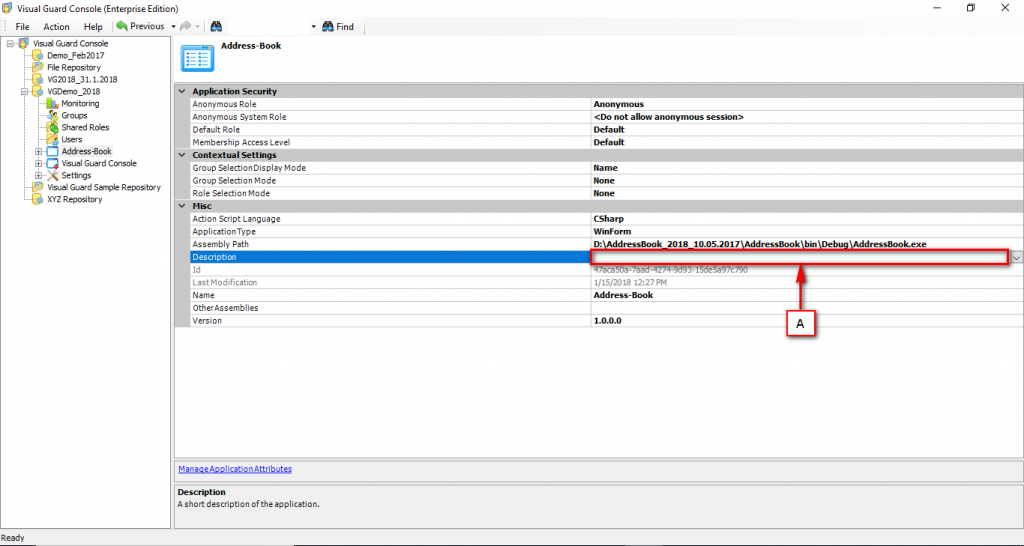
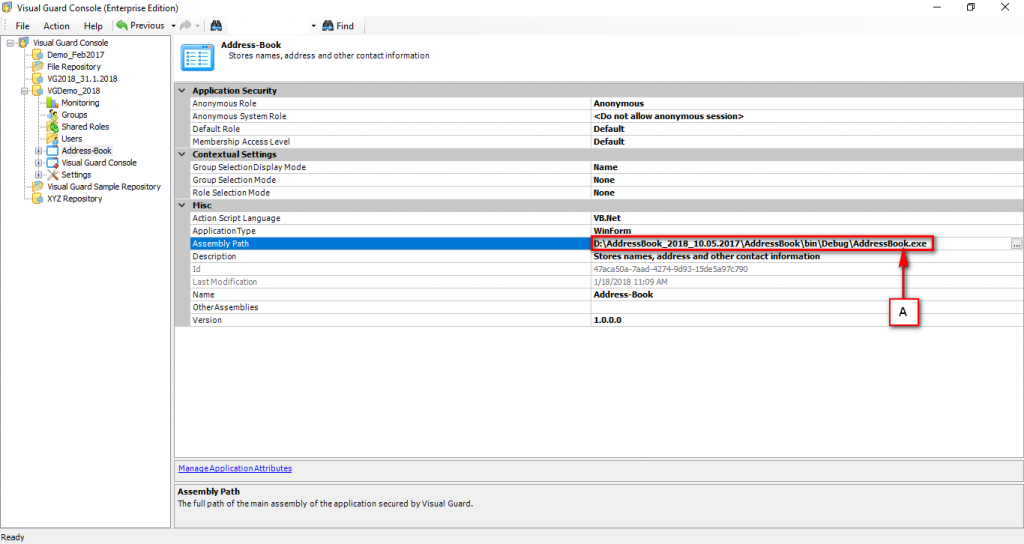
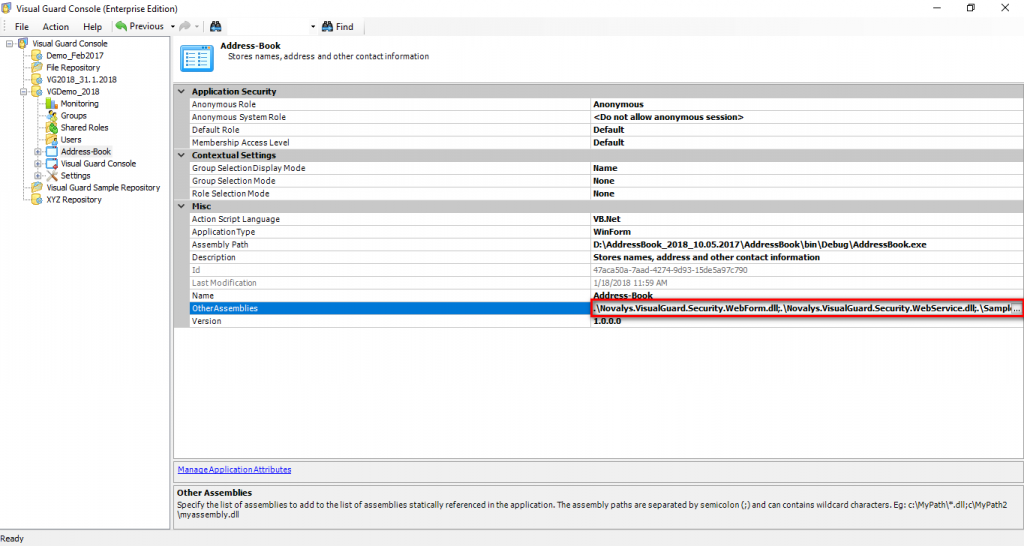
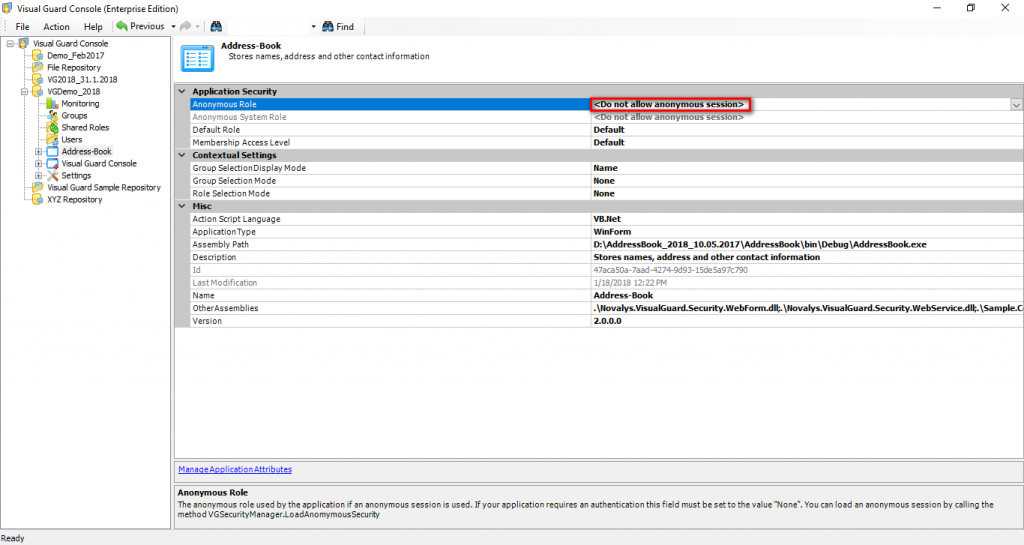
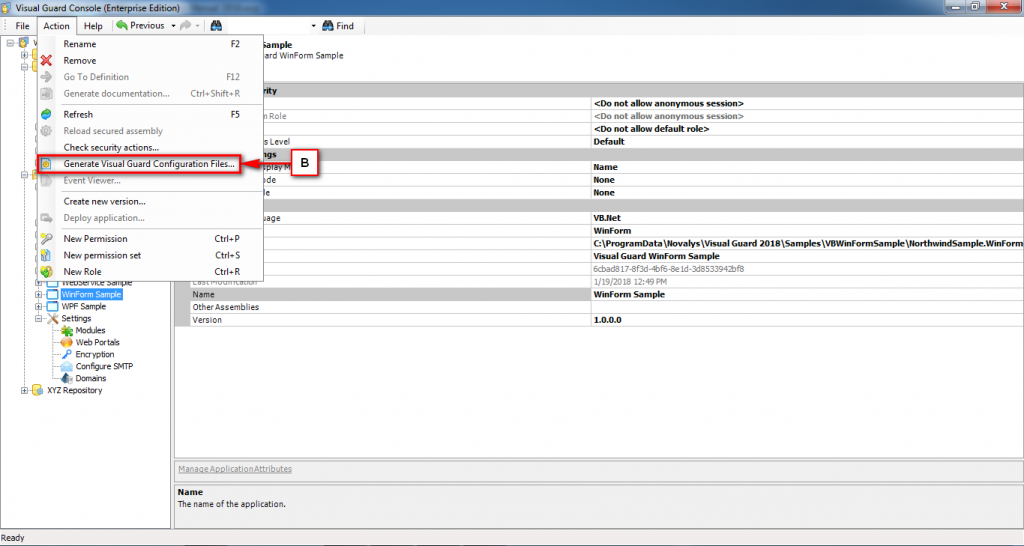
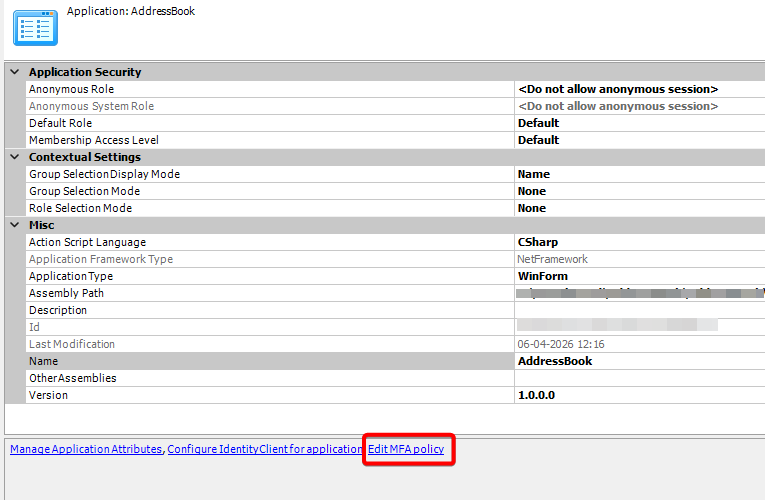
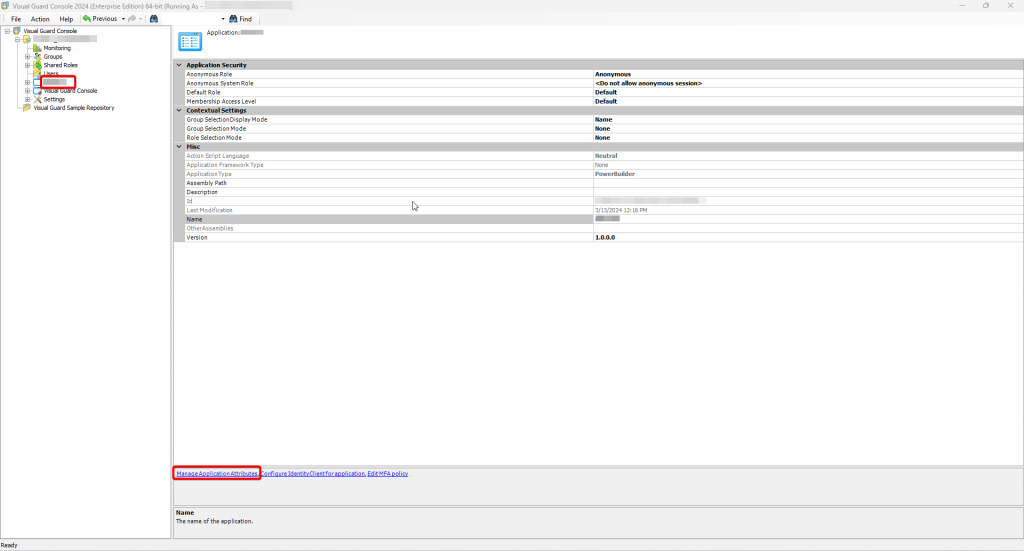
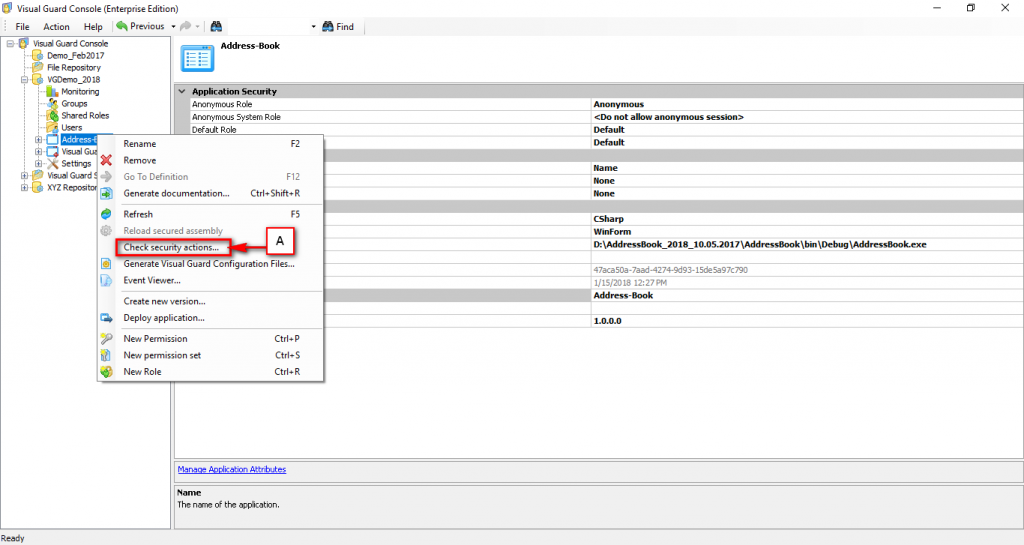
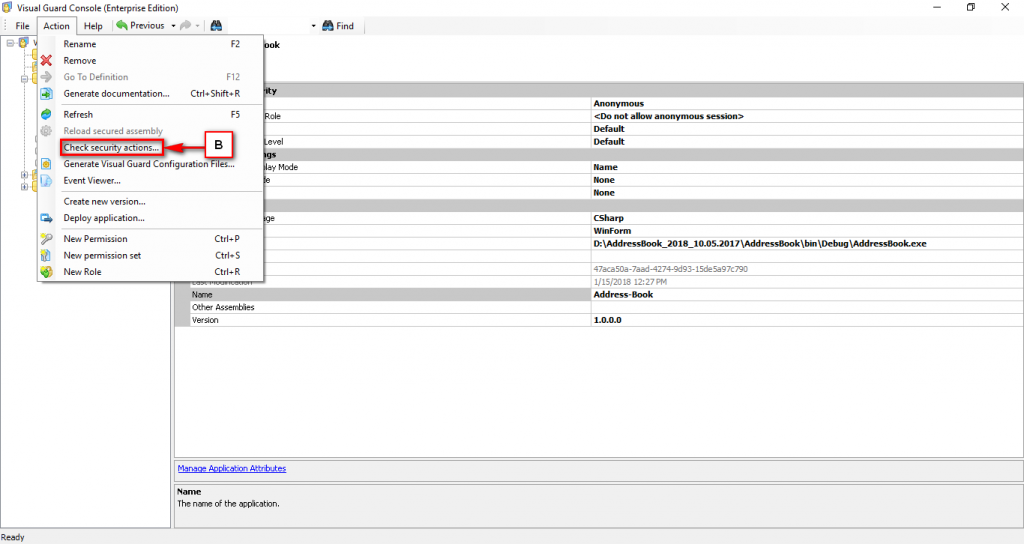
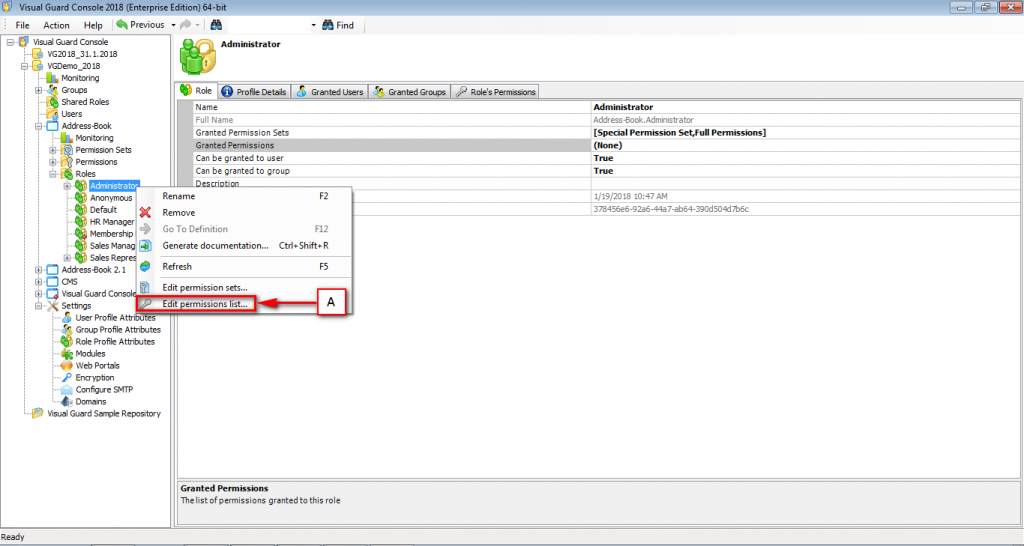
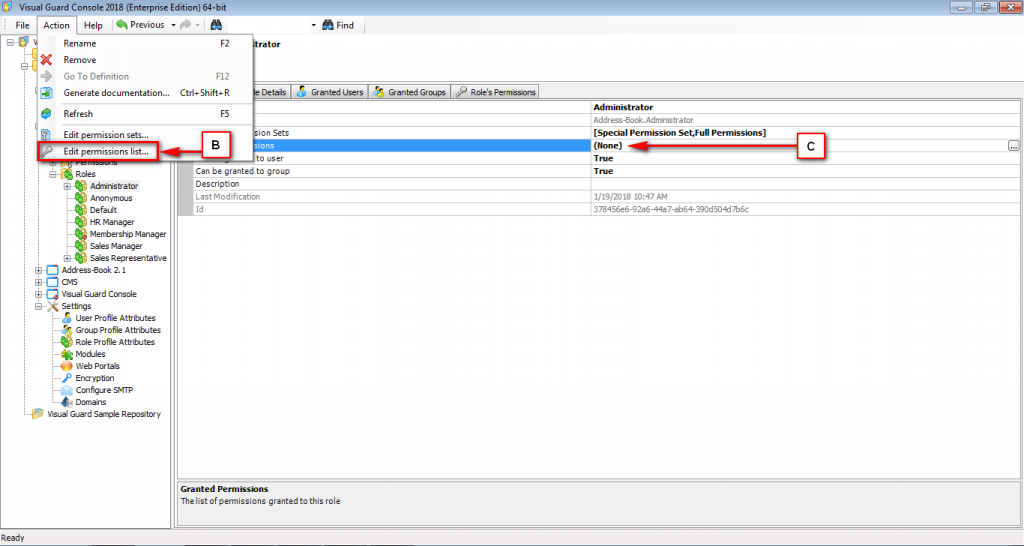
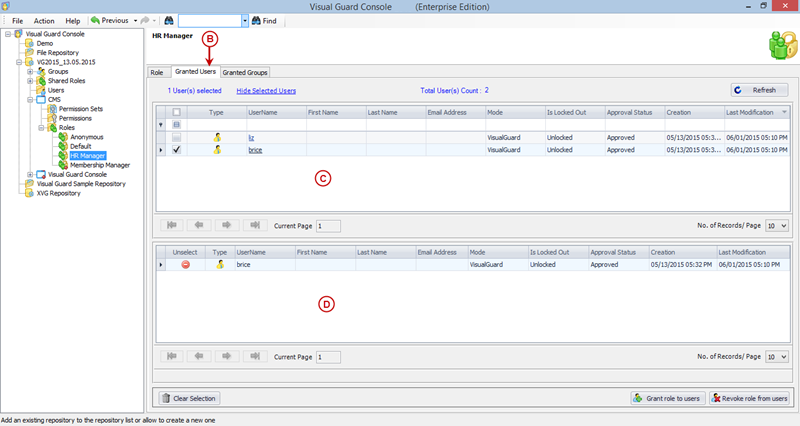
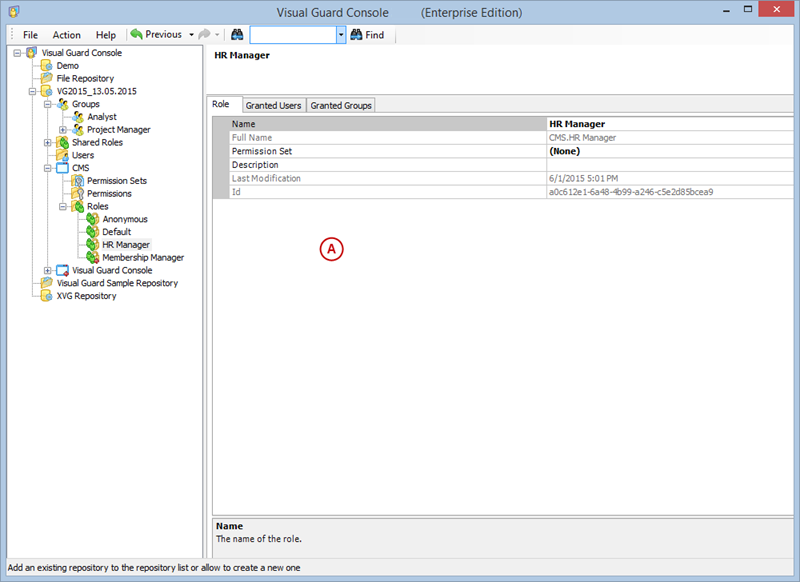
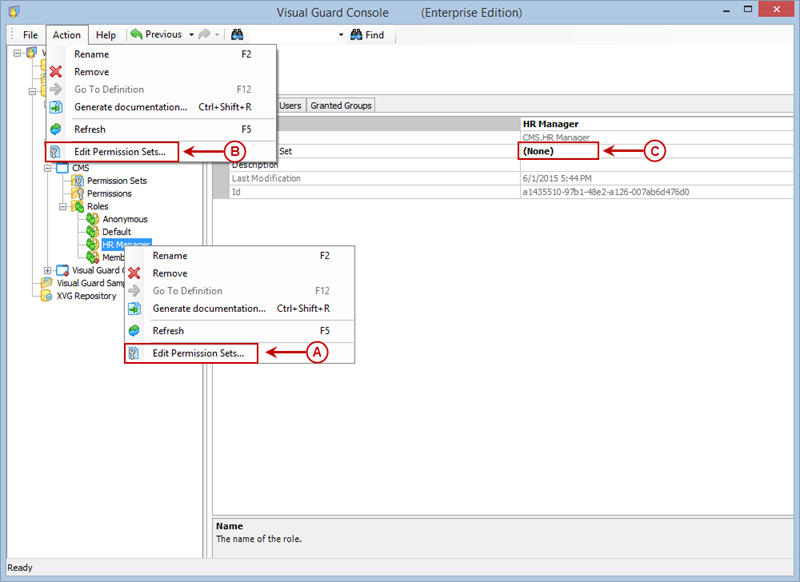
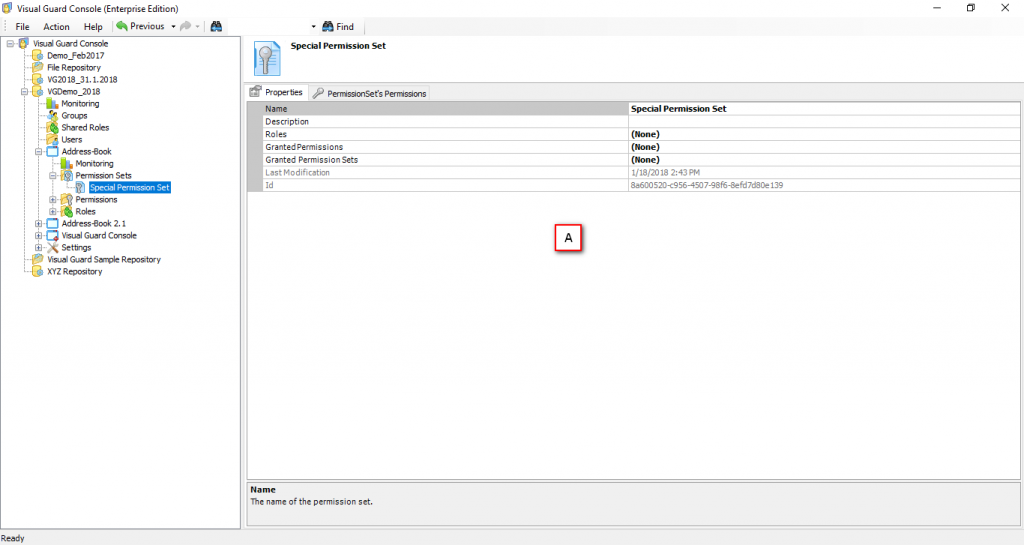
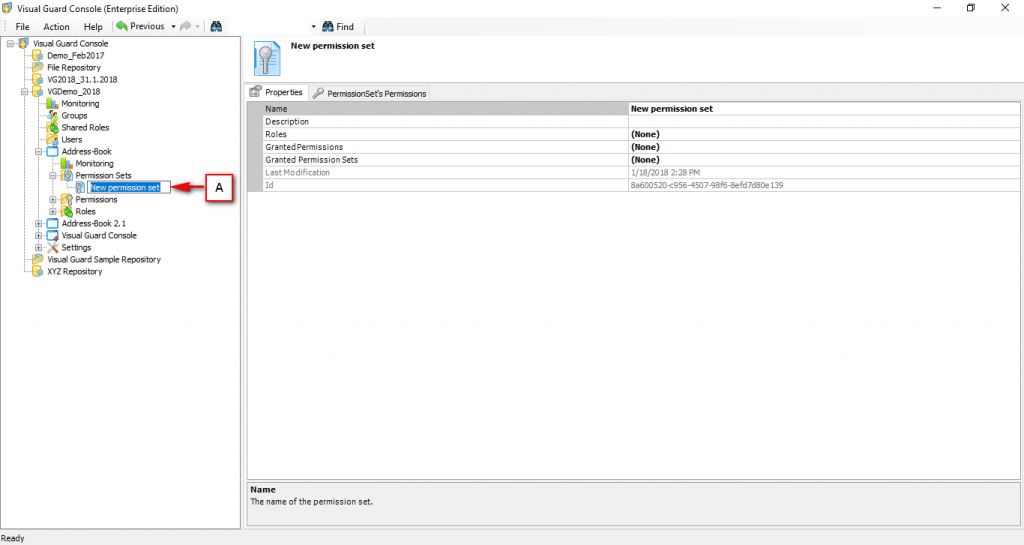
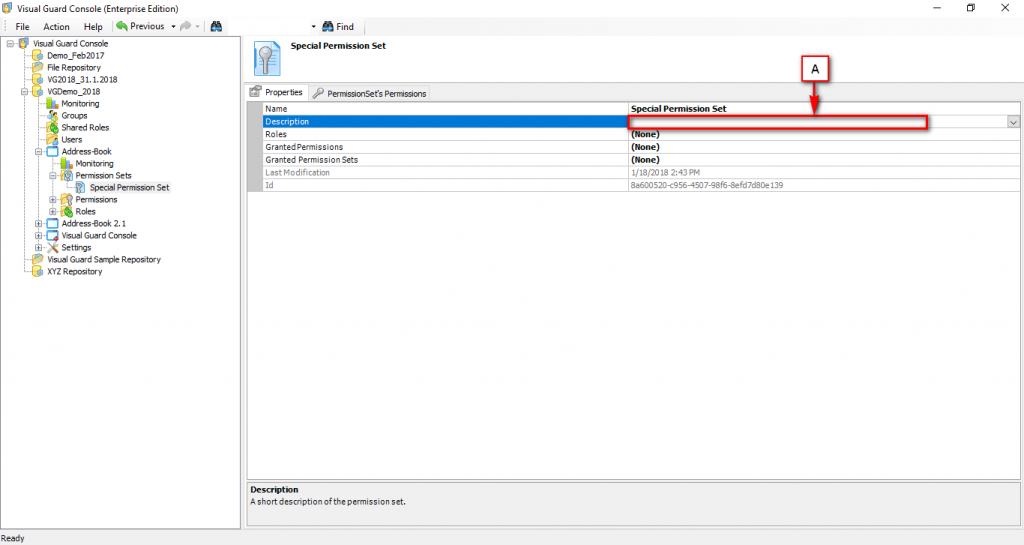
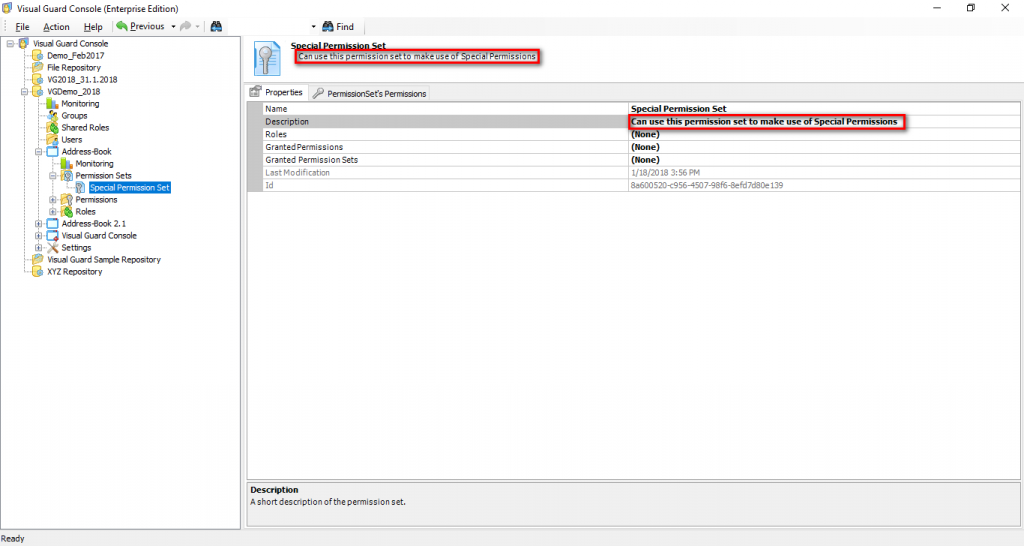
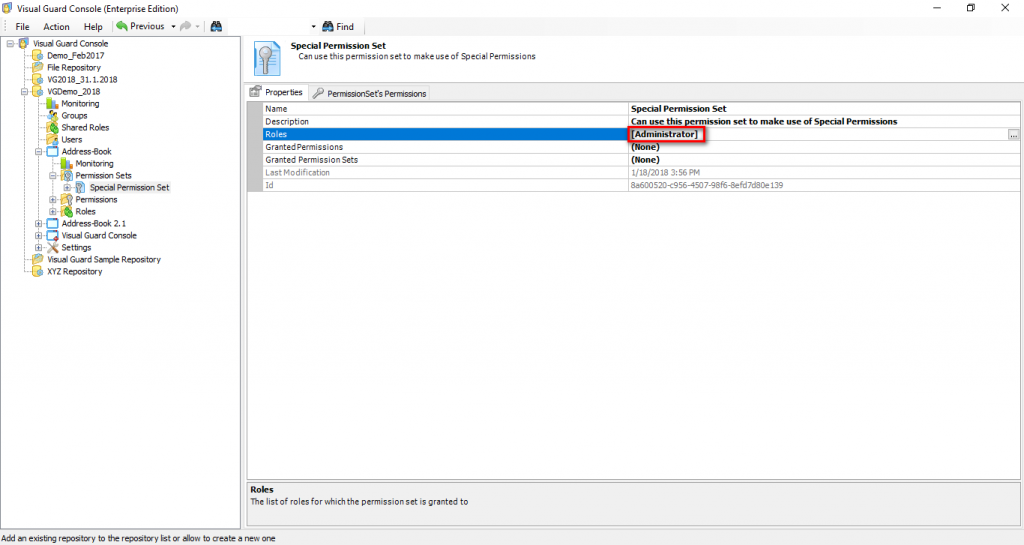
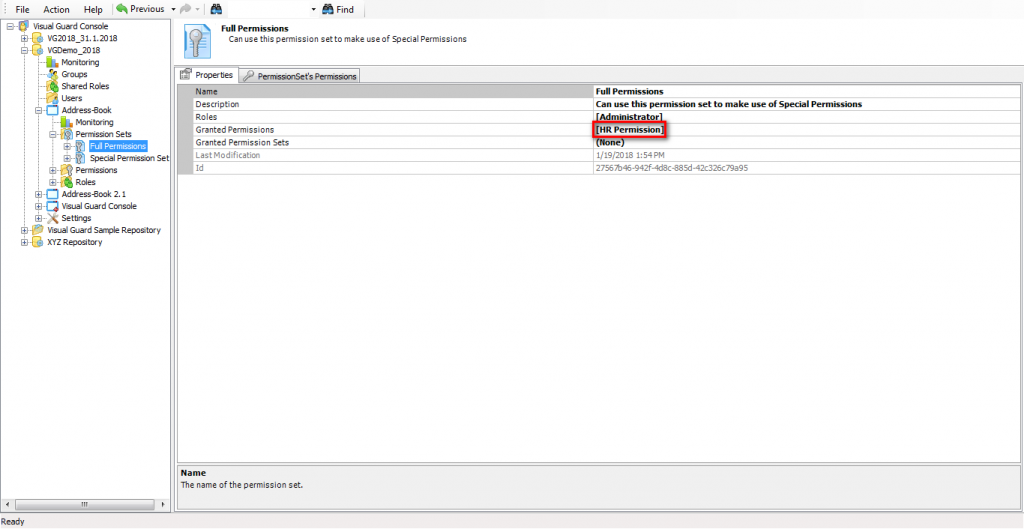
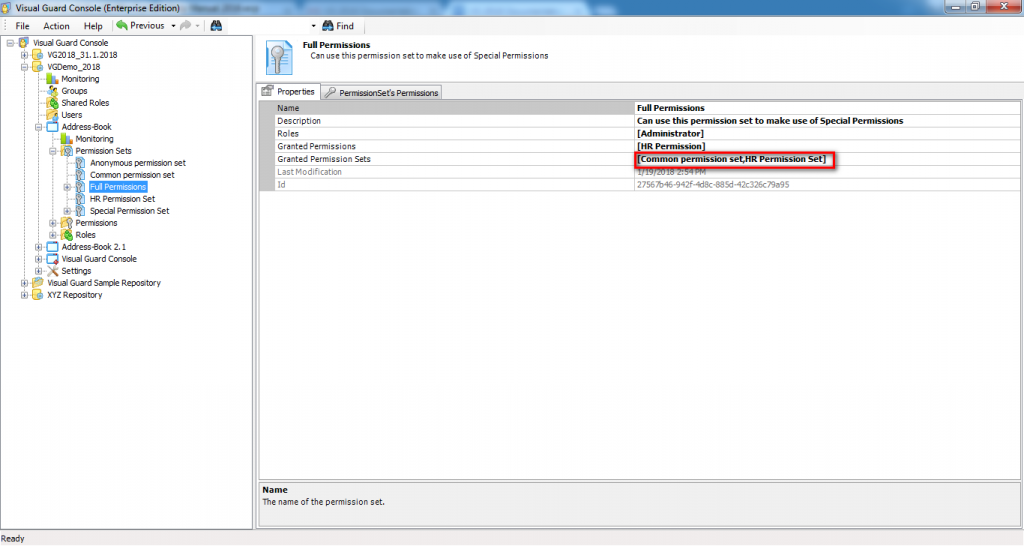
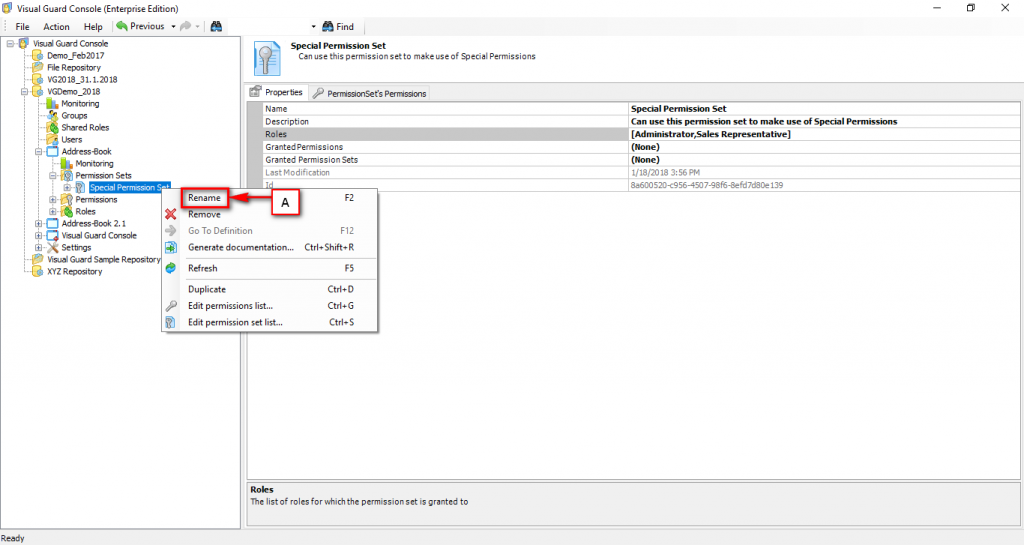
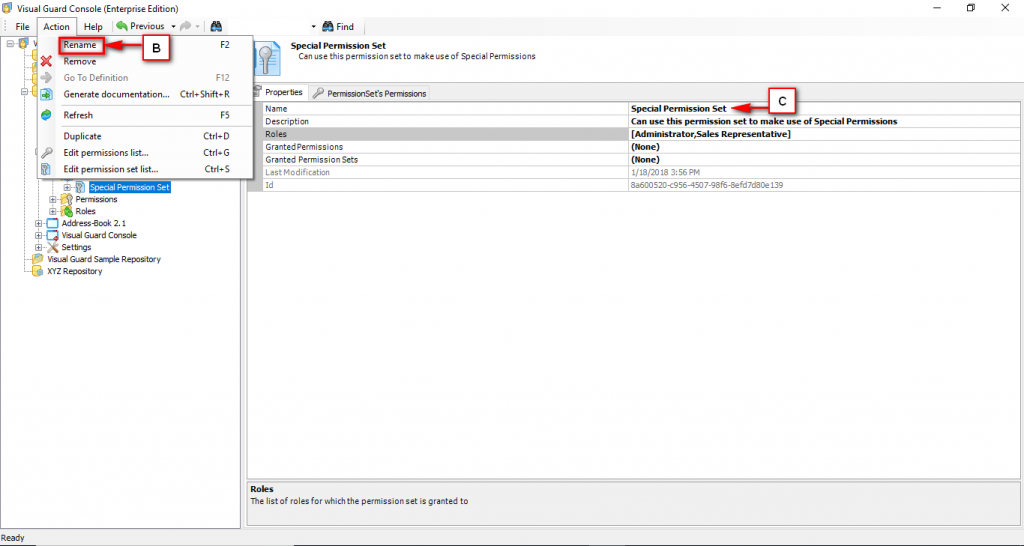
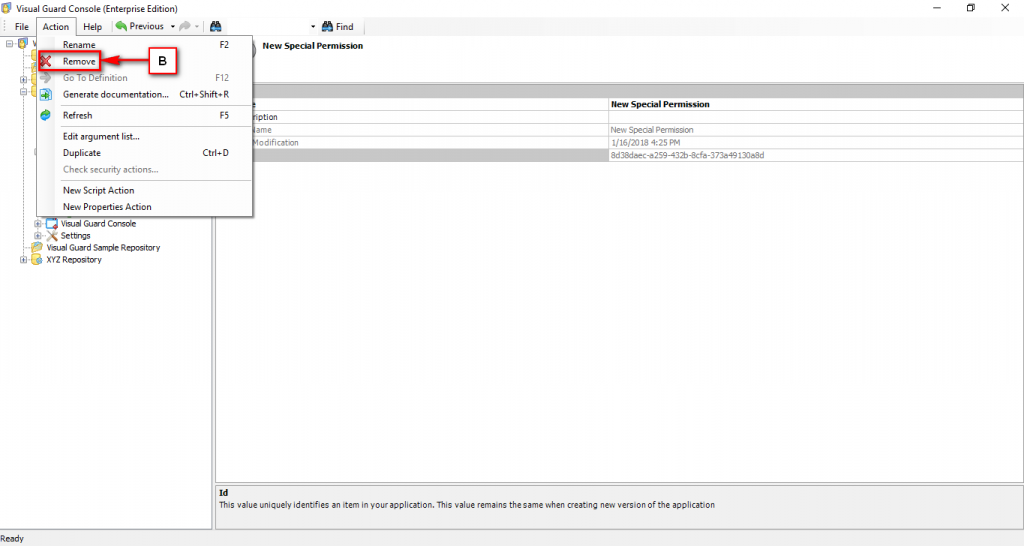
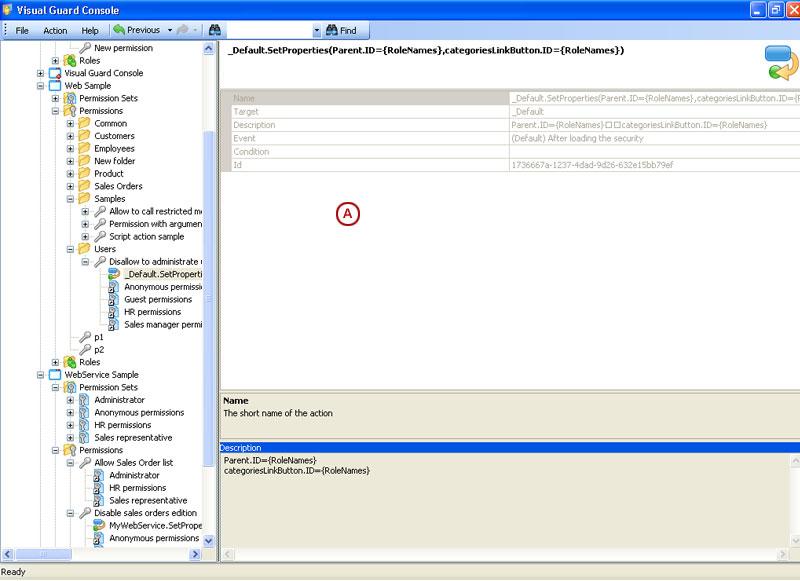
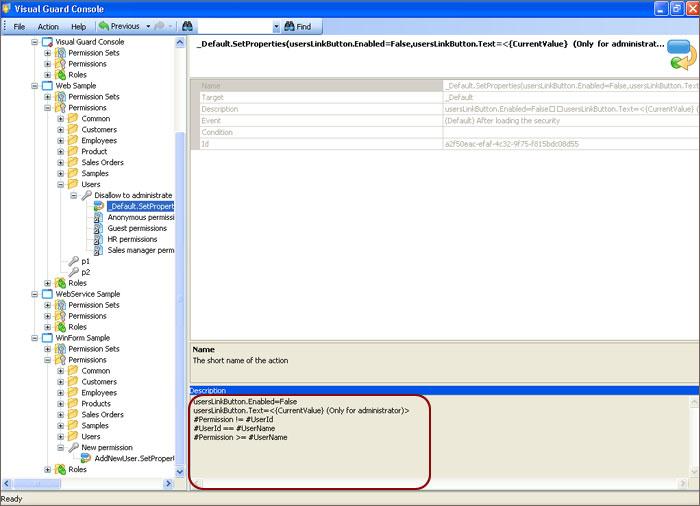
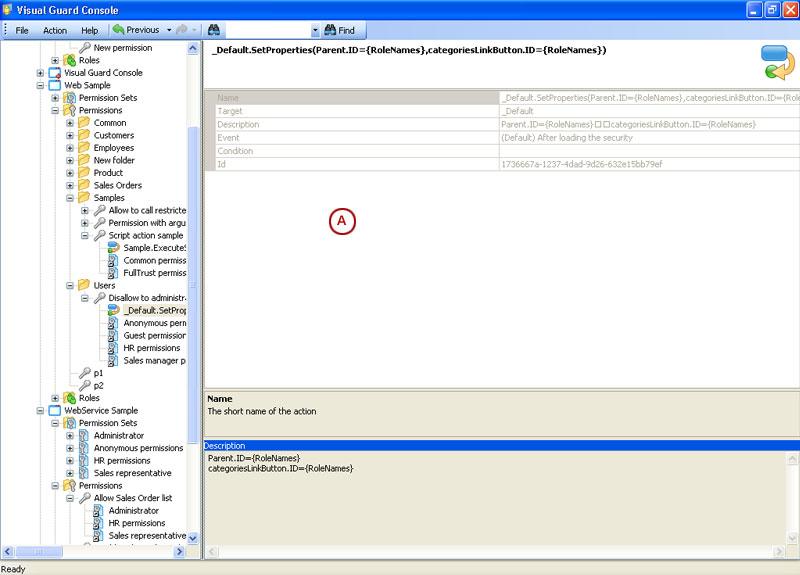
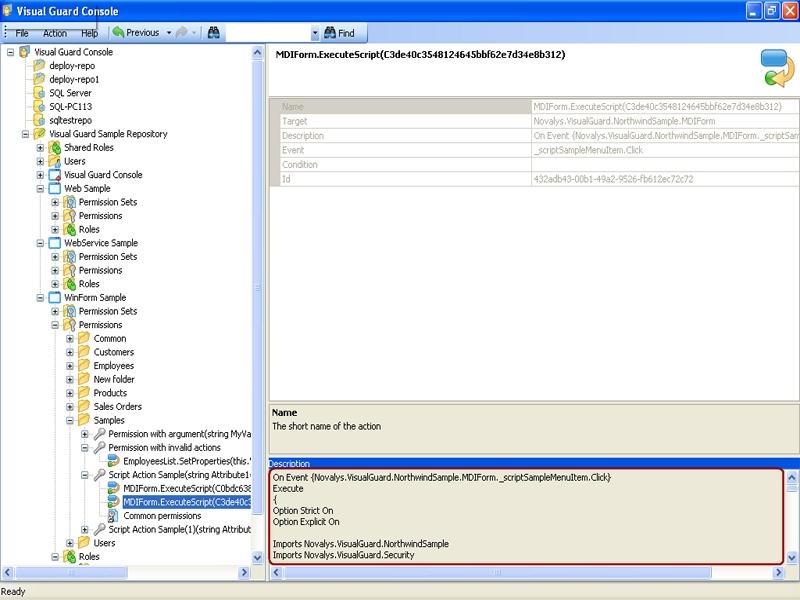
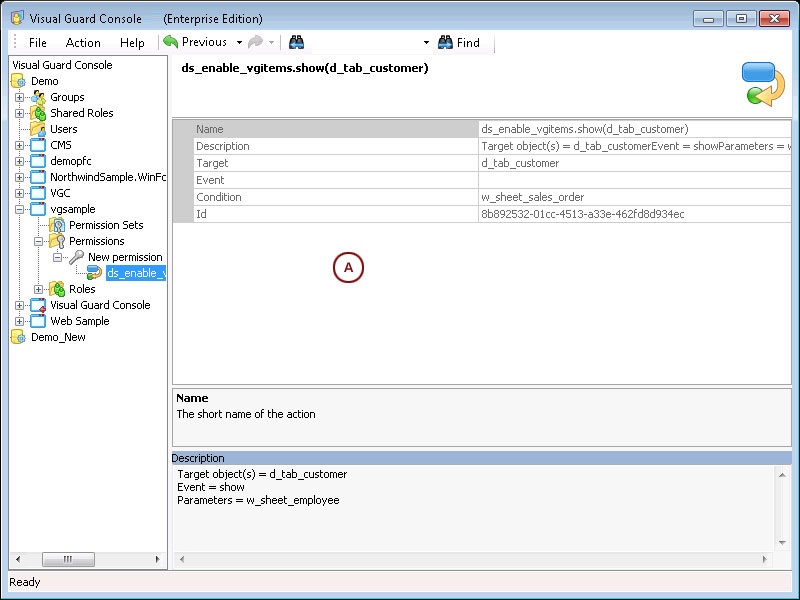
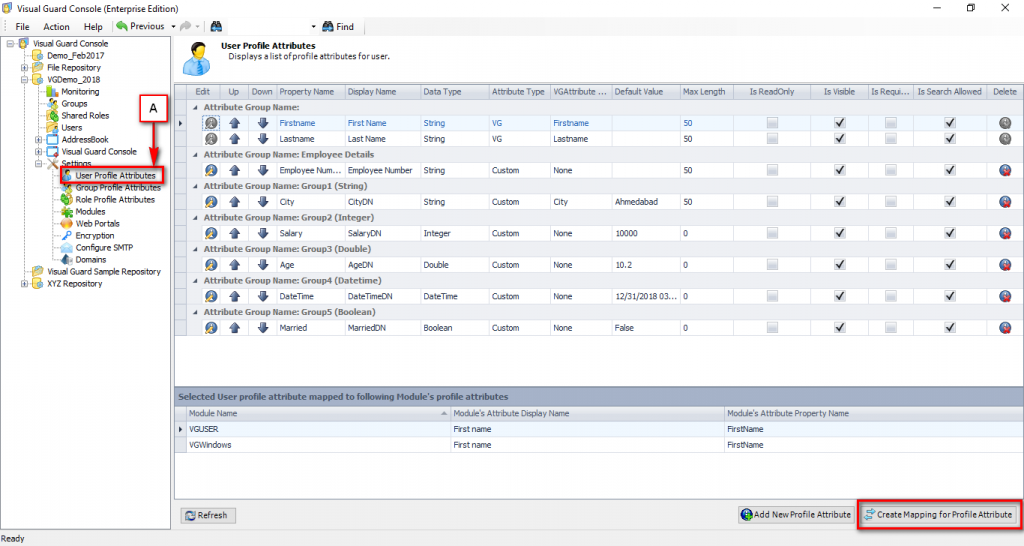
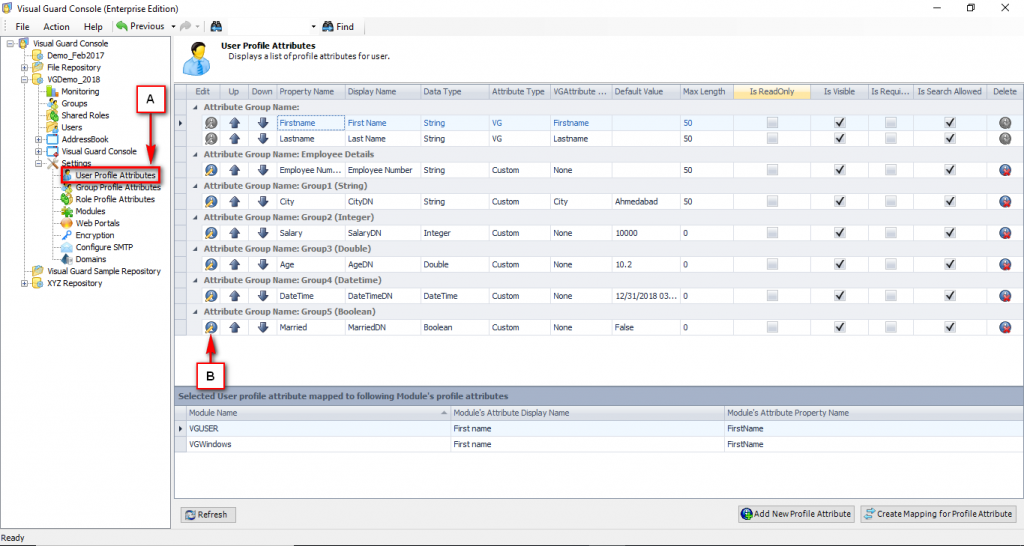
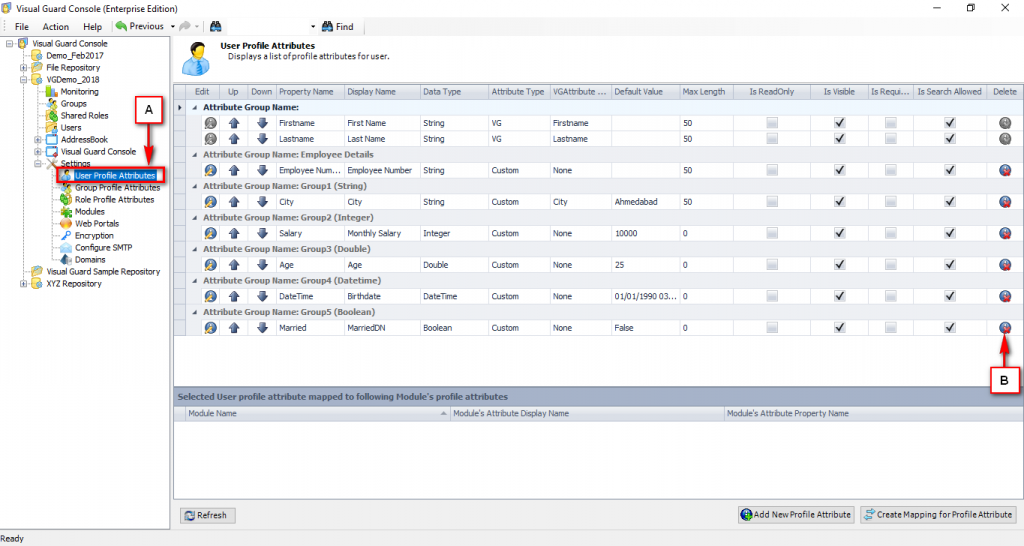
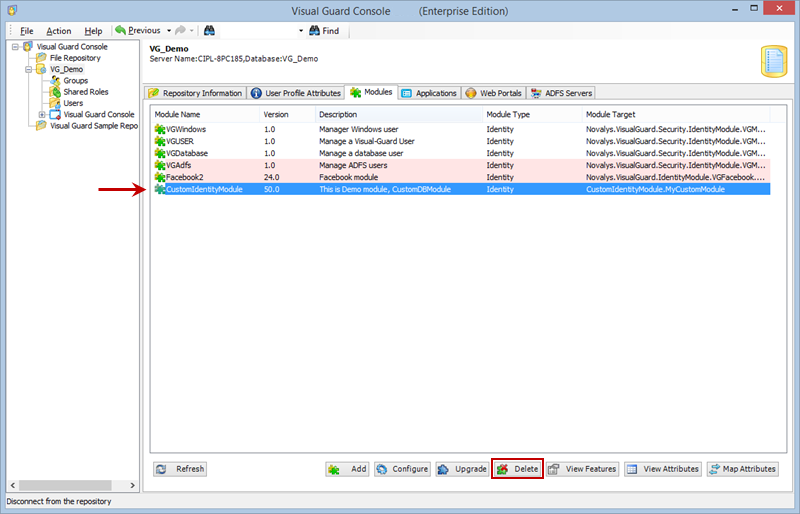
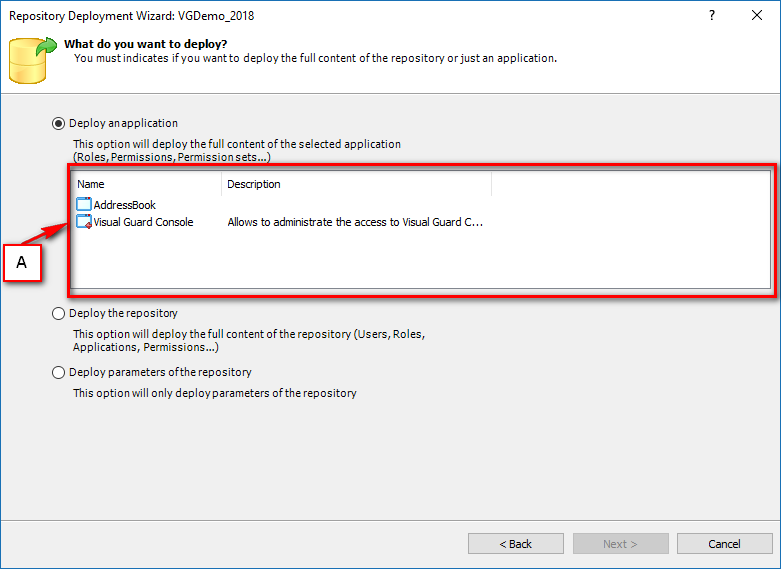
Repository Management Panel (A): This will display the options to manage the repository. This option may change depending upon the selection made in the Left Navigation Panel.
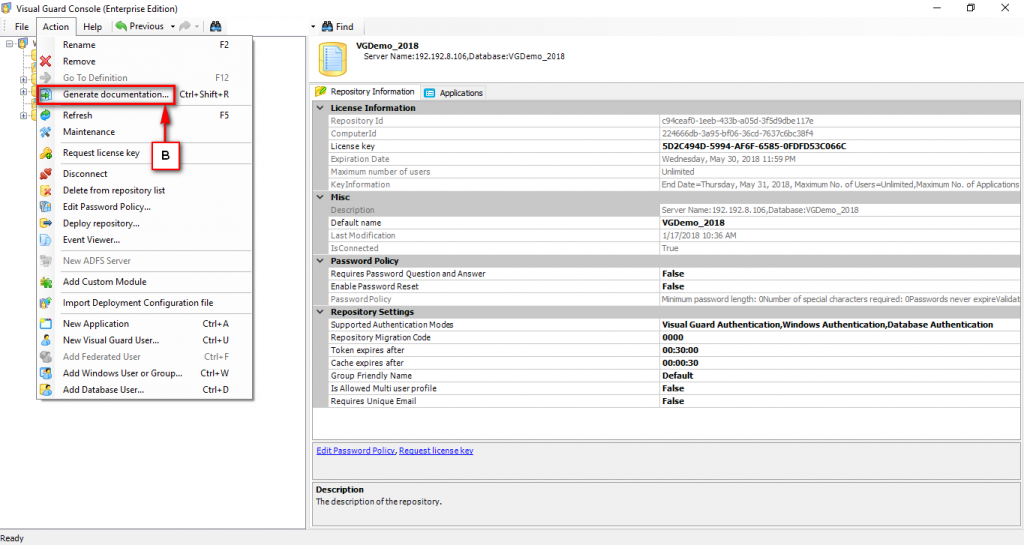
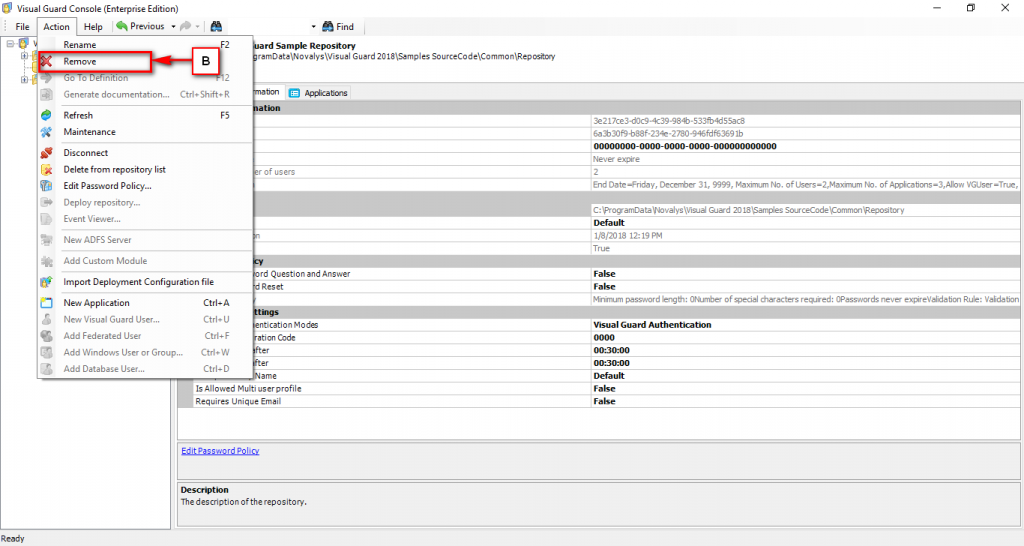
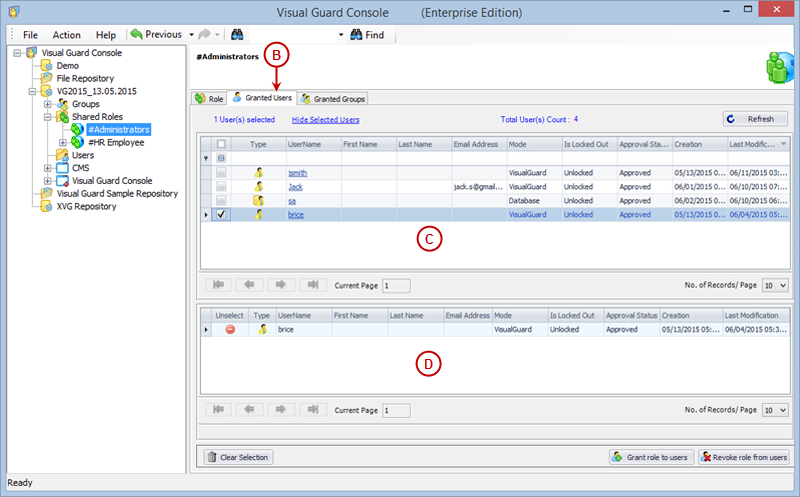
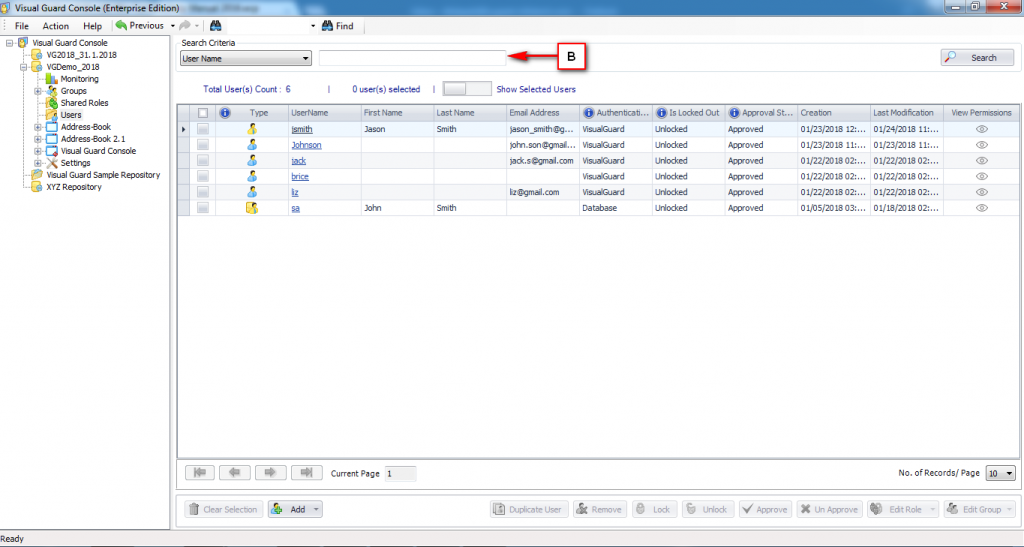
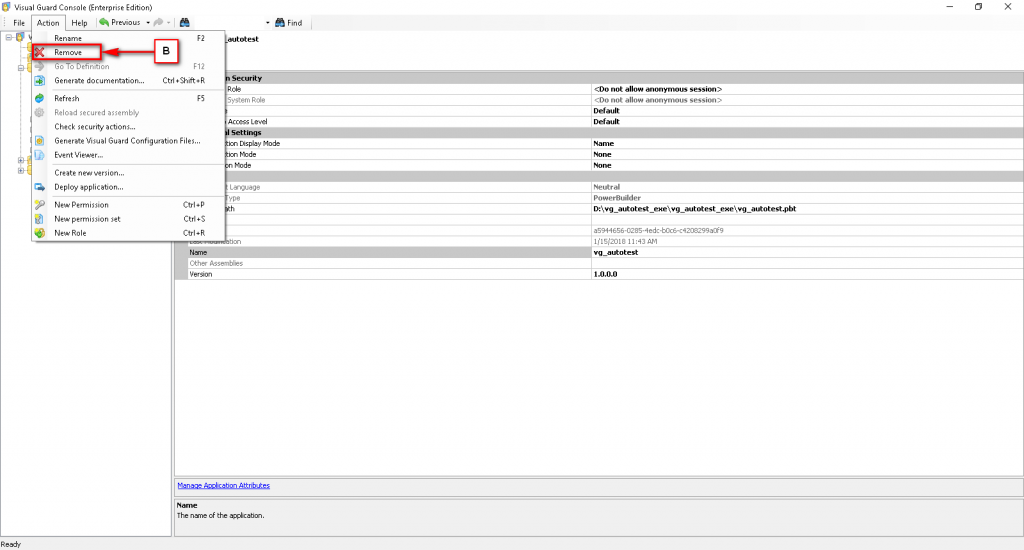
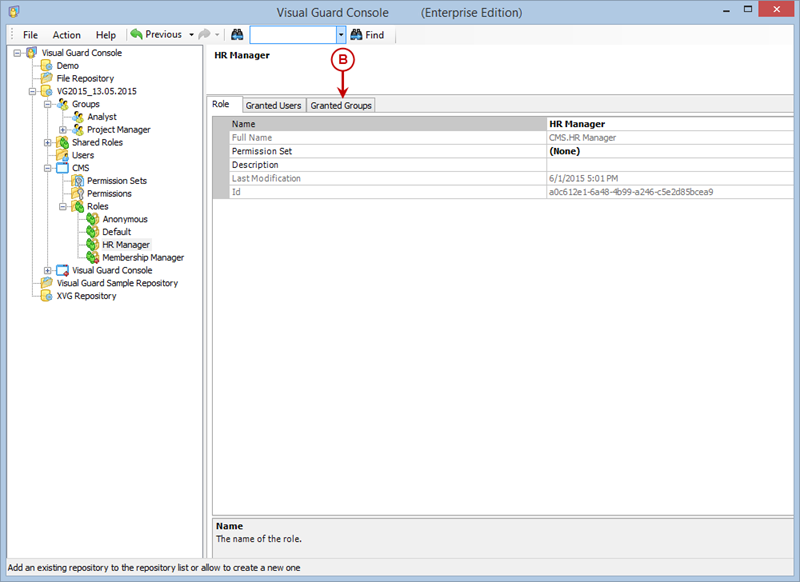
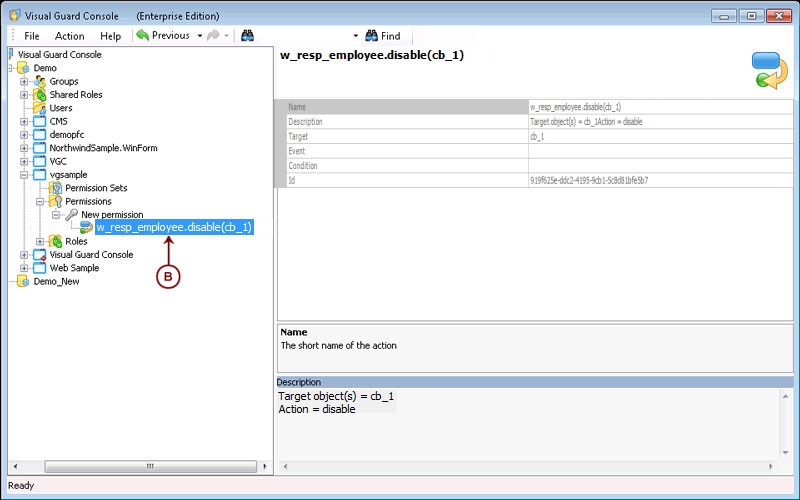
Menu Bar (B): This will display various menu options that will help to manage the whole system. This option may change depending on the selection made in the Left.
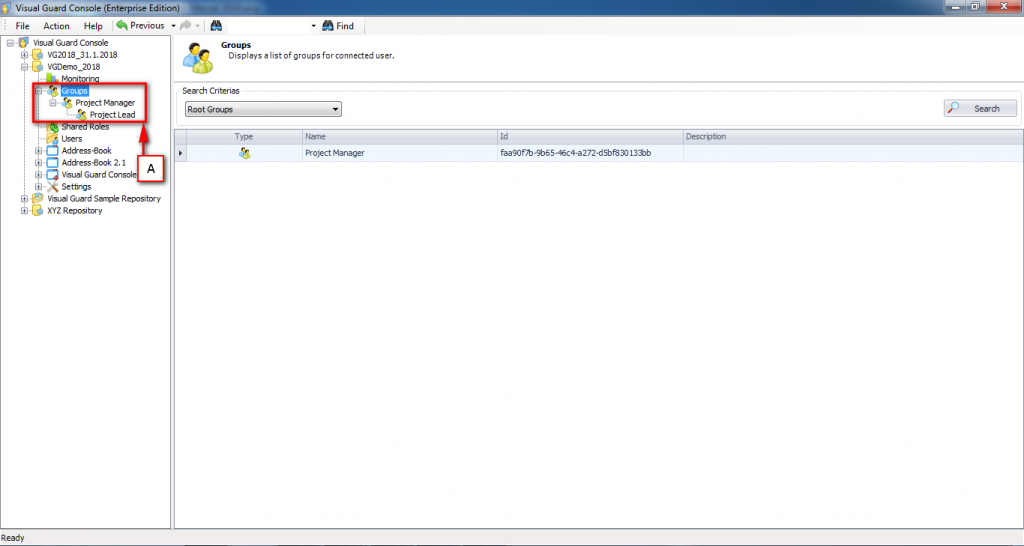
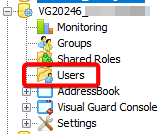
Left Panel (C): This will display the list of repositories and applications integrated with the system. All other options might vary depending on the option selected under this panel.
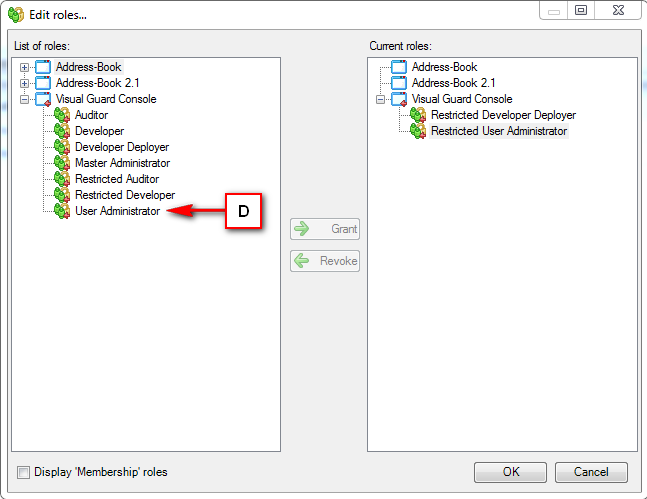
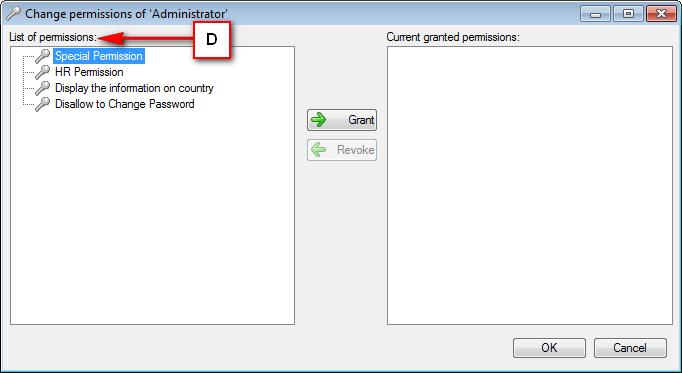
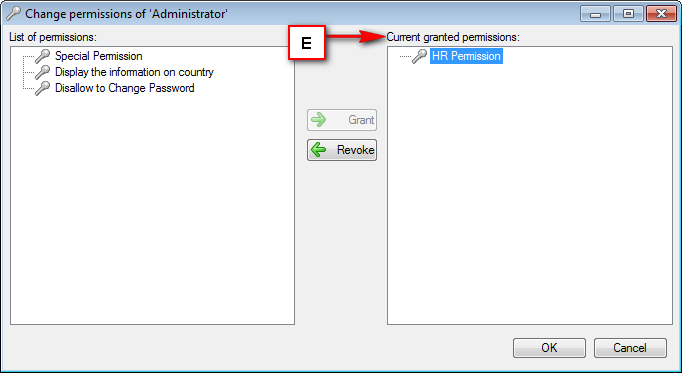
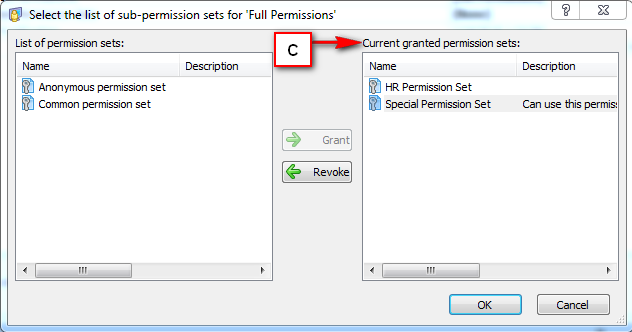
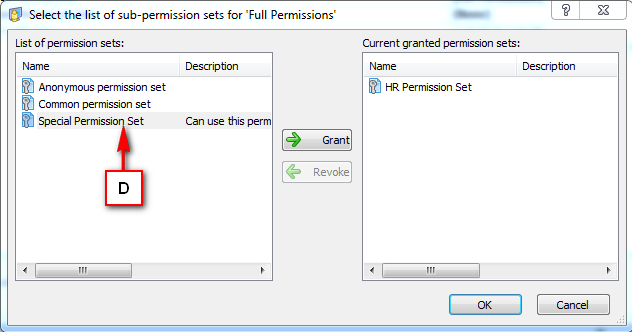
Right Panel (D): This will display the list of repositories and applications integrated with the system. This option may vary depending on the selection made in the Left Navigation Panel.
See Also:
1.2 Installation Guide
System requirements
Hardware Reqiurements
- Operating System: Windows Server 2012, 2016, 2019,2022 or Windows 10, 11
- Hard Drive: 512 GB to 1 TB Fast drive recommended – ideally SSD
- CPU: Minimum of 4 cores, operating at 3 GHz or higher.
- RAM: 8 GB
Network Prerequisites
- Required Allow-Listing (Domain)
- Identity Server domain
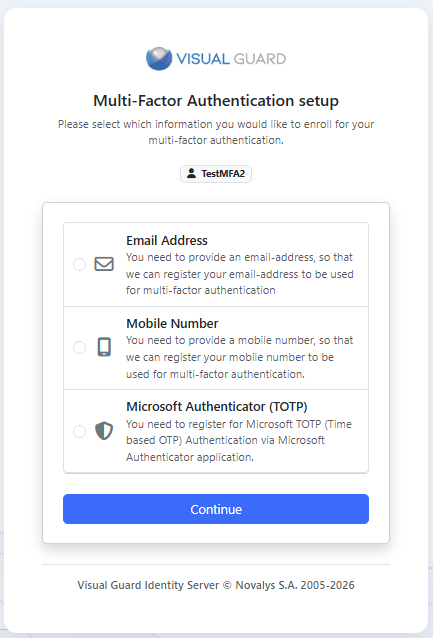
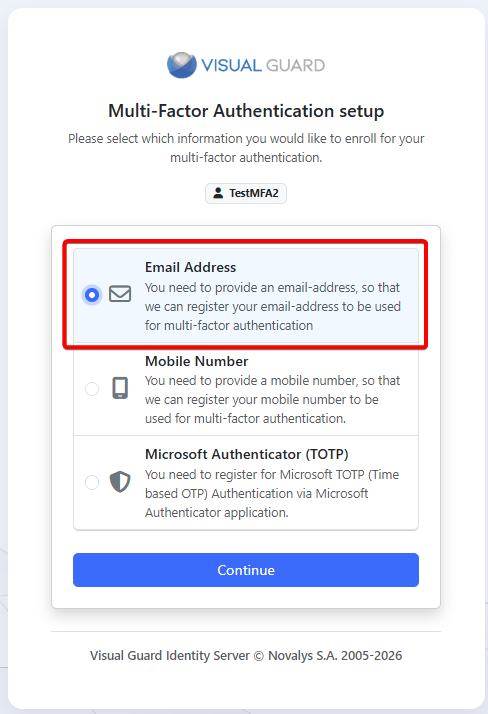
- If you use MFA (Multifactor Authentication) – https://mfa.visual-guard.com/
- Protocol & Ports : HTTPS/TLS over TCP port 443 (outbound) – Incase you use a customised port then ensure to whitelist that port number. This helps in communicating to any VG component or your business application.
- DNS Resolution: All servers should be able to resolve each other via the hostname and Fully Qualified Domain Name (FQDN)
- Latency & Performance: Ensure low network latency between application and repository.
- Proxy / VPN Considerations
- If a proxy is used then configure exceptions for Visual Guard services
- If VPN is used then ensure stable and uninterrupted connection and verify routing allows access to repository/database
- Testing Connectivity: Before deployment, validate:
- Database connectivity from application server
- API/service accessibility
- Port availability (telnet / test tools)
- Access to Active Directory or Microsoft Entra: Ensure that the Active Directory or Microsoft Entra access is available to the administrator account, as this enables Visual Guard to perform authentication and synchronization processes successfully.
Software Requirements
- Software:
- VGRepository
- Require SQL Server 2012 or later, with a minimum of the Standard Edition.
- Require Oracle Database with Oracle9i or later. Please ensure the Oracle Driver is installed.
Installation
Visual Guard uses the industry standard InstallShield as the installation mechanism. The installation is almost entirely automated and should just take a few minutes to complete.
To install Visual Guard, follow the steps below:
Note: You can cancel the installation at any time
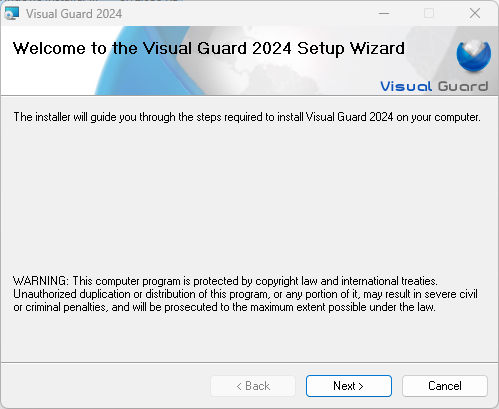
- Step 1:Double-click on the installation file icon. The screen below will be displayed.
- Click “Next “ to continue with the installation.
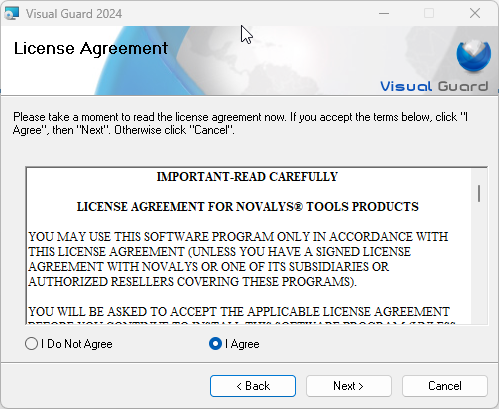
- Step 2: License Agreement: On selecting I Agree option, “Next “ will be enabled as shown below
- Click “Next “ to proceed with the installation.
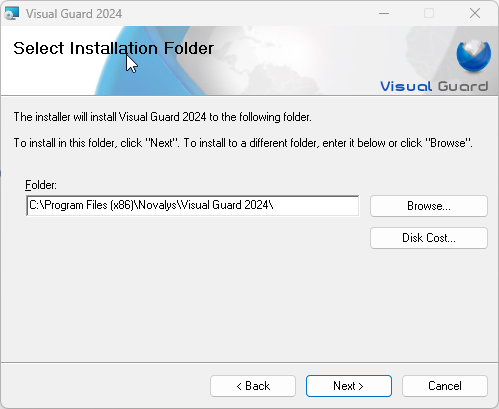
- Step 3: Select the location to install Visual Guard by clicking “Browse”.
- The selected location will be displayed in the Folder (A).
- You can click “Disk cost” to see the availability and required space for installation.
- Click “Next >” to proceed with the installation.
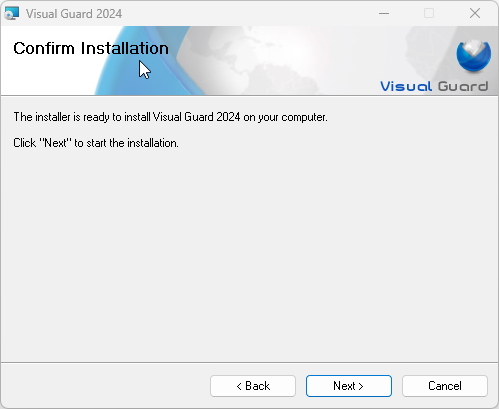
- Step 4: Click “Next >” to start the installation or click “< Back” to make any changes.
- Step 5: On clicking “Next >” , the installation process will start as shown below.
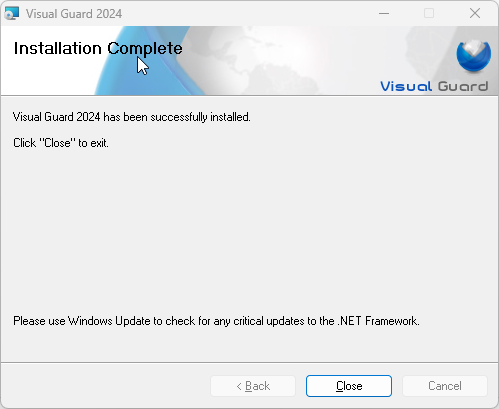
- Step 6: Once the installation is complete, the screen below will be displayed.
- Click “Close” to exit the installation.