


Create a new Repository (File system)
Creating a new repository using the file system in Visual Guard is the first step in setting up a secure and structured environment for managing your application’s security policies. A file system repository allows you to store all configuration data locally, making it simple to manage, access, and maintain without the need for a database connection.
This page shows how to create a repository stored in files.
Please Note: Storing VG repository in files is not recommended if you have more than 200 user accounts.
Follow the steps below to create a file repository.
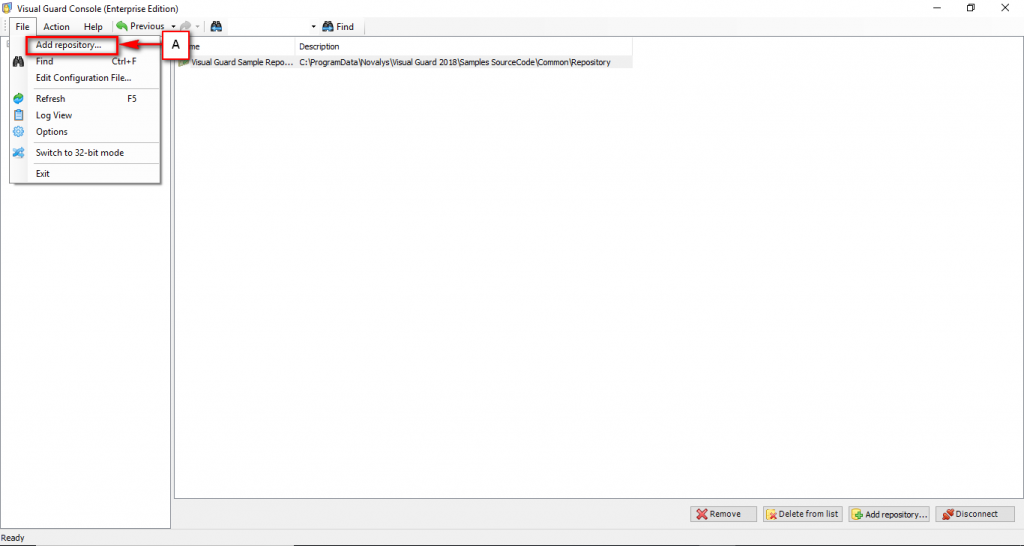
Step 1: Access the VG WinConsole using the path Start > All Programs > Novalys > Visual Guard > Visual Guard Console.
Access the Add Repository menu using one of the options below:
- Select the Add repository menu from File Menu. (A)
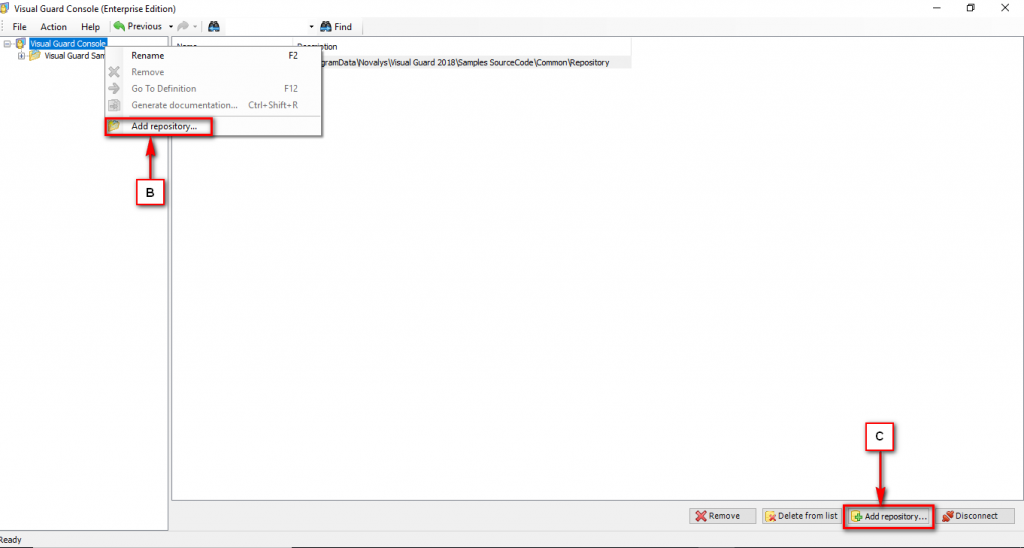
- Right click on the ‘Visual Guard Console’ in the Left Navigation Panel and select Add repository menu from the Popup Menu. (B)
- Click “Add Repository” . (C)
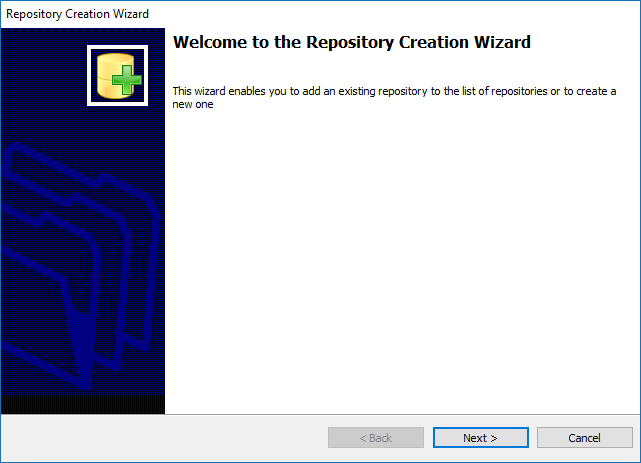
Step 2: The Repository Creation Wizard screen will be displayed as shown below.
- The wizard will automatically walk you through the repository creation.
- Click “Next >” to access the Next screen.
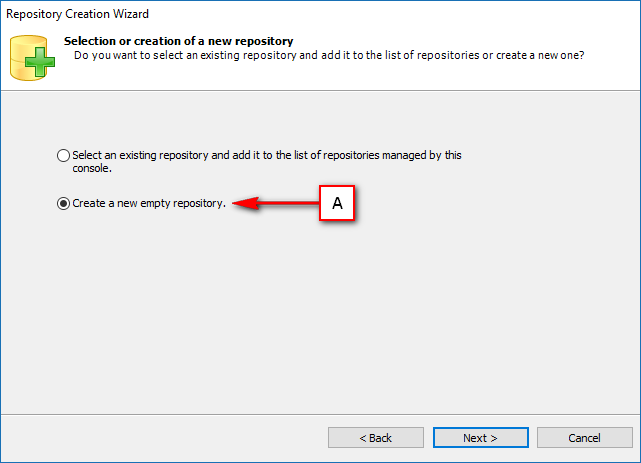
Step 3: Select the highlighted option (A) from the screen to Create a new empty repository.
- Click “Next >” to select the repository type.
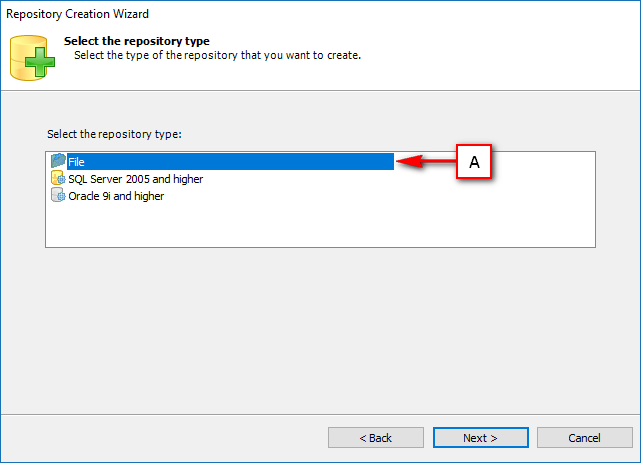
Step 4: Select option (A) from the screen to create a File Repository.
- Click “Next >” to select the location of the Repository
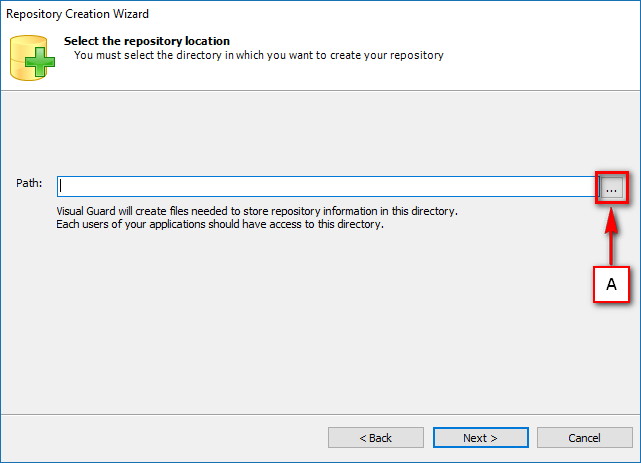
Step 5: Select the path where the repository is to be created by clicking “…” (A).
- The selected path will be displayed in the highlighted section as shown below.
- This location will be used for saving the repository.
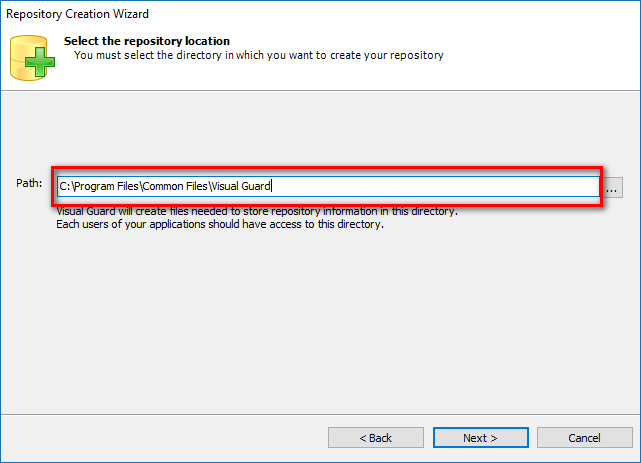
Step 6: In the below screen you can see an example of the path where Repository is the name of the directory which will contain the files for that particular repository.
As you give the path, a message box will be displayed to confirm for the creation of the directory.
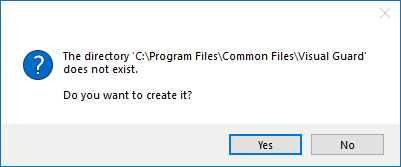
Click “yes” to create the directory or click “no” to cancel the creation. Click “Next >” to select the Authentication Mode.
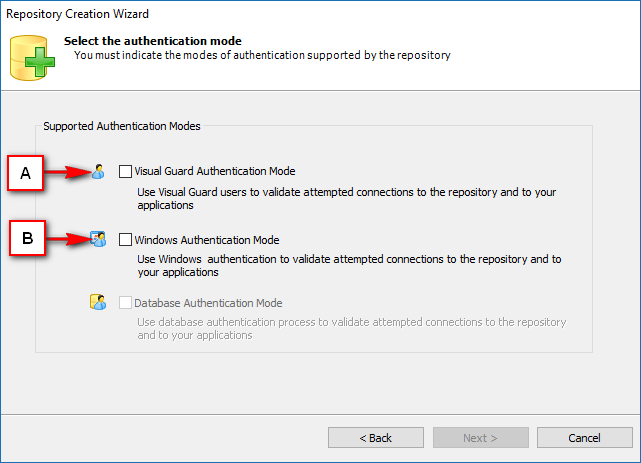
Step 7: Visual Guard offers two types of authentication modes: Visual Guard Authentication Mode (A) as well as Windows Authentication Mode (B) for the File Repository.
User can select both or either of the two available options.
Please Note: Database user accounts can not be used in file repository.
Click “Next >” to specify the Repository Name and Default Master User Information details.
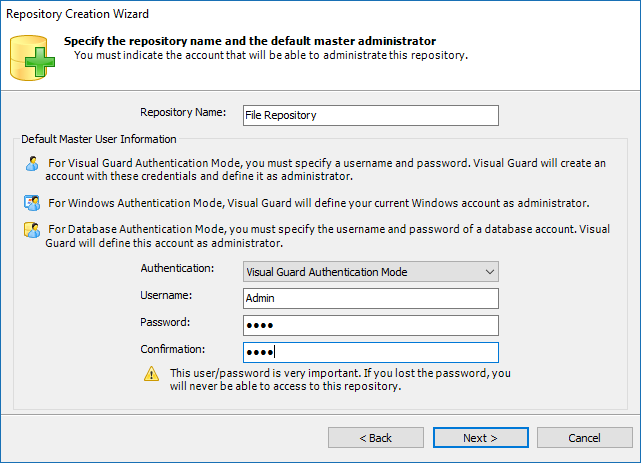
Step 8: Specify the Repository Name in the Repository Name Text Box (A).
Specify the Default Master User Information (B)
- Select the Authentication mode (C) for which the account details are to be specified.
- The Authentication menu (C) will display all the Authentication Modes selected by you.
- Specify a user name and password. This option will be available in case the Visual Guard Authentication Mode is selected.
- In case of Windows Authentication Mode, the current username and password will be automatically used for authentication.
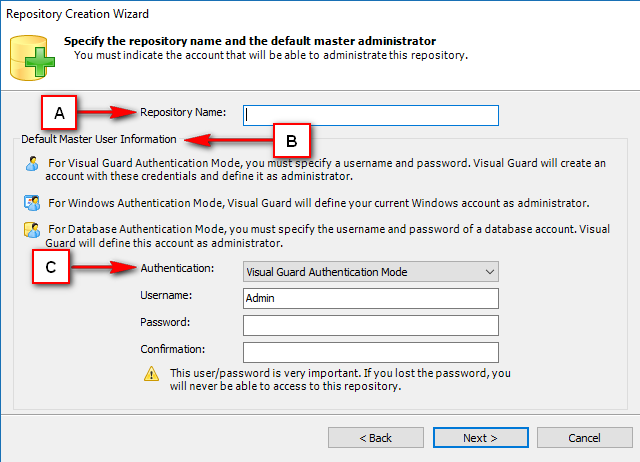
Please Note: Here you are creating your first user account too. Click “Next >” to complete the Repository Creation Process.
Step 9: Click “Finish” to successfully start using the repository.

Step 10: The Repository will be displayed in the Left Navigation Panel as well as the Main Section on the Visual Guard Console. To access the repository, click on the option (A).
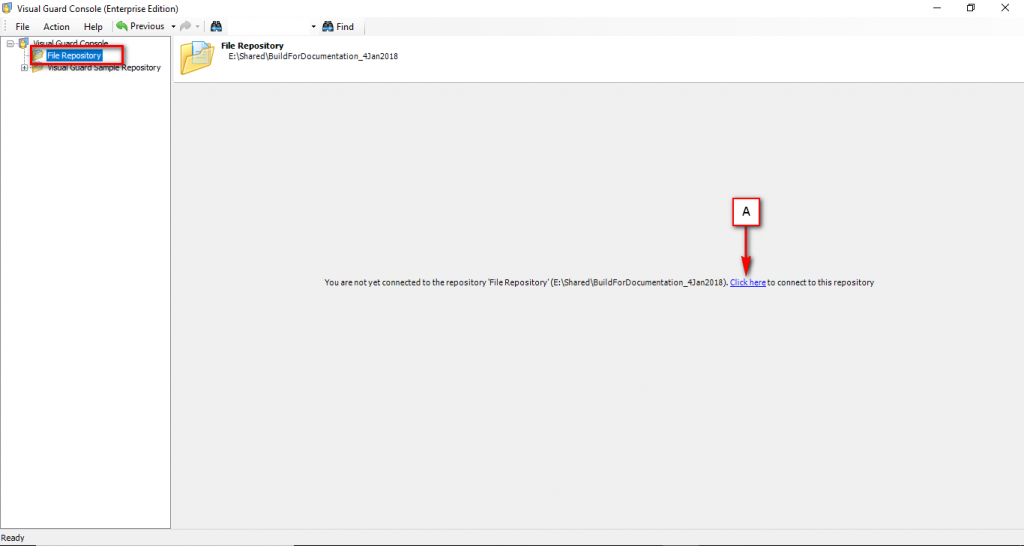
Step 11: The following Login screen will open and allow you to authenticate and access the repository. Since you have only one user account initially for a single Authentication Mode, you will not be asked to select the Authentication Mode. Enter you credentials to connect to the repository.
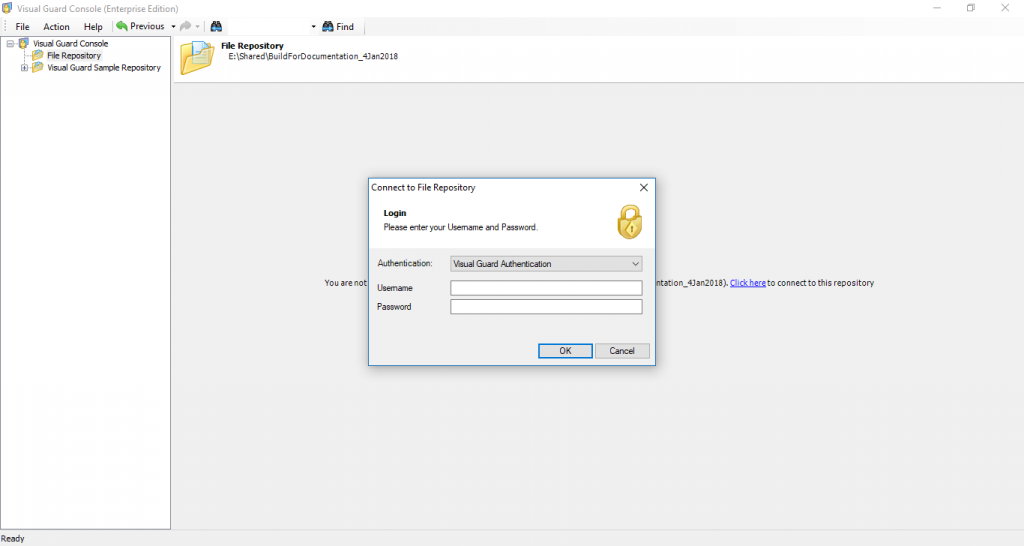
The following repository related details will be displayed in the main area.

See Also: