


New Application
New Winform Application
Visual Guard allows you to integrate Winform applications and set permissions for accessing the integrated application.
Note: Visual Guard must be integrated with the selected application before this wizard can be run. For WCF services you must specify the type of application hosting the service.
To add a new WinForm application follow the steps below:
Access the Application Creation Wizard using the path Repository > New Application
The Application Creation Wizard will be displayed.

- Select the Winform, WPF, Console, Windows Service option (A).
- The wizard will automatically walk you through the application integration.
- Click “Next >” to access the next screen and indicate whether the Visual Guard runtime is already integrated in the system.
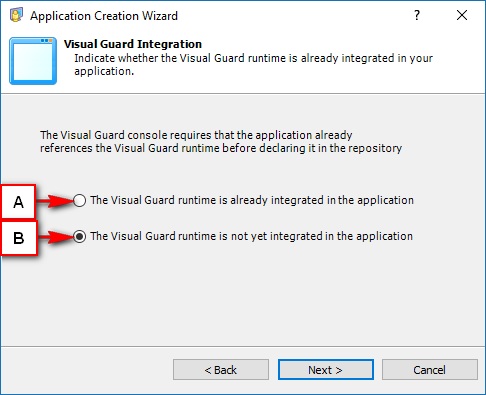
- Option (B) will be selected by default. Select option (A) to move to the next step.
- The Visual Guard Runtime should be integrated in the application to move to the next step.
- Click “Next >” to access the next screen and specify the main assembly of the application that will act as an entry point.
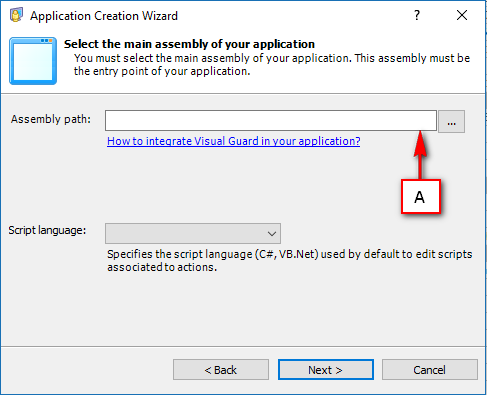
- Select the path where the application is being stored by clicking “…” (A).
- The browsing screen will be displayed as shown below
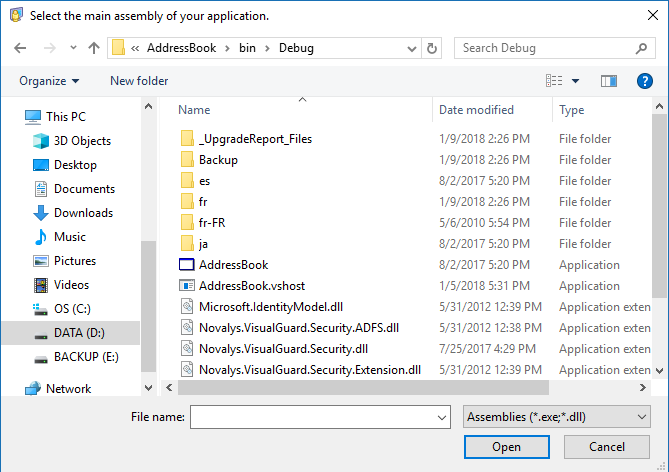
- You can select only assemblies having extensions .dll or .exe.
- Select the script language in which you want to edit the script associated to actions. By default the application’s language will be detected automatically as shown below.
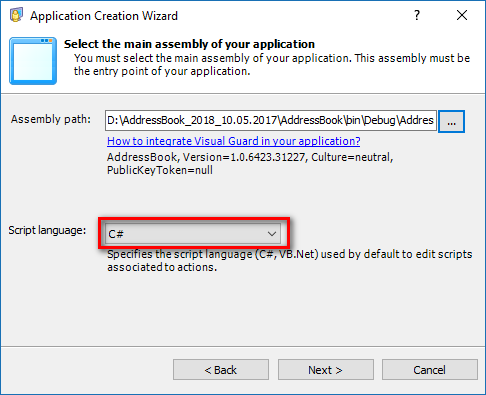
- Click “Next >” to access the next screen and specify the default options of the application.
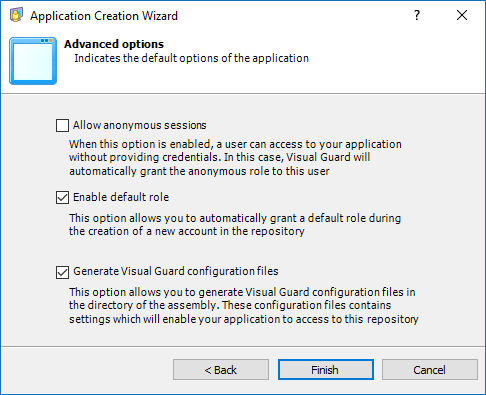
- The options will be available for selection Allow anonymous sessions, Enable default role, and Generate Visual Guard configuration files. You can select any one or all of the options.
- After selecting the appropriate options click “Finish” to finish the wizard. The application will be integrated and displayed as shown below.

See also: