


Encryption
Encryption settings in the Visual Guard Desktop application help secure sensitive data by protecting information stored and transmitted within the system. These settings allow administrators to configure encryption methods and manage security options to ensure data confidentiality and compliance with organizational security standards. Proper encryption configuration enhances overall application security and helps safeguard user credentials, communication, and critical system information
This feature allows to apply encryption on the communication and storage details of the repository.
Log in to the Repository, go to Settings select Encryption (A).
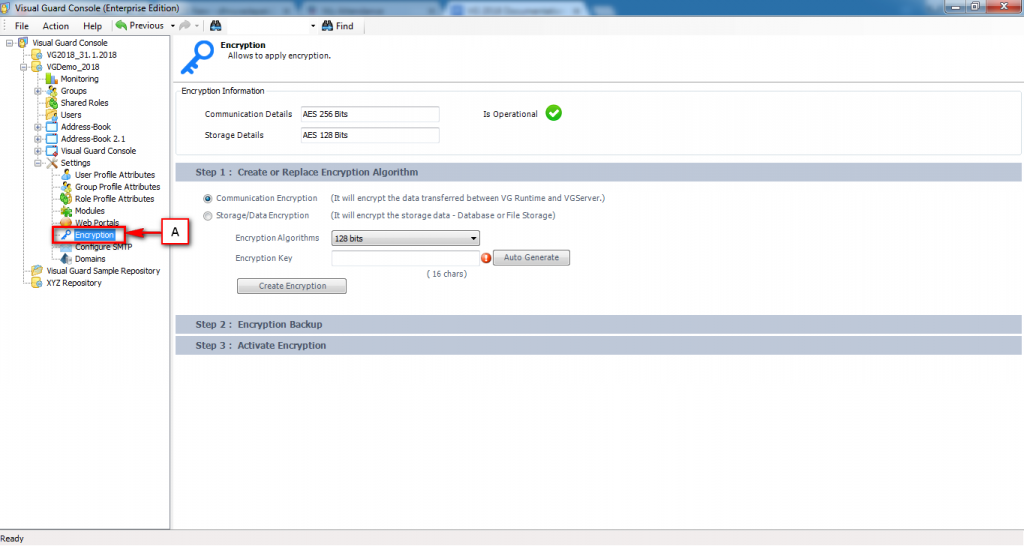
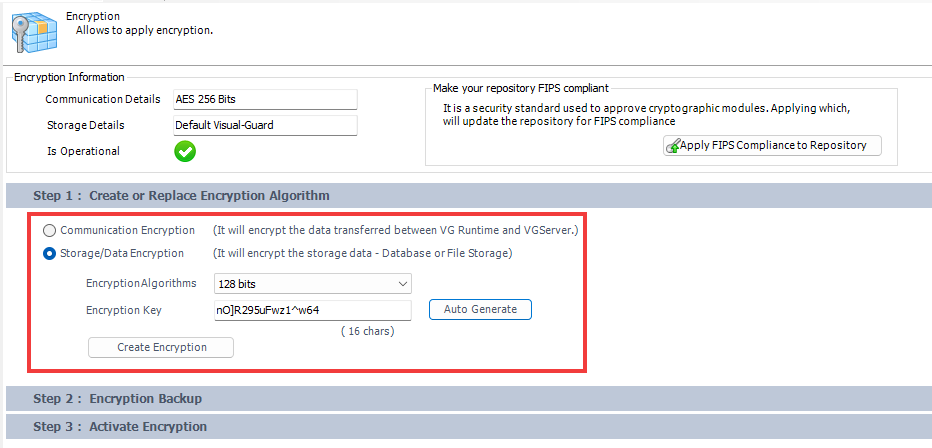
Step 1: Select the option Communication Details to encrypt the data transferred between VG Runtime and VG Server OR Select Storage/Data Encryption to encrypt the storage data from Database and File Storage.
Encryption Algorithms provides us with two options of 128 bits and 256 bits amongst which any option can be selected.
Encryption Key of 16 characters can manually be entered by the user or can automatically be generated and if the criteria is not met validation error is displayed.
Click on Create Encryption to complete Step 1. Below screen will be displayed after the completion of Step 1.
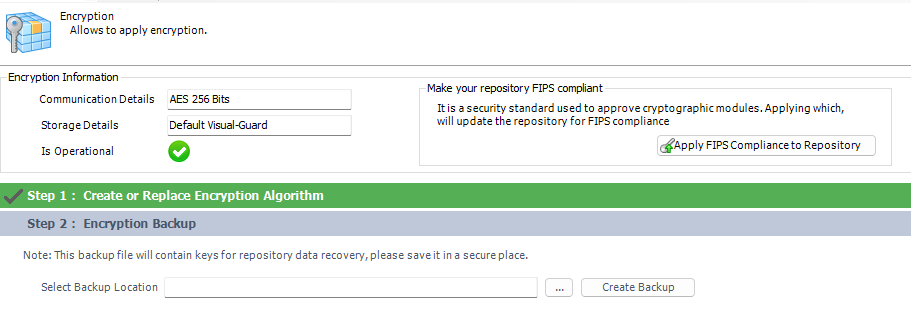
Step 2: Select the location of the where you need to save your backup file and click on Create Backup.
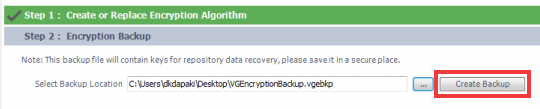
When you click on Create Backup the below screen will be displayed.
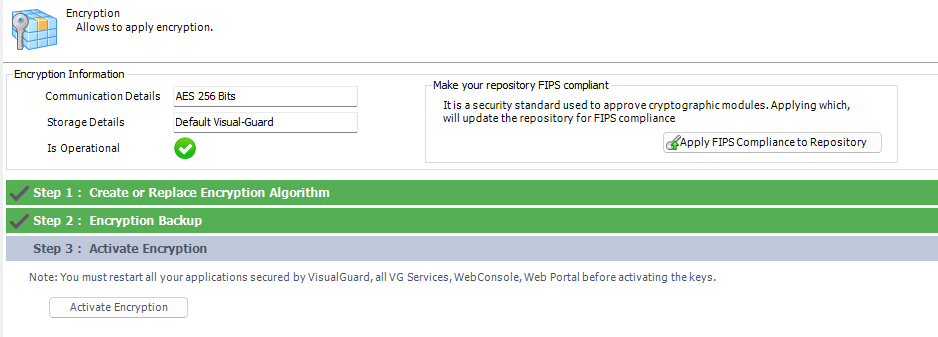
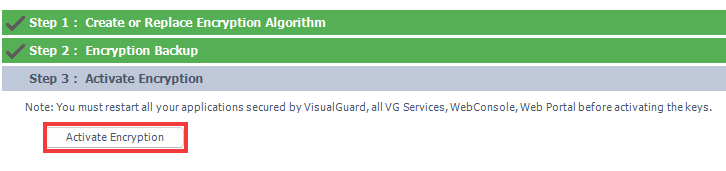
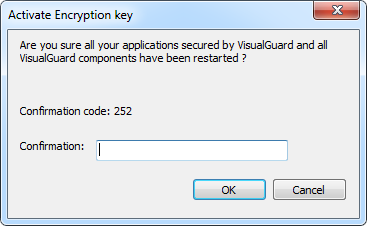
Step 3: Click on Activate Encryption in Step 3 to get a confirmation screen as shown below.
Enter the confirmation code given and click OK
The confirmation Activation will lead to the following screen.
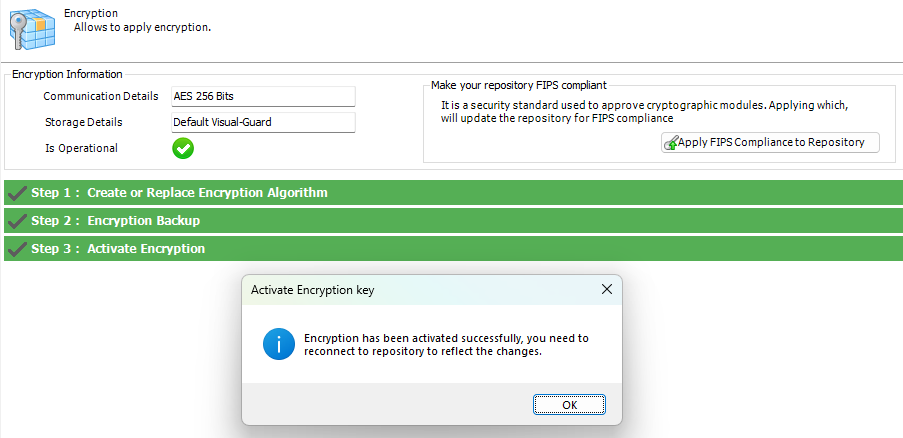
Click on OK for final activation, you will automatically be logged out to reconnect to your repository.
See Also: