


Visual Guard Deployment Tool
The Visual Guard Deployment Tool provides an alternative method for deploying applications and repositories between Visual Guard environments. It enables administrators to migrate applications, repository objects, and security configurations in a controlled and consistent manner. By automating the deployment process, the tool helps reduce manual effort, minimize configuration errors, and ensure consistency across environments.
Steps on how you can use the VG Deployment Tool
Step 1: Open the tool, you can search for Visual Guard Deployment Tool from your windows search. (this tool is automatically installed in your system when you install Visual Guard)
- Deployment Configuration file: Select you configuration file by clicking on the 3 dots
- Repository Type: Select repository type from the drop down
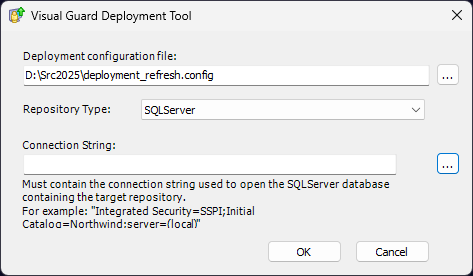
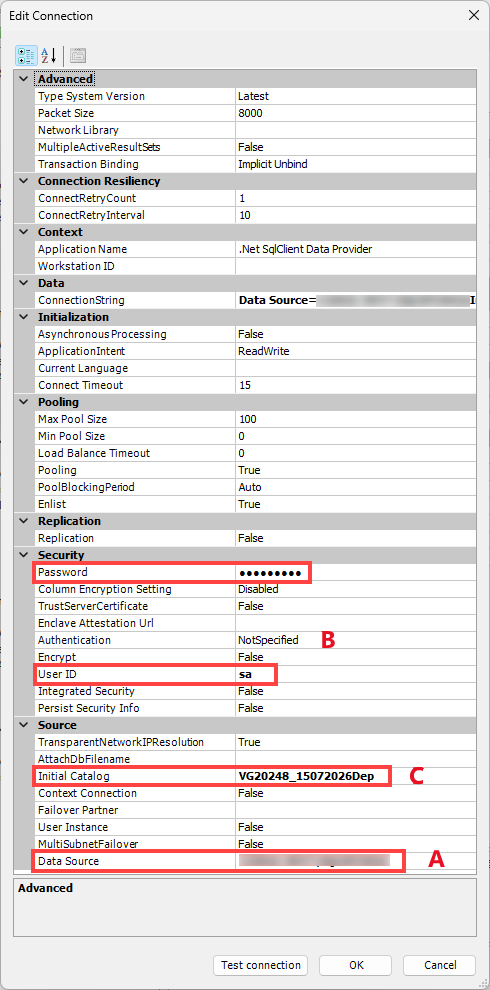
Step 2: Click on the 3 dots to update your connection string settings.
- A – Click on the Data source section and select your database (please note it will take a few seconds to give you the dropdown with the data sources that you hold)
- B – Enter the User ID and Password
- C – Select your catalog / Select your target repository
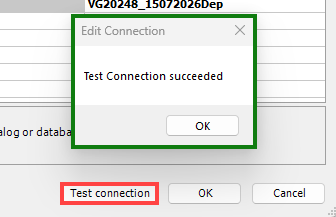
Step 3: Click on Test connection, you will get a Test connection succeeded message. Click on OK and again Ok to complete the settings.
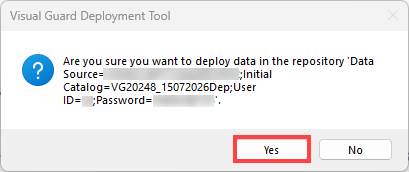
Step 4: You will get a pop-up with the Source, Catalog and credentials to confirm the deployment –> Click Yes to proceed.
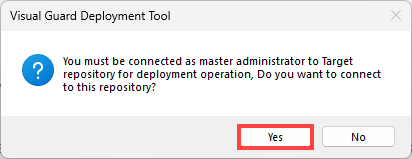
Step 5: If you are not connected to the Target repository, you will get the below pop-up to confirm the connection –> Click Yes to proceed.
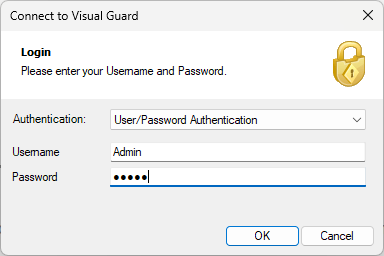
Enter your repository credentials.
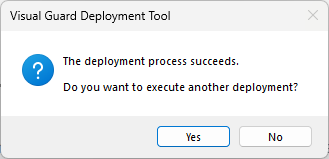
Once the deployment is completed successfully, a confirmation message will be displayed. You will also be given the option to deploy another repository or application, if required.