


Permissions
Script Actions for .NET
Script Action allows you to dynamically execute a script in your application. This type of action enables you to execute a script defined in the Visual Guard console when permission is granted to a user. The scripts will be dynamically compiled at runtime when the security is loaded for a user.
Follow the steps below to add Script Action to the permission:
- Select the Repository > Application > Permission and select the permission under which the script action is to be created.
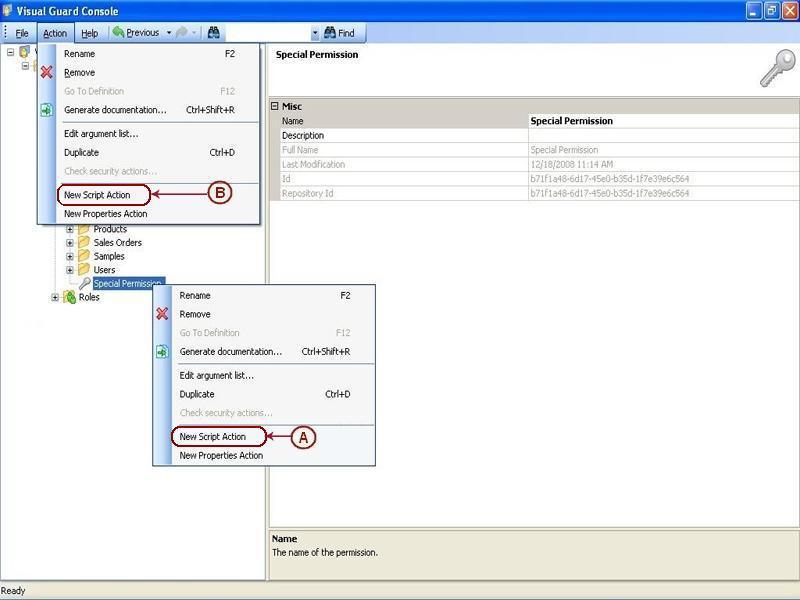
- Access the New Script Action using one of the options below:
- Right click on the permission and select the New Script Action (A) from the popup menu.
OR
-
- Select the permission from the Left Navigation Panel and select the New Script Action from the Action menu (B).
- The Security action creating wizard screen will be displayed as shown below:
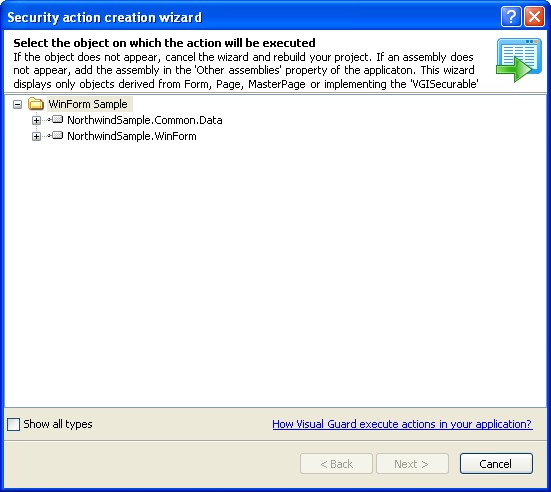
- The above screen displays the objects derived from the application.
- By default the screen will display the list of all forms, pages, Master pages, classes etc. The secured components will be invisible to you. Secured types are those that are protected using VGISecurable interface.
- Visual Guard provides you Show all types option that will display securable components if Show all types is selected.
- You can expand and select any of the objects to set the security action as shown below.
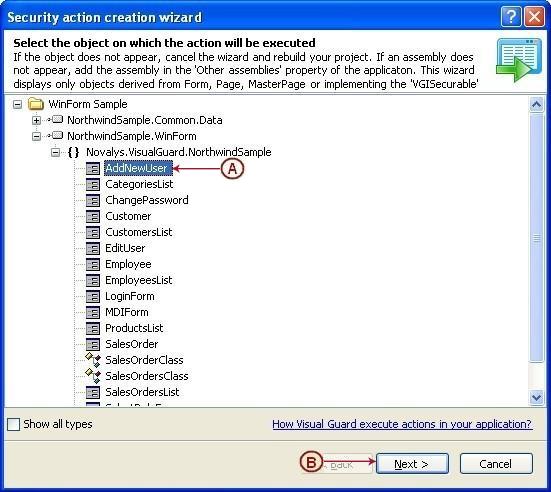
- For example In this screen AddNewUser (A) is selected.
- Once objects are selected “Next >” will be enabled (B). Click “Next >” to go to the next step.
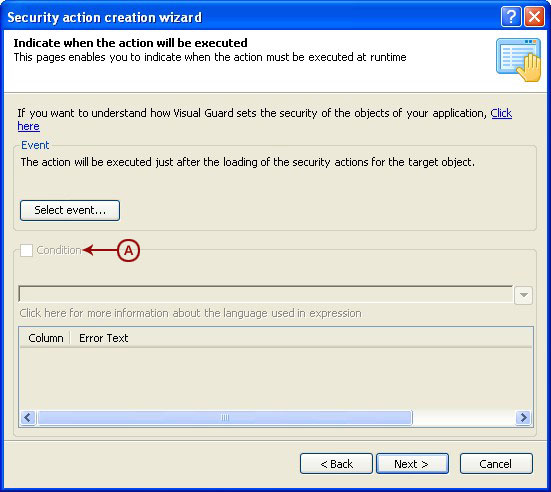
- Click “Select Event…” to select any particular event from the object. Click here (missing link) to know more.
- The Condition checkbox (A) will be disabled in this action.
- Click “next>” to proceed. The screen below will be displayed.
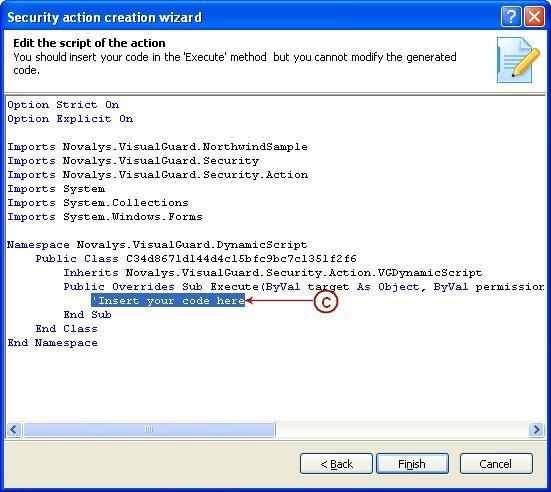
- You can enter your code here (C). The code language depend of the language in which the application is created (c# or VB.Net)
- For example the code entered in the below screen is MessageBox.Show (“Test”).
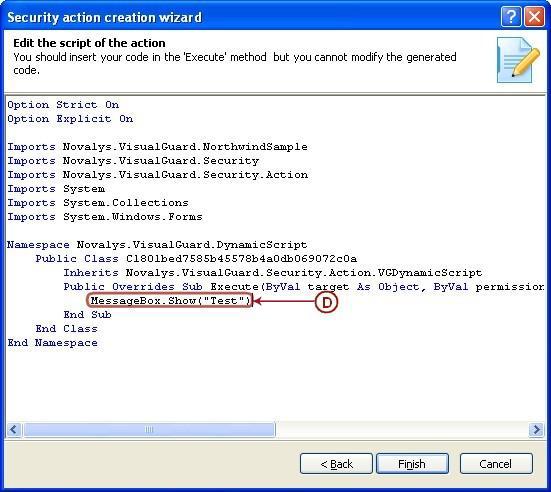
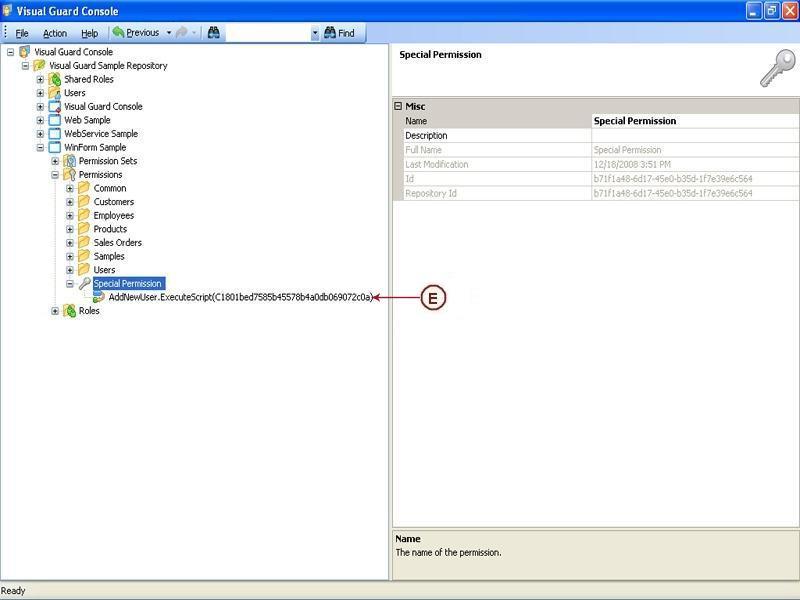
- After entering the code click “Finish” . The security action will be saved (E) and displayed as shown below.
See Also: