Search and Select Goups
The Search and Select Groups feature in Visual Guard enables administrators to quickly locate and manage groups within the system. As the number of groups increases, using search and filtering options becomes essential for efficiently navigating and identifying the required groups.
With multiple search criteria available, administrators can refine the group list based on hierarchy, group names, or specific structures. Additionally, the ability to select one or more groups allows for performing bulk actions, making group management faster and more efficient.
Filter the list of Groups
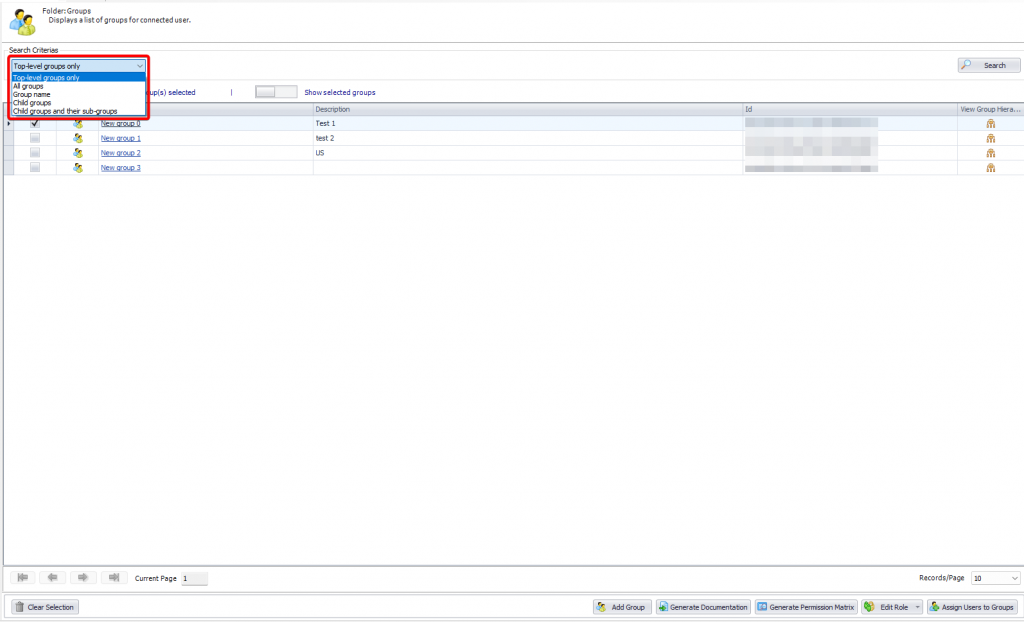
You can filter the list of groups you are provided with the selection of the search criteria. You can click on the drop down and select the search criterion.
- Top-level groups only – Displays only the main (parent) groups without any sub-groups.
- All groups – Shows all groups, including both parent and child groups.
- Group name – Allows you to search and filter groups by their name.
- Child groups – Displays only the sub-groups under parent groups.
- Child groups and their sub-groups – Shows all nested groups within the selected hierarchy.
Select Group(s)
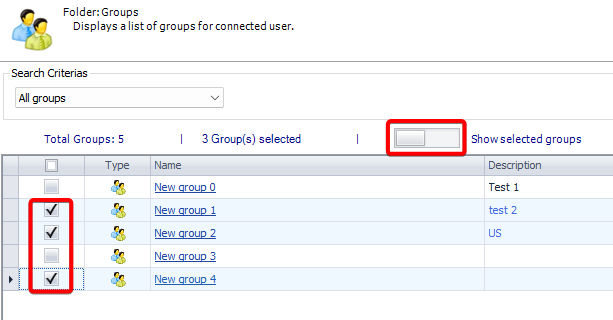
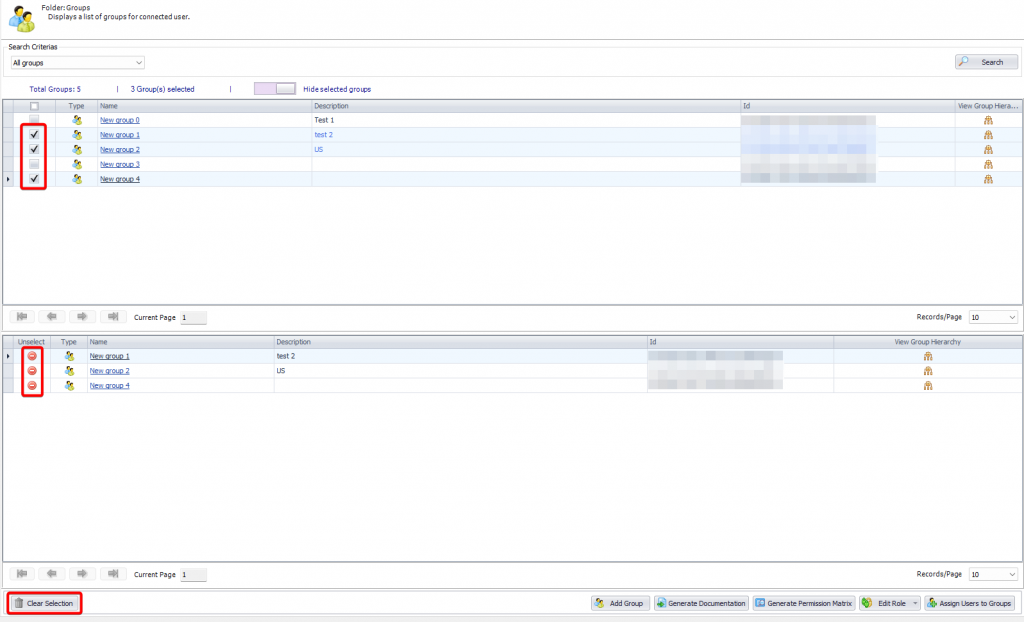
The Select Group option allows administrators to choose one or more groups for performing actions such as editing, assigning users, or generating reports. By selecting the checkbox next to a group, it becomes available for bulk operations, enabling efficient management of multiple groups at once.
When one or more groups are selected, the Show Selected Groups option can be enabled to display them in a separate section below, making it easier to focus on and manage the selected groups.
Enabling the Show selected groups will be seen as below;
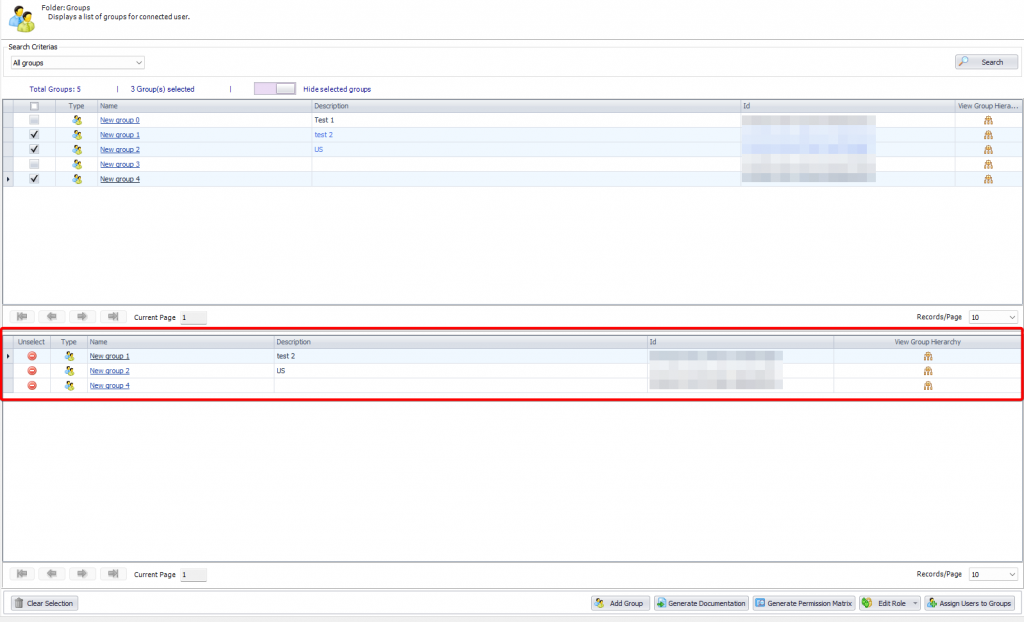
Note: The link “Show Selected Groups” toggles to link “Hide Selected Groups”. Hence you can click on “Hide Selected Groups” link to hide the Grid showing selected groups.
De- Select Groups
The De-select Group option allows administrators to remove a group from the current selection. This can be done by unchecking the checkbox next to the selected group.
Administrators can also use the Clear Selection option to quickly remove all selected groups at once. This helps in resetting the selection and avoiding unintended actions on previously selected groups.
Assign Users to Groups
The Assign Users to Groups feature in Visual Guard allows administrators to associate users with one or more groups for streamlined access management. By assigning users to groups, administrators can ensure that users automatically inherit the roles, permissions, and policies defined at the group level.
This approach reduces the need for individual user configuration and helps maintain consistency across users with similar responsibilities. It also simplifies ongoing administration, as any updates made to the group are automatically applied to all assigned users.
Step 1: Select the groups for which you wish to assign users. Click on “Assign Users to Groups”

Step 2: Select the users you want to assign to the selected groups
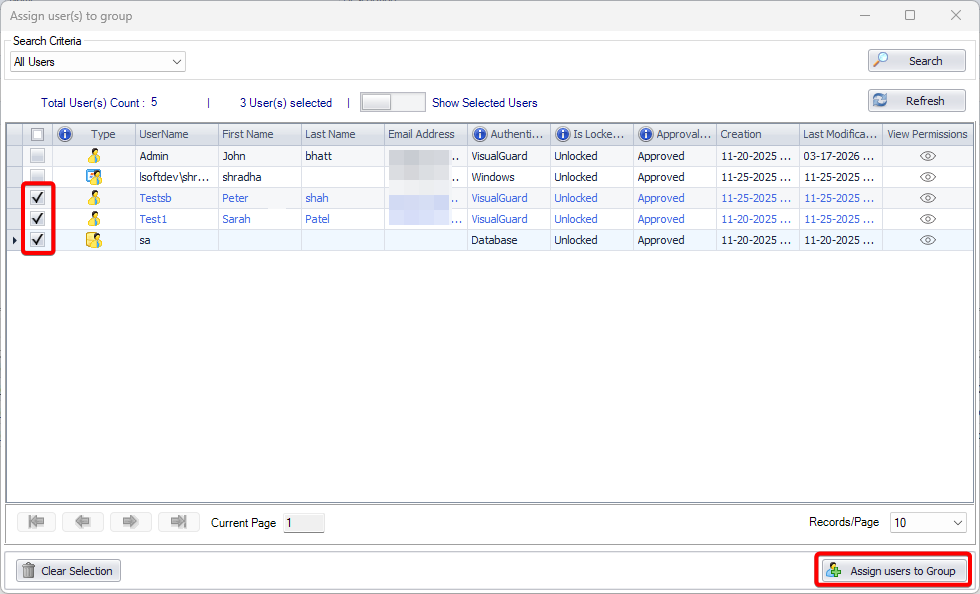
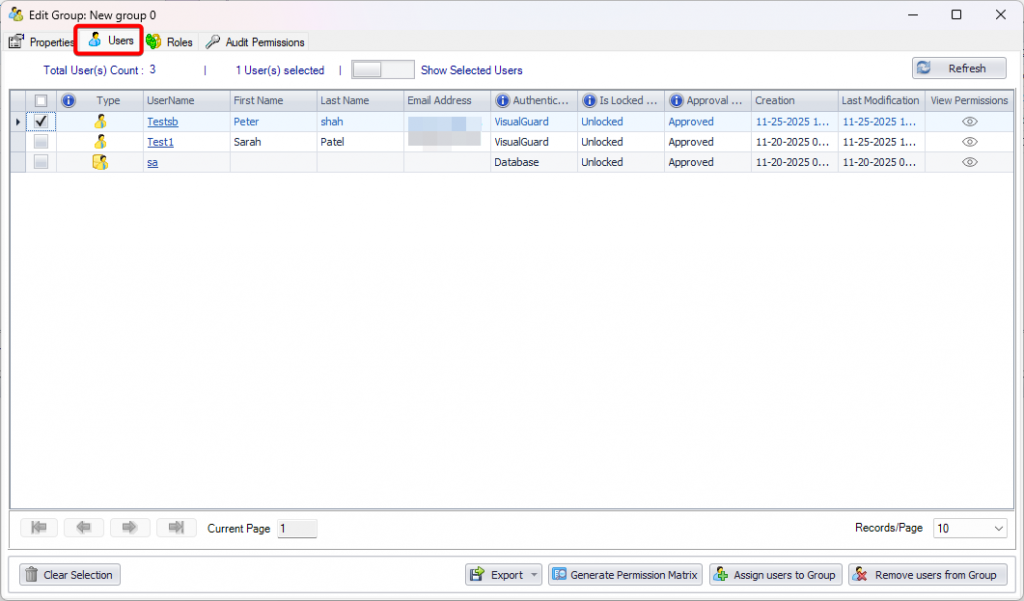
After selecting the users “Assign Users to Groups” gets enabled. Clicking on the button will assign users to selected group(s). You can verify the same by checking under the user list list of the specific group. Click any group and then go to the User tab. Sample shown below.
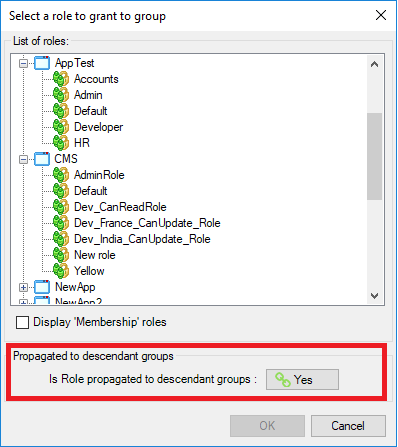
Edit Role
The Edit Role feature in Visual Guard allows administrators to grant or revoke roles assigned to selected groups. This enables precise control over the permissions and access rights available to all users within those groups.
By managing roles at the group level, administrators can ensure that any updates—whether adding or removing roles—are consistently applied to all group members. This simplifies access management and helps keep permissions aligned with changing responsibilities and security requirements.
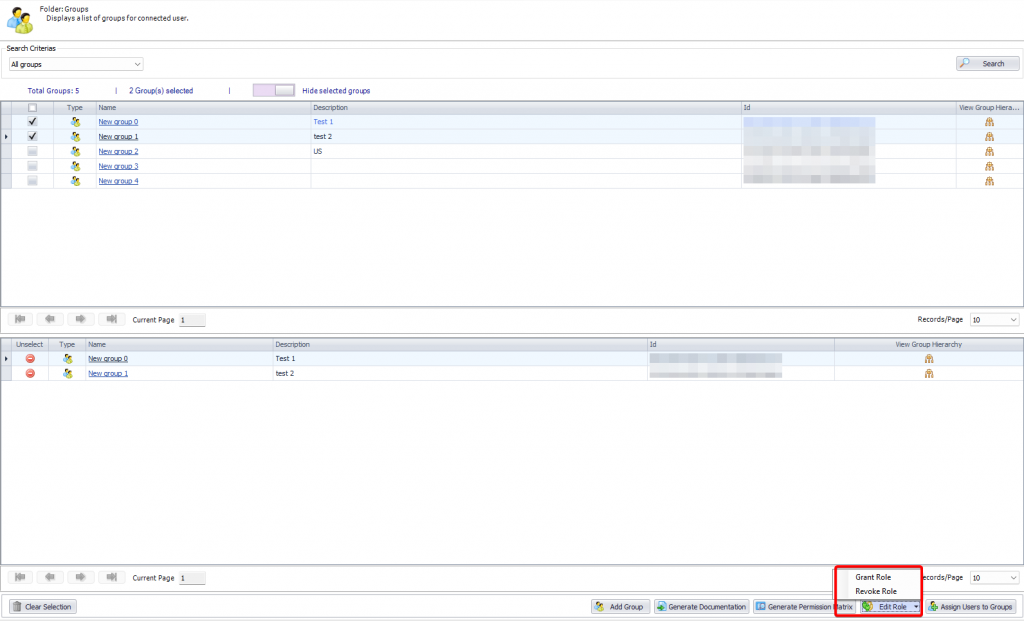
Note: While granting a role to groups, if Is Role Propagated to Descendant Groups is set as Yes then the child groups will be assigned all the roles else No as displayed in the screen below.