


Database User
Create a Database User
Visual Guard allows you to re-use user accounts and passwords defined in these DBMS.
Note:
-
- You will be allowed to create the user accounts only if you have been assigned the privilege. Refer special roles section for more details on privilege
- This option will be available only for SQL or Oracle repositories only.
Follow the steps below to create a Database User:
- Login to the Repository under which user account(s) is to be created.
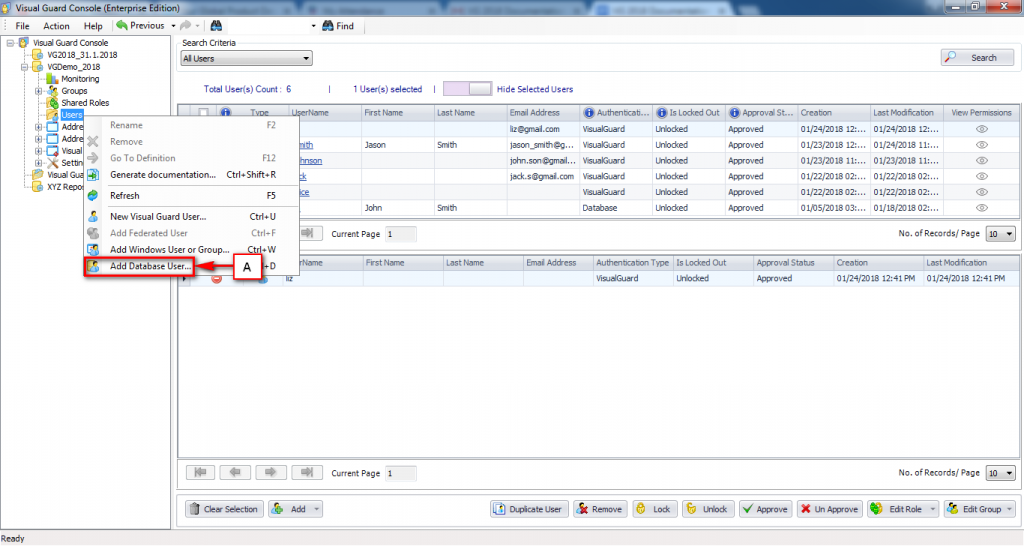
- Access the Add Database User menu using one of the options below:
- Right click on the Repository Name provided on the Left Navigation Panel and select Add Database User option.
OR
-
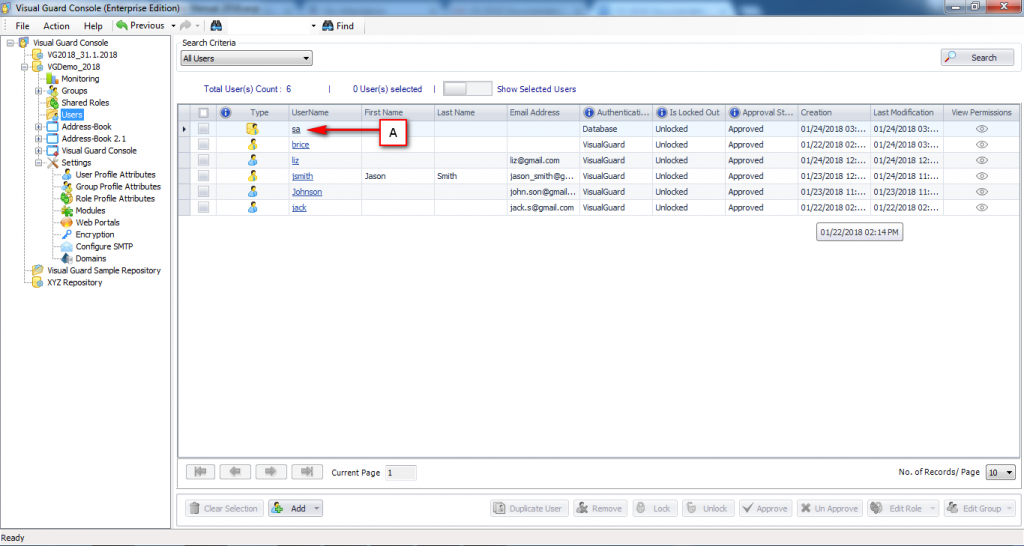
- Right click on the Repository >Users menu provided on the Left Navigation Panel and select Add Database User option (A).
OR
-
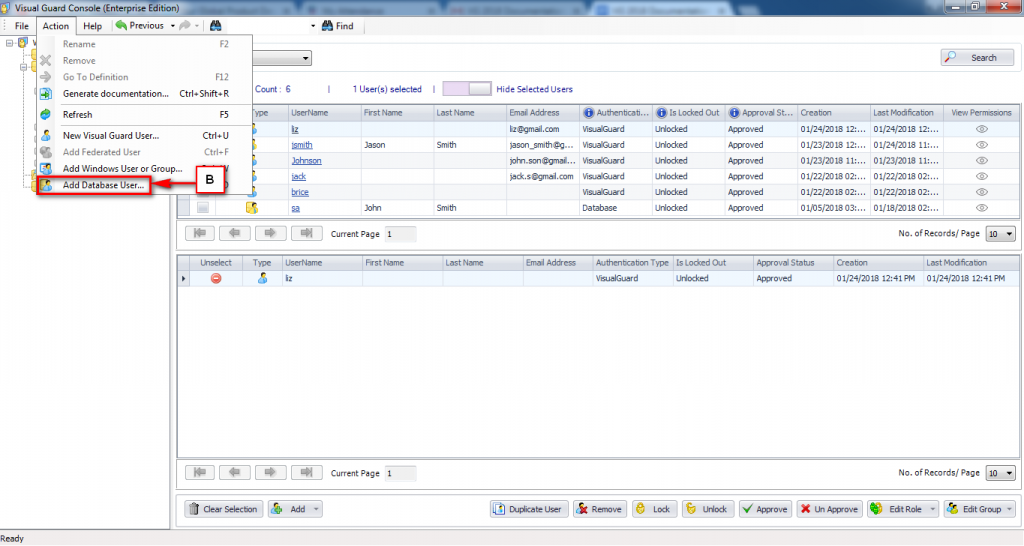
- Select the Repository from Left Navigation Panel and select the Add Database User menu item from Action Menu (B).
- The Select a database account screen will be displayed as shown below:
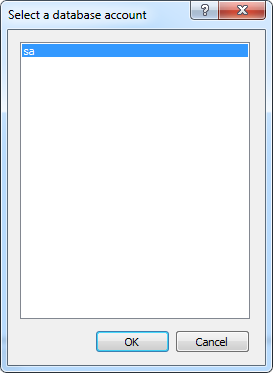
Note:
The list of accounts will only be displayed if the user account created in the sql server has server roles as sysadmin.
- Select the database from the available accounts and click “OK” .
- Add database account screen will be displayed as shown below:
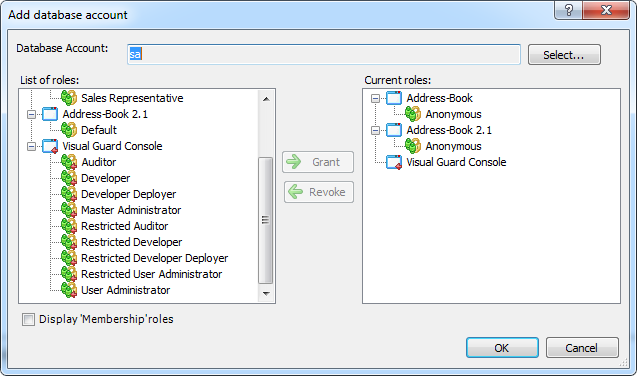
- To create a new user account you have to provide the following details:
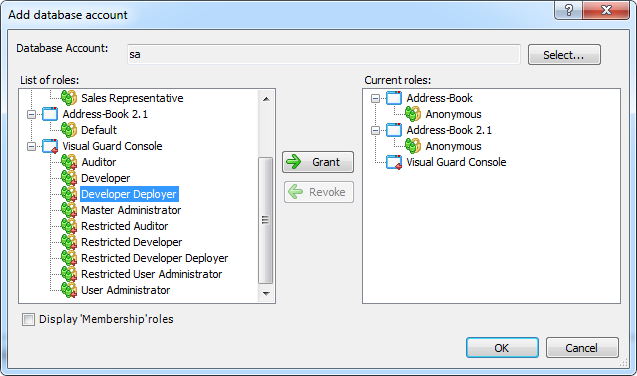
- After specifying the roles for the user, click “OK” to save the user details.
- Click “Cancel” if you do not want to create the user.
- The new user account (A) will be displayed under Users menu in Right Panel.
- All Database Users are represented with a different icon i.e.
See Also: